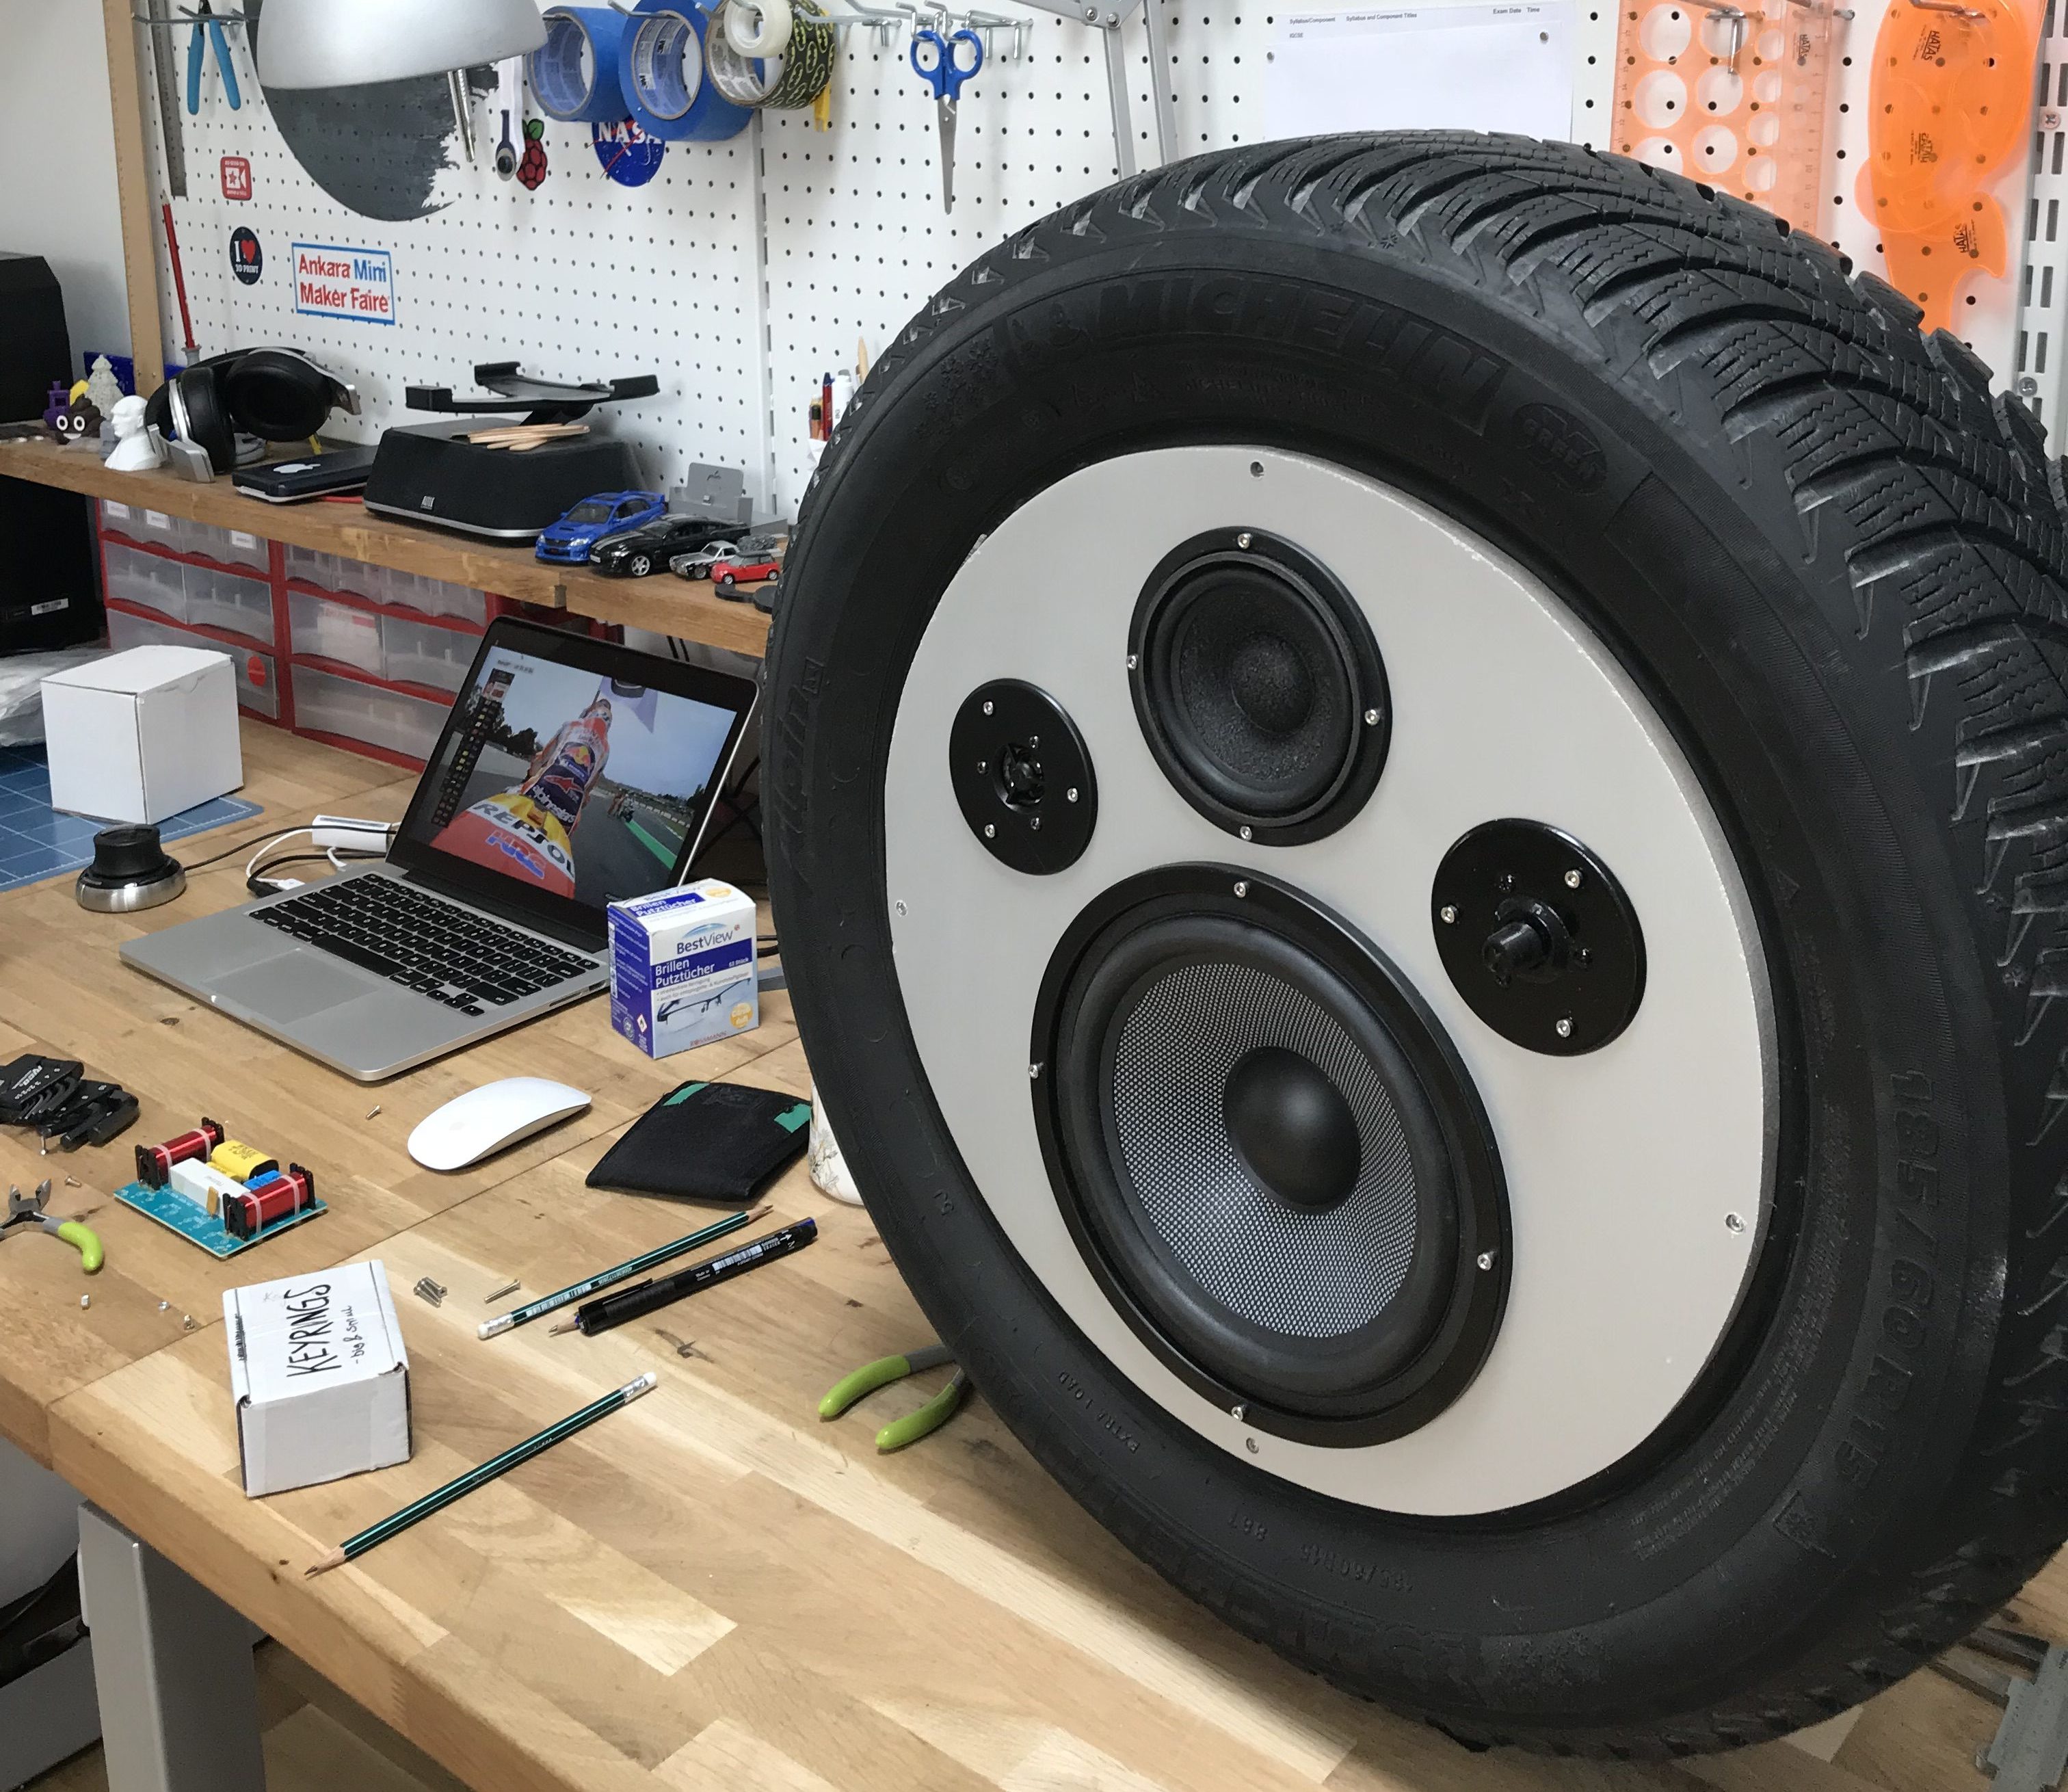
Recently the tires on our car had to be replaced because of their age so I decided that instead of throwing out the tires I could do something creative with them. I had seen something similar where someone had made a subwoofer from their car’s spare tire so I thought I could make a whole speaker. I got a sub, a mid and a tweeter as well as all the electronics such as a pre-amplifier, an amplifier, filter and more.
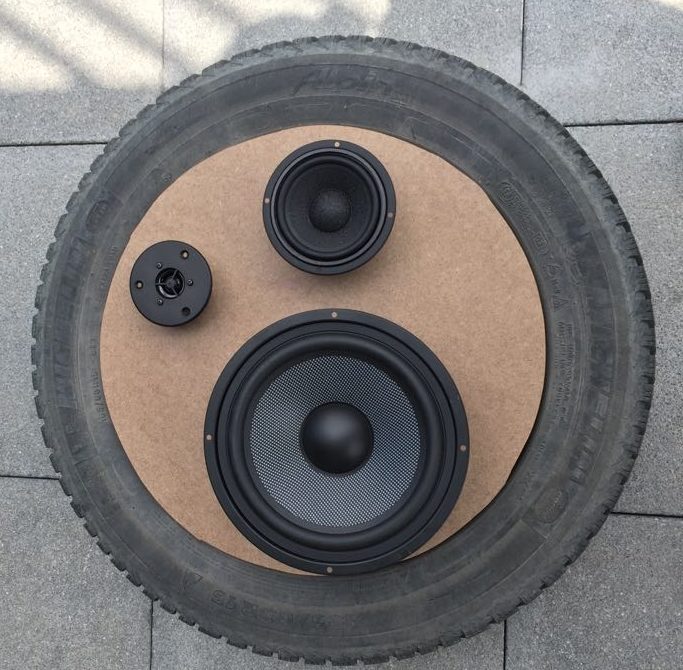
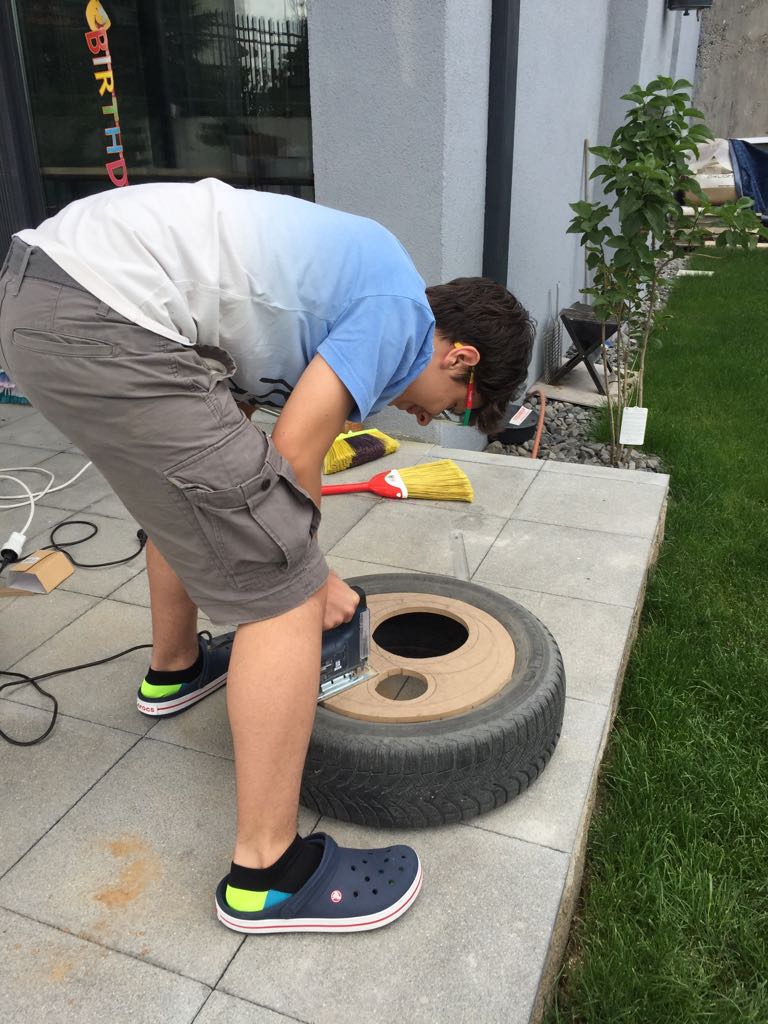
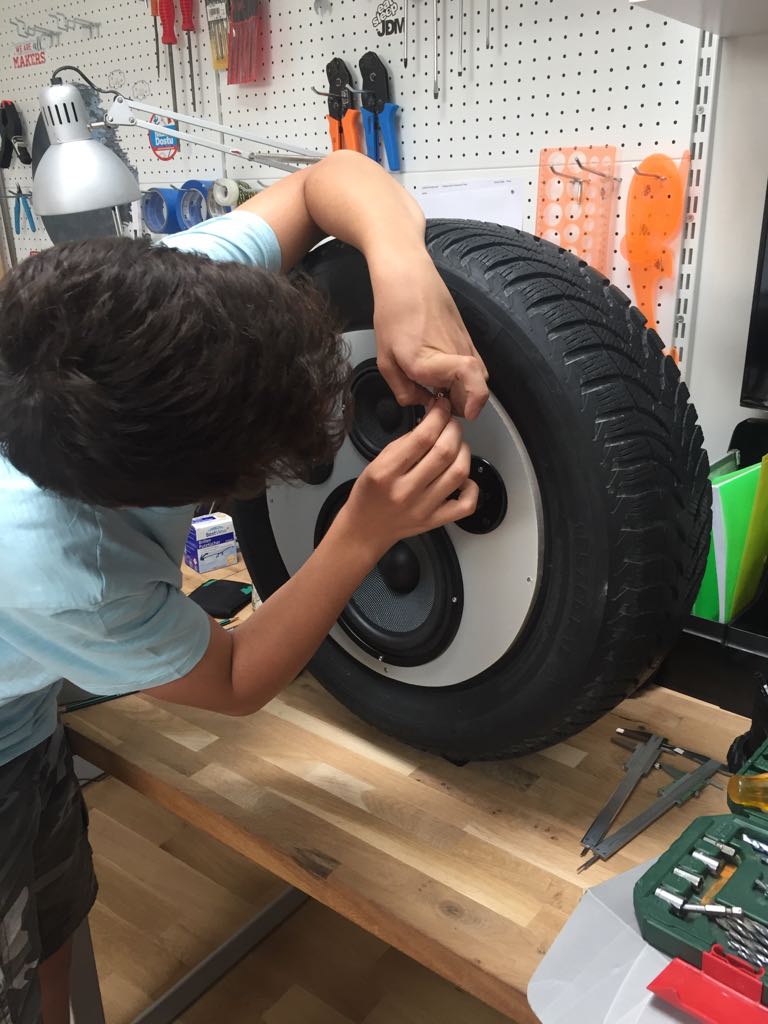
After getting the tires off the car, I bought 2 40×40 MDF sheets each 1.5 cm thick. Than, I had to decide how to mount the speakers. Initially I thought of mounting 3 in a random order and cut the MDF sheets accordingly. However, I didn’t like how the speakers looked where it wasn’t symmetric so I had to do something different. This time around I decided to mount the mid and bass on top of each other and in the remaining space mount the twitter and commutator to switch between the bluetooth, 6.3mm and 3.5mm jack. I first cut the MDF sheets to around 15 inches which was the diameter of the wheels on our car. Then I outlined the speakers and cut out the holes they would go into.
After cutting the MDF sheet, because I didn’t want to keep it the boring wood-like color, I put a few layers of filler primer in preparation of paint. After priming, I quickly gave it a wet sand with 600 grit and than put a few layers of metallic silver paint. Thanks to the primer the paint’s finish turned out amazing.

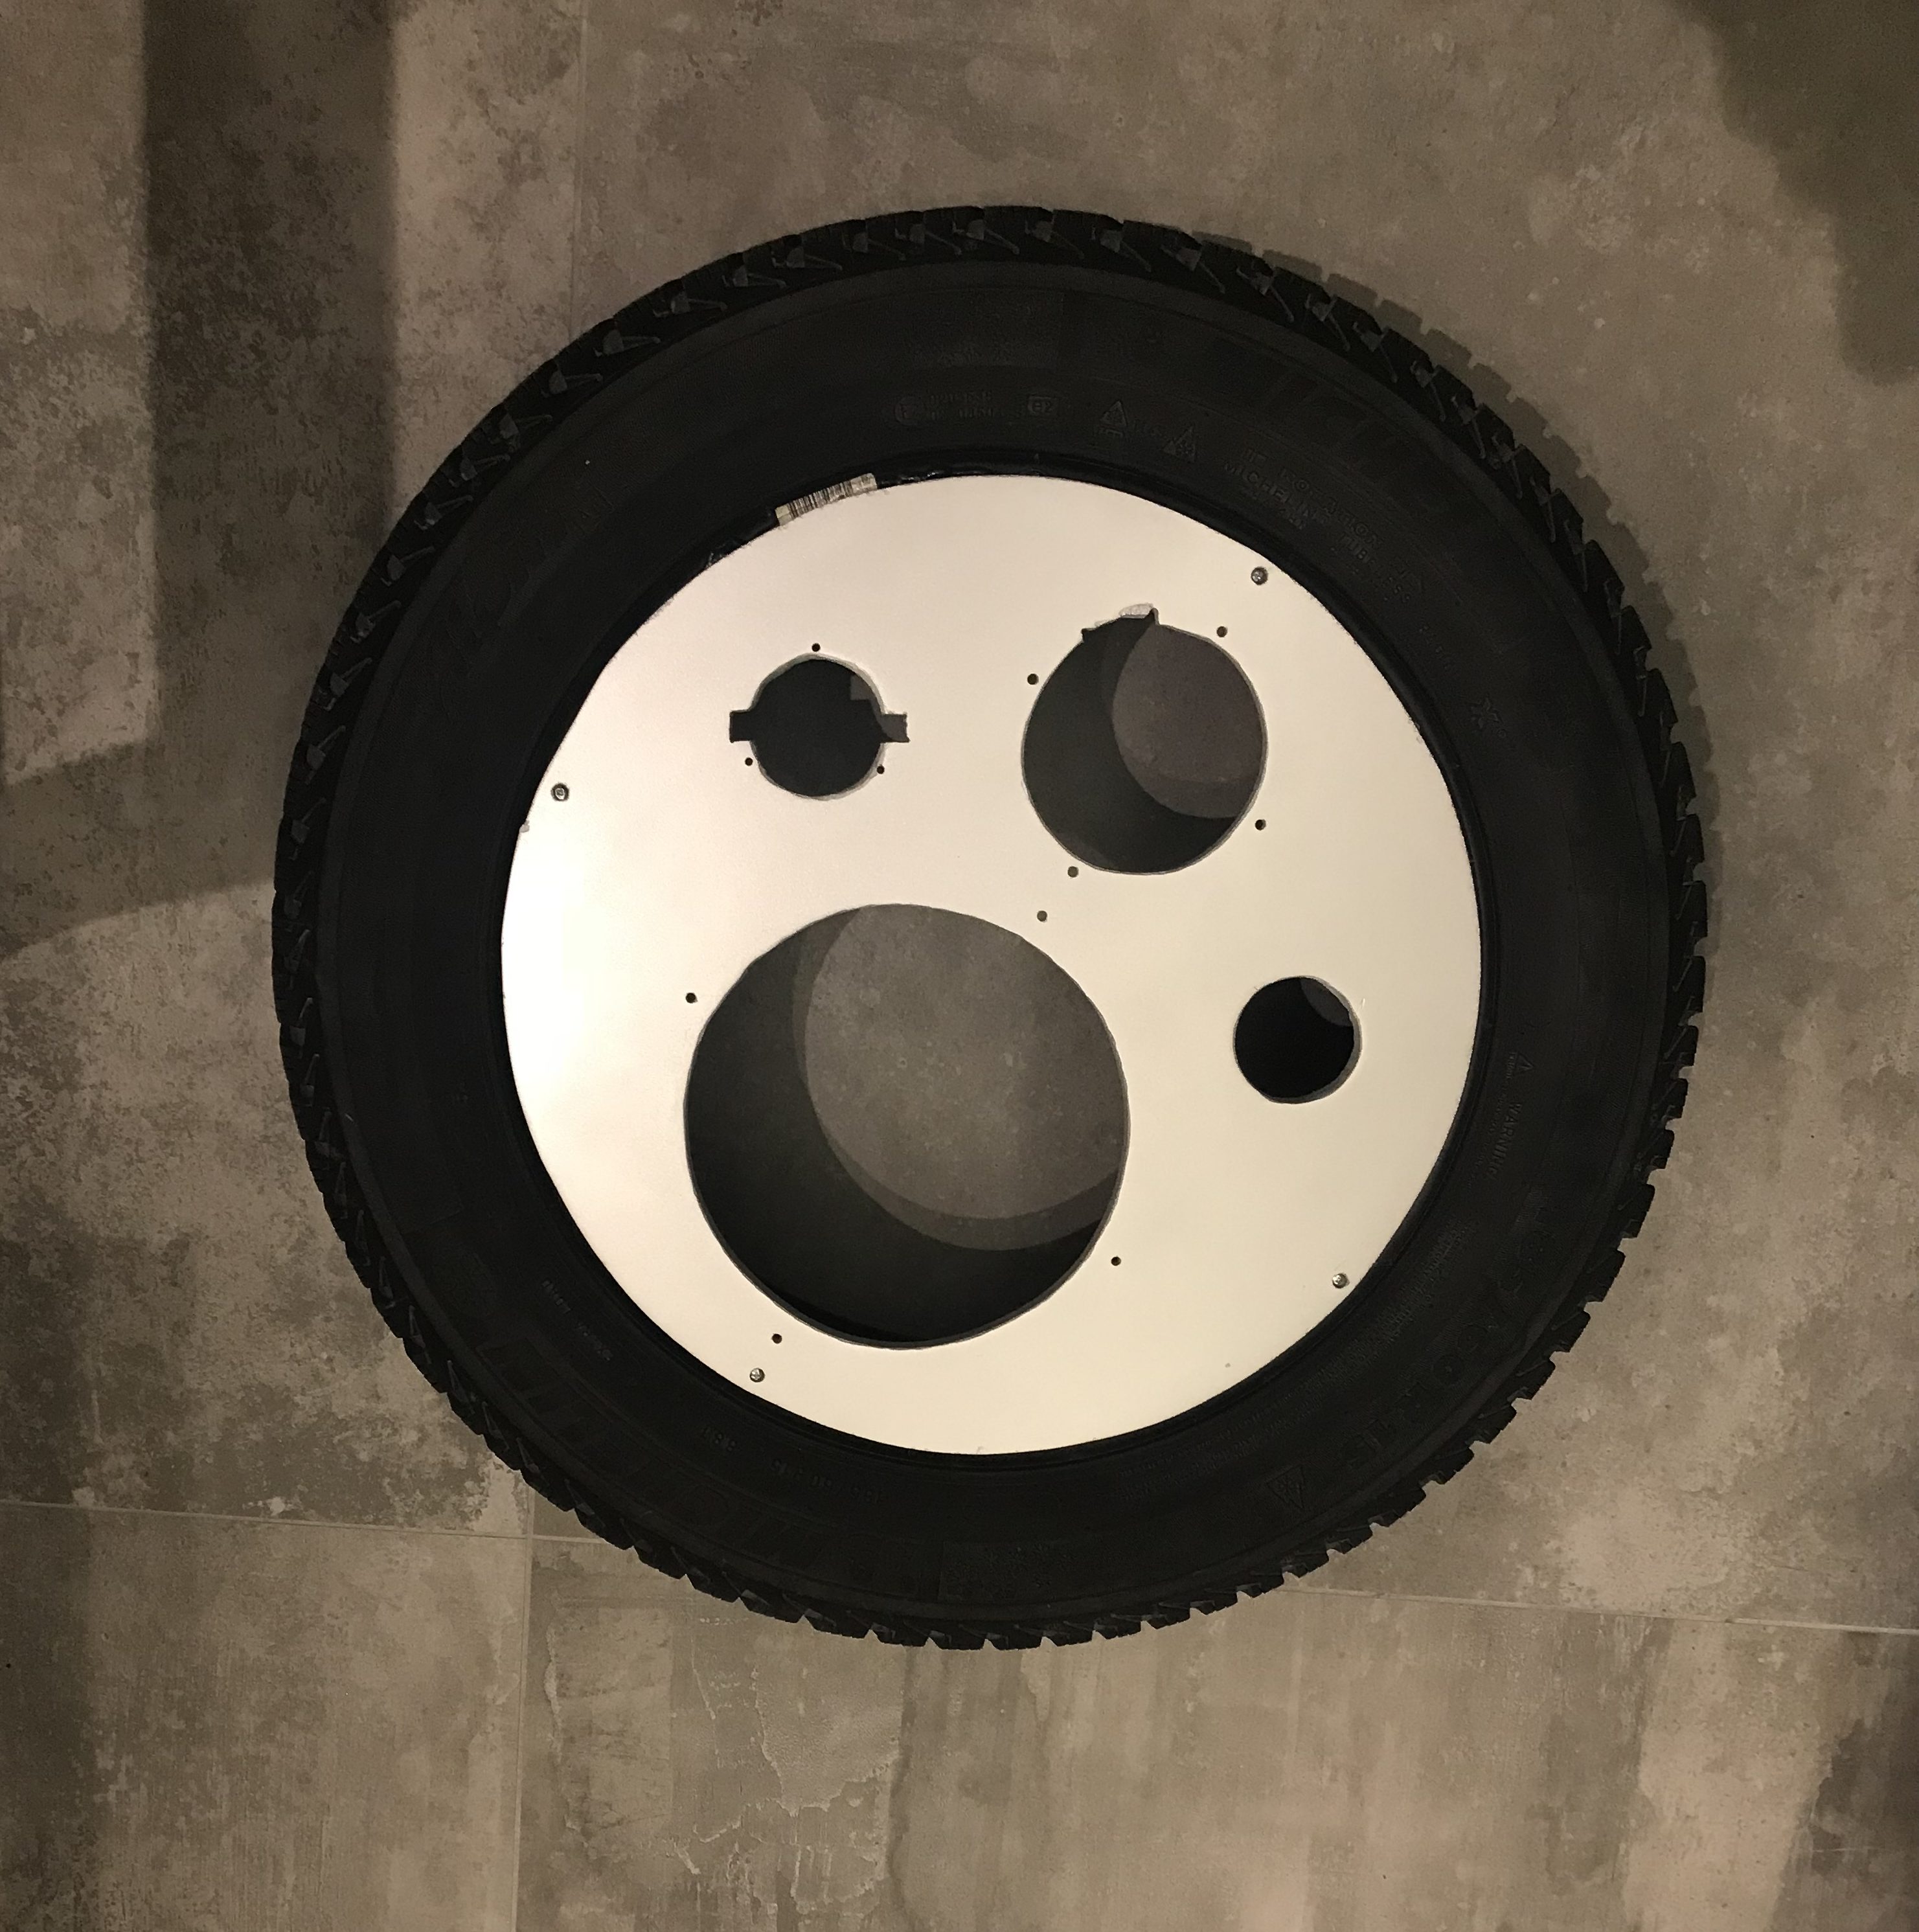
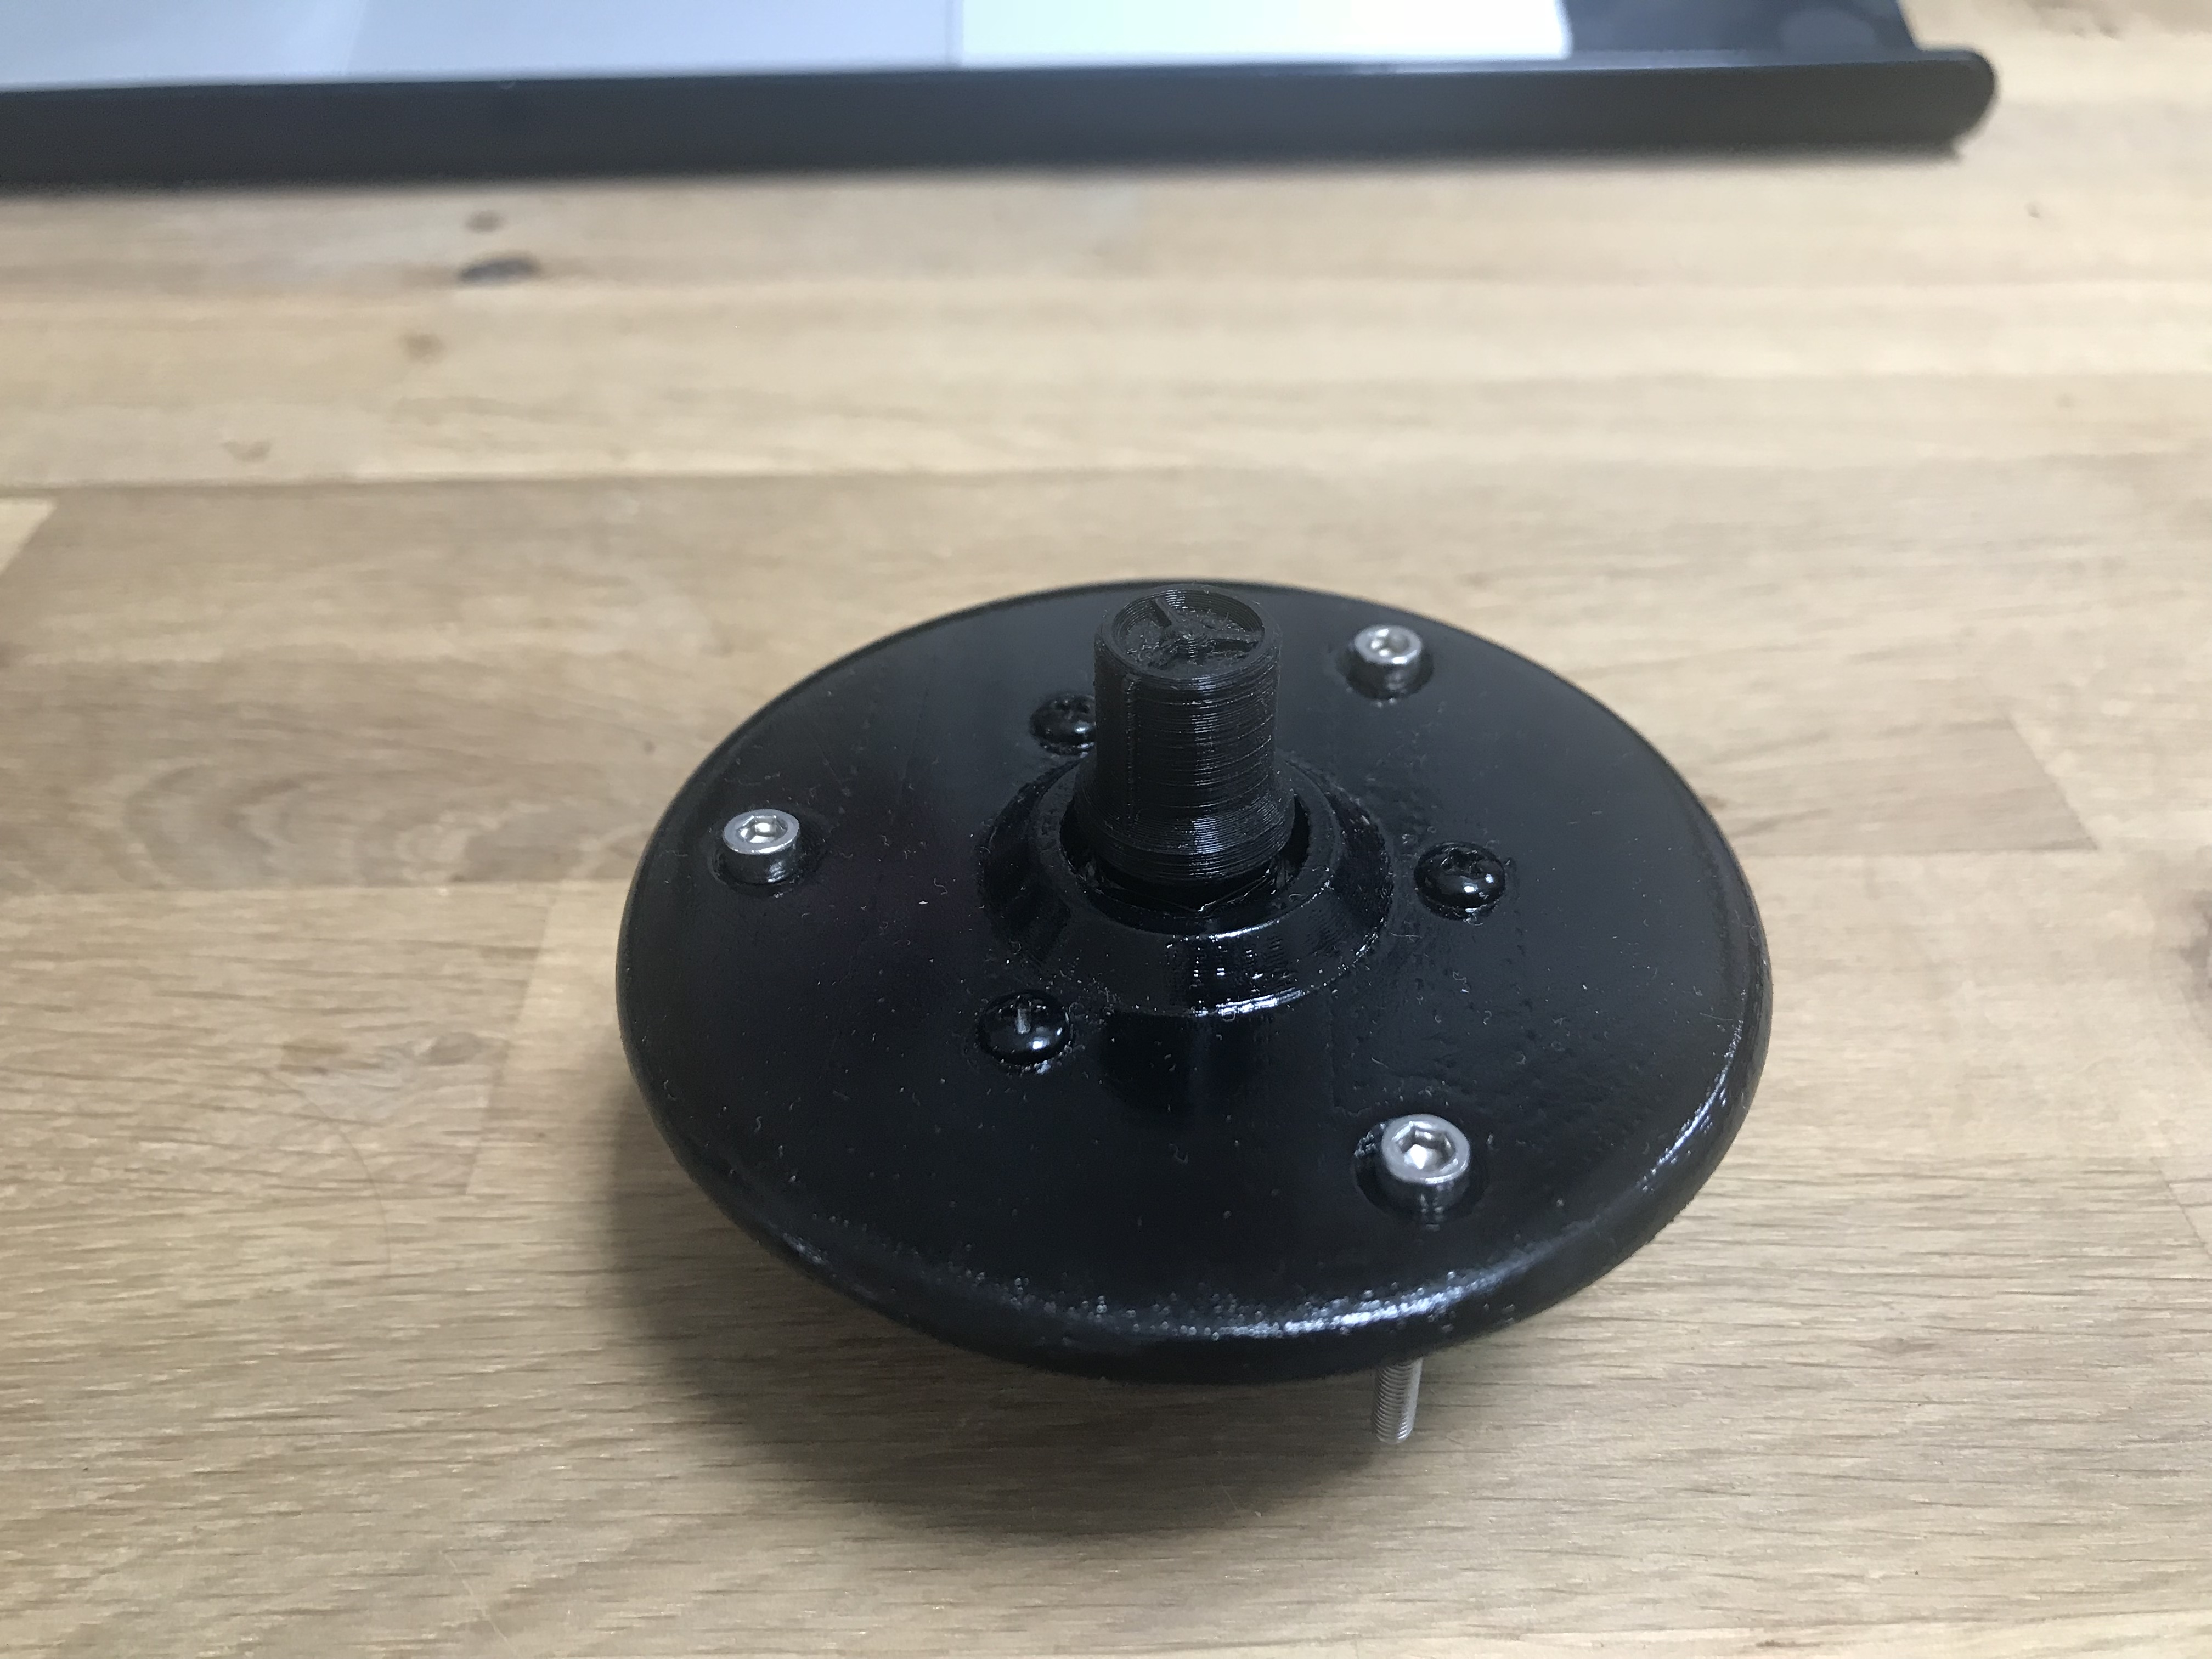
However, because the commutator was actually smaller than tweeter, I had to design a piece that would both make it symmetrical with the tweeter and help mount it to the cover. I measured the tweeter’s dimensions and made a piece that would mount the commutator. I 3D printed the piece and like the cover, gave it a few coats of primer and paint. Unfortunately I couldn’t find matt black spray paint so it still doesn’t match the tweeter perfectly (which I plan to rectify as soon as possible).
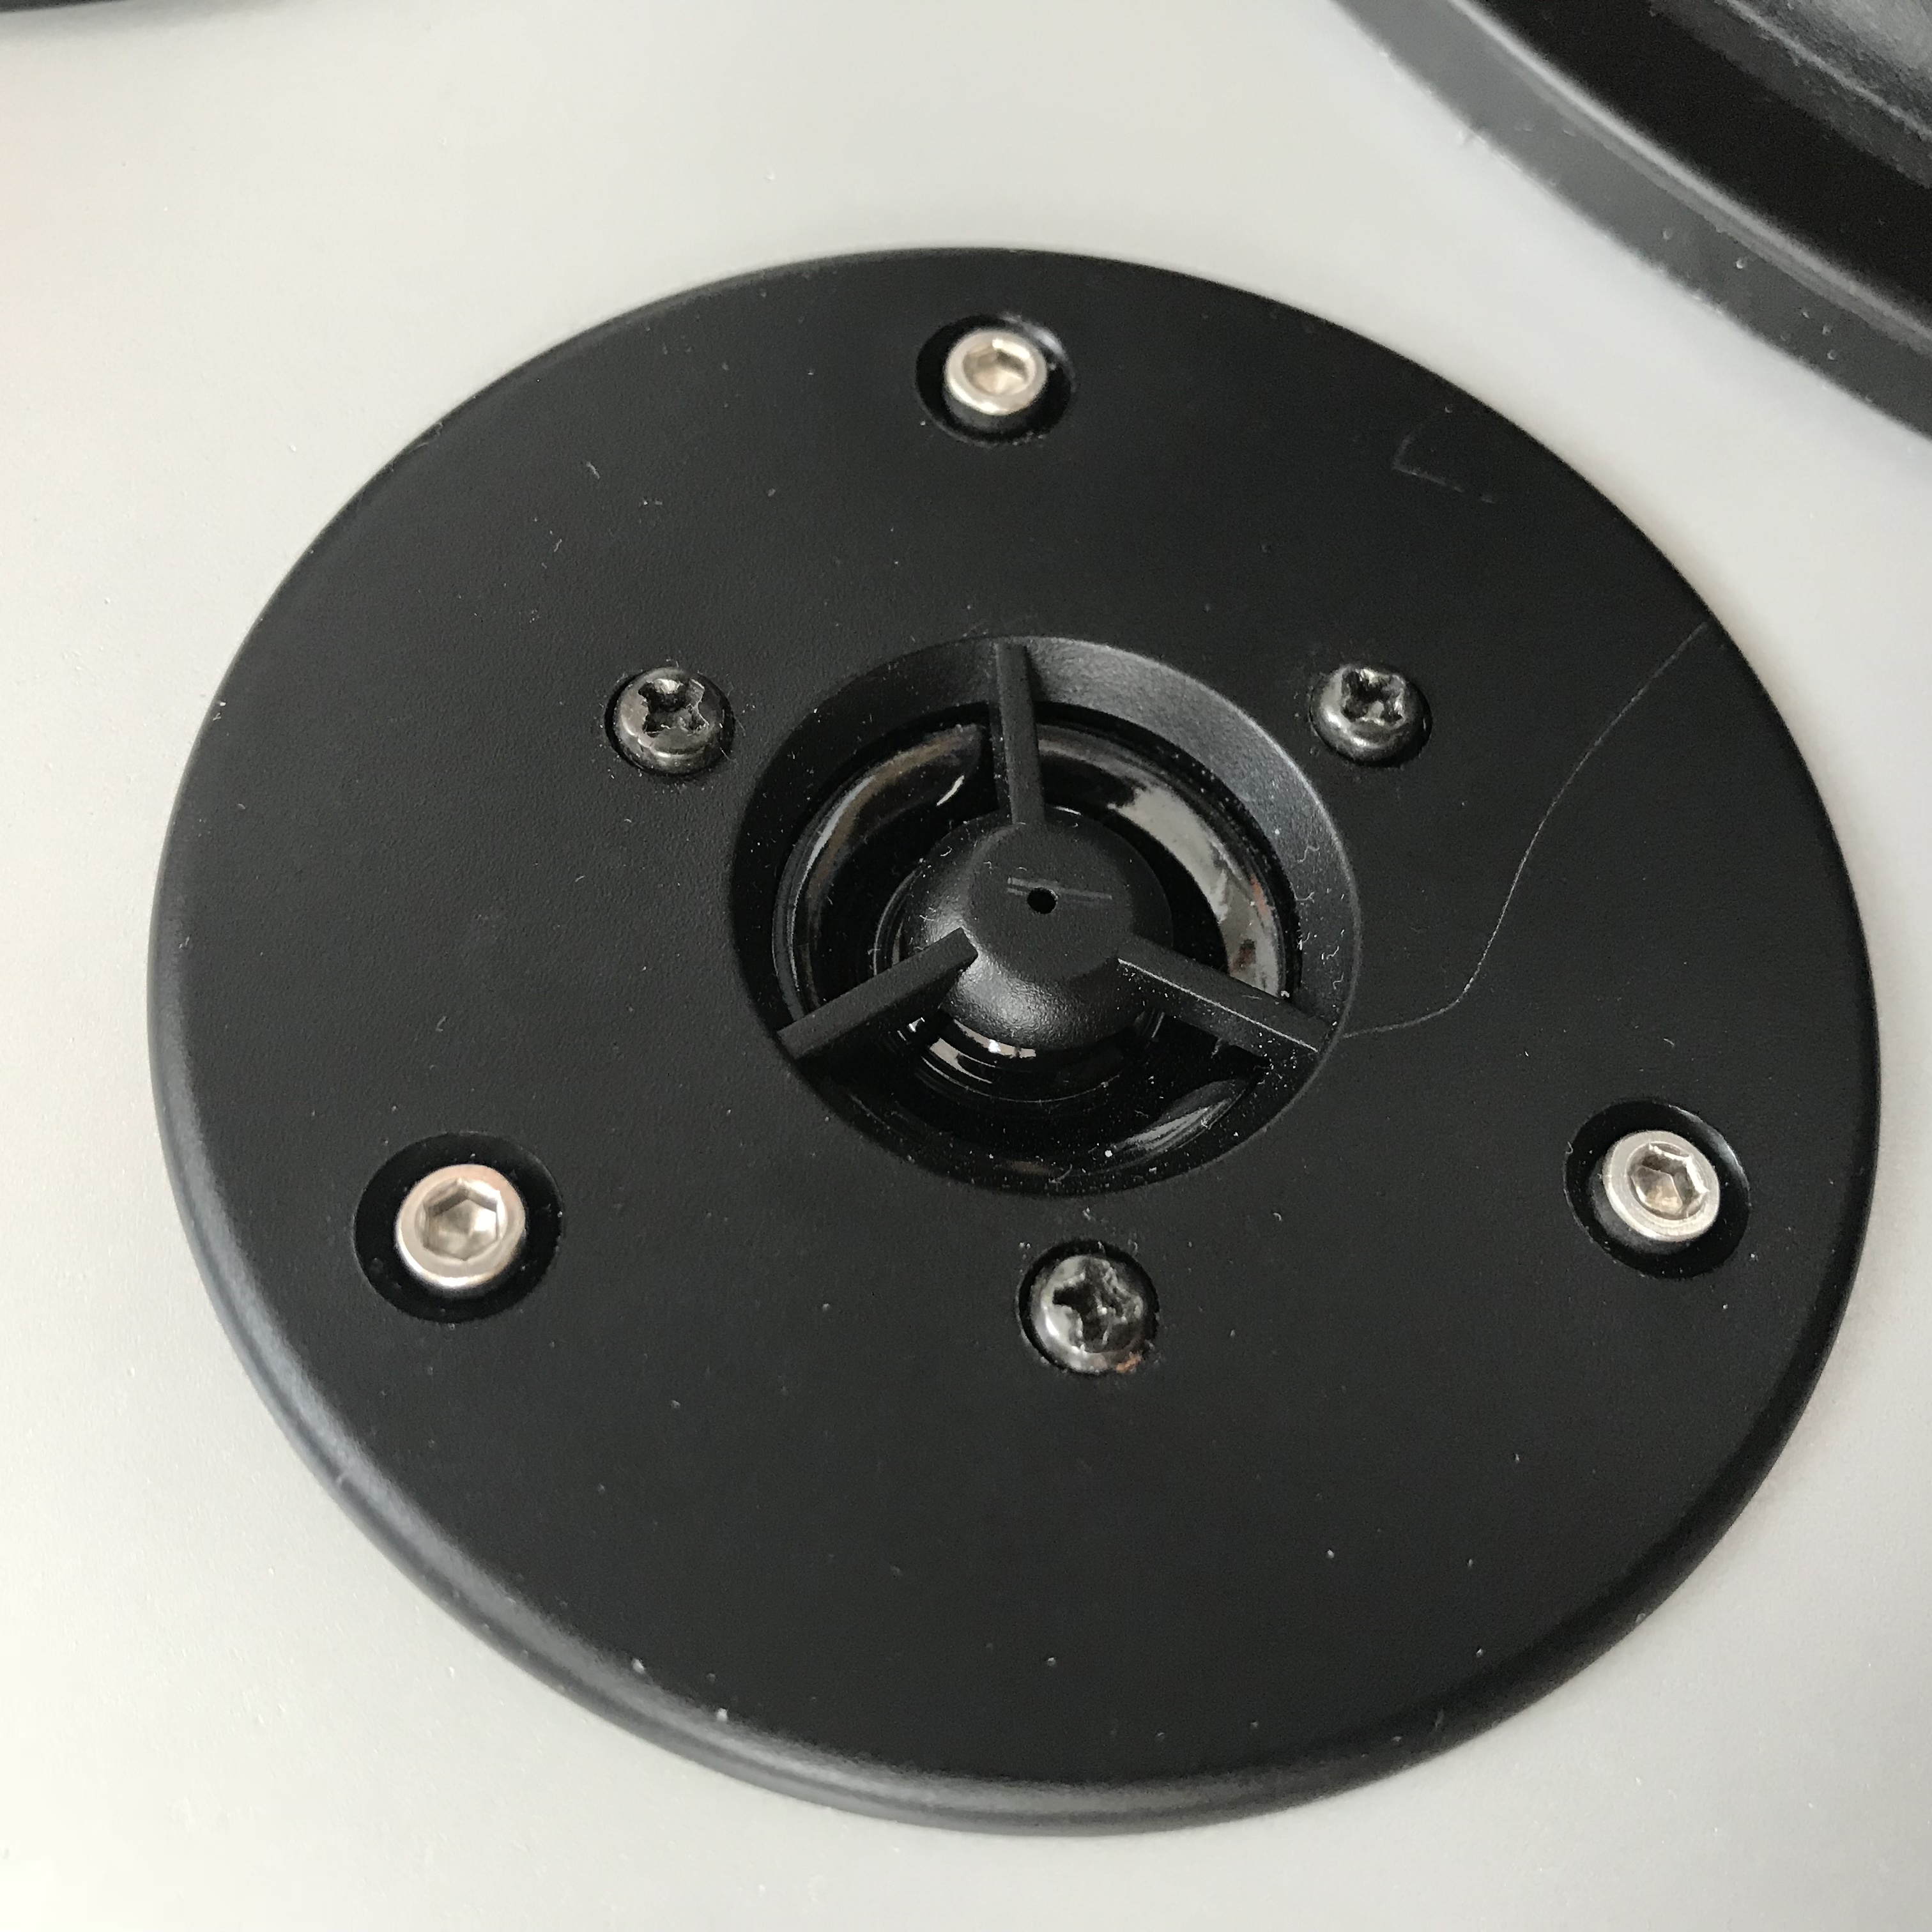
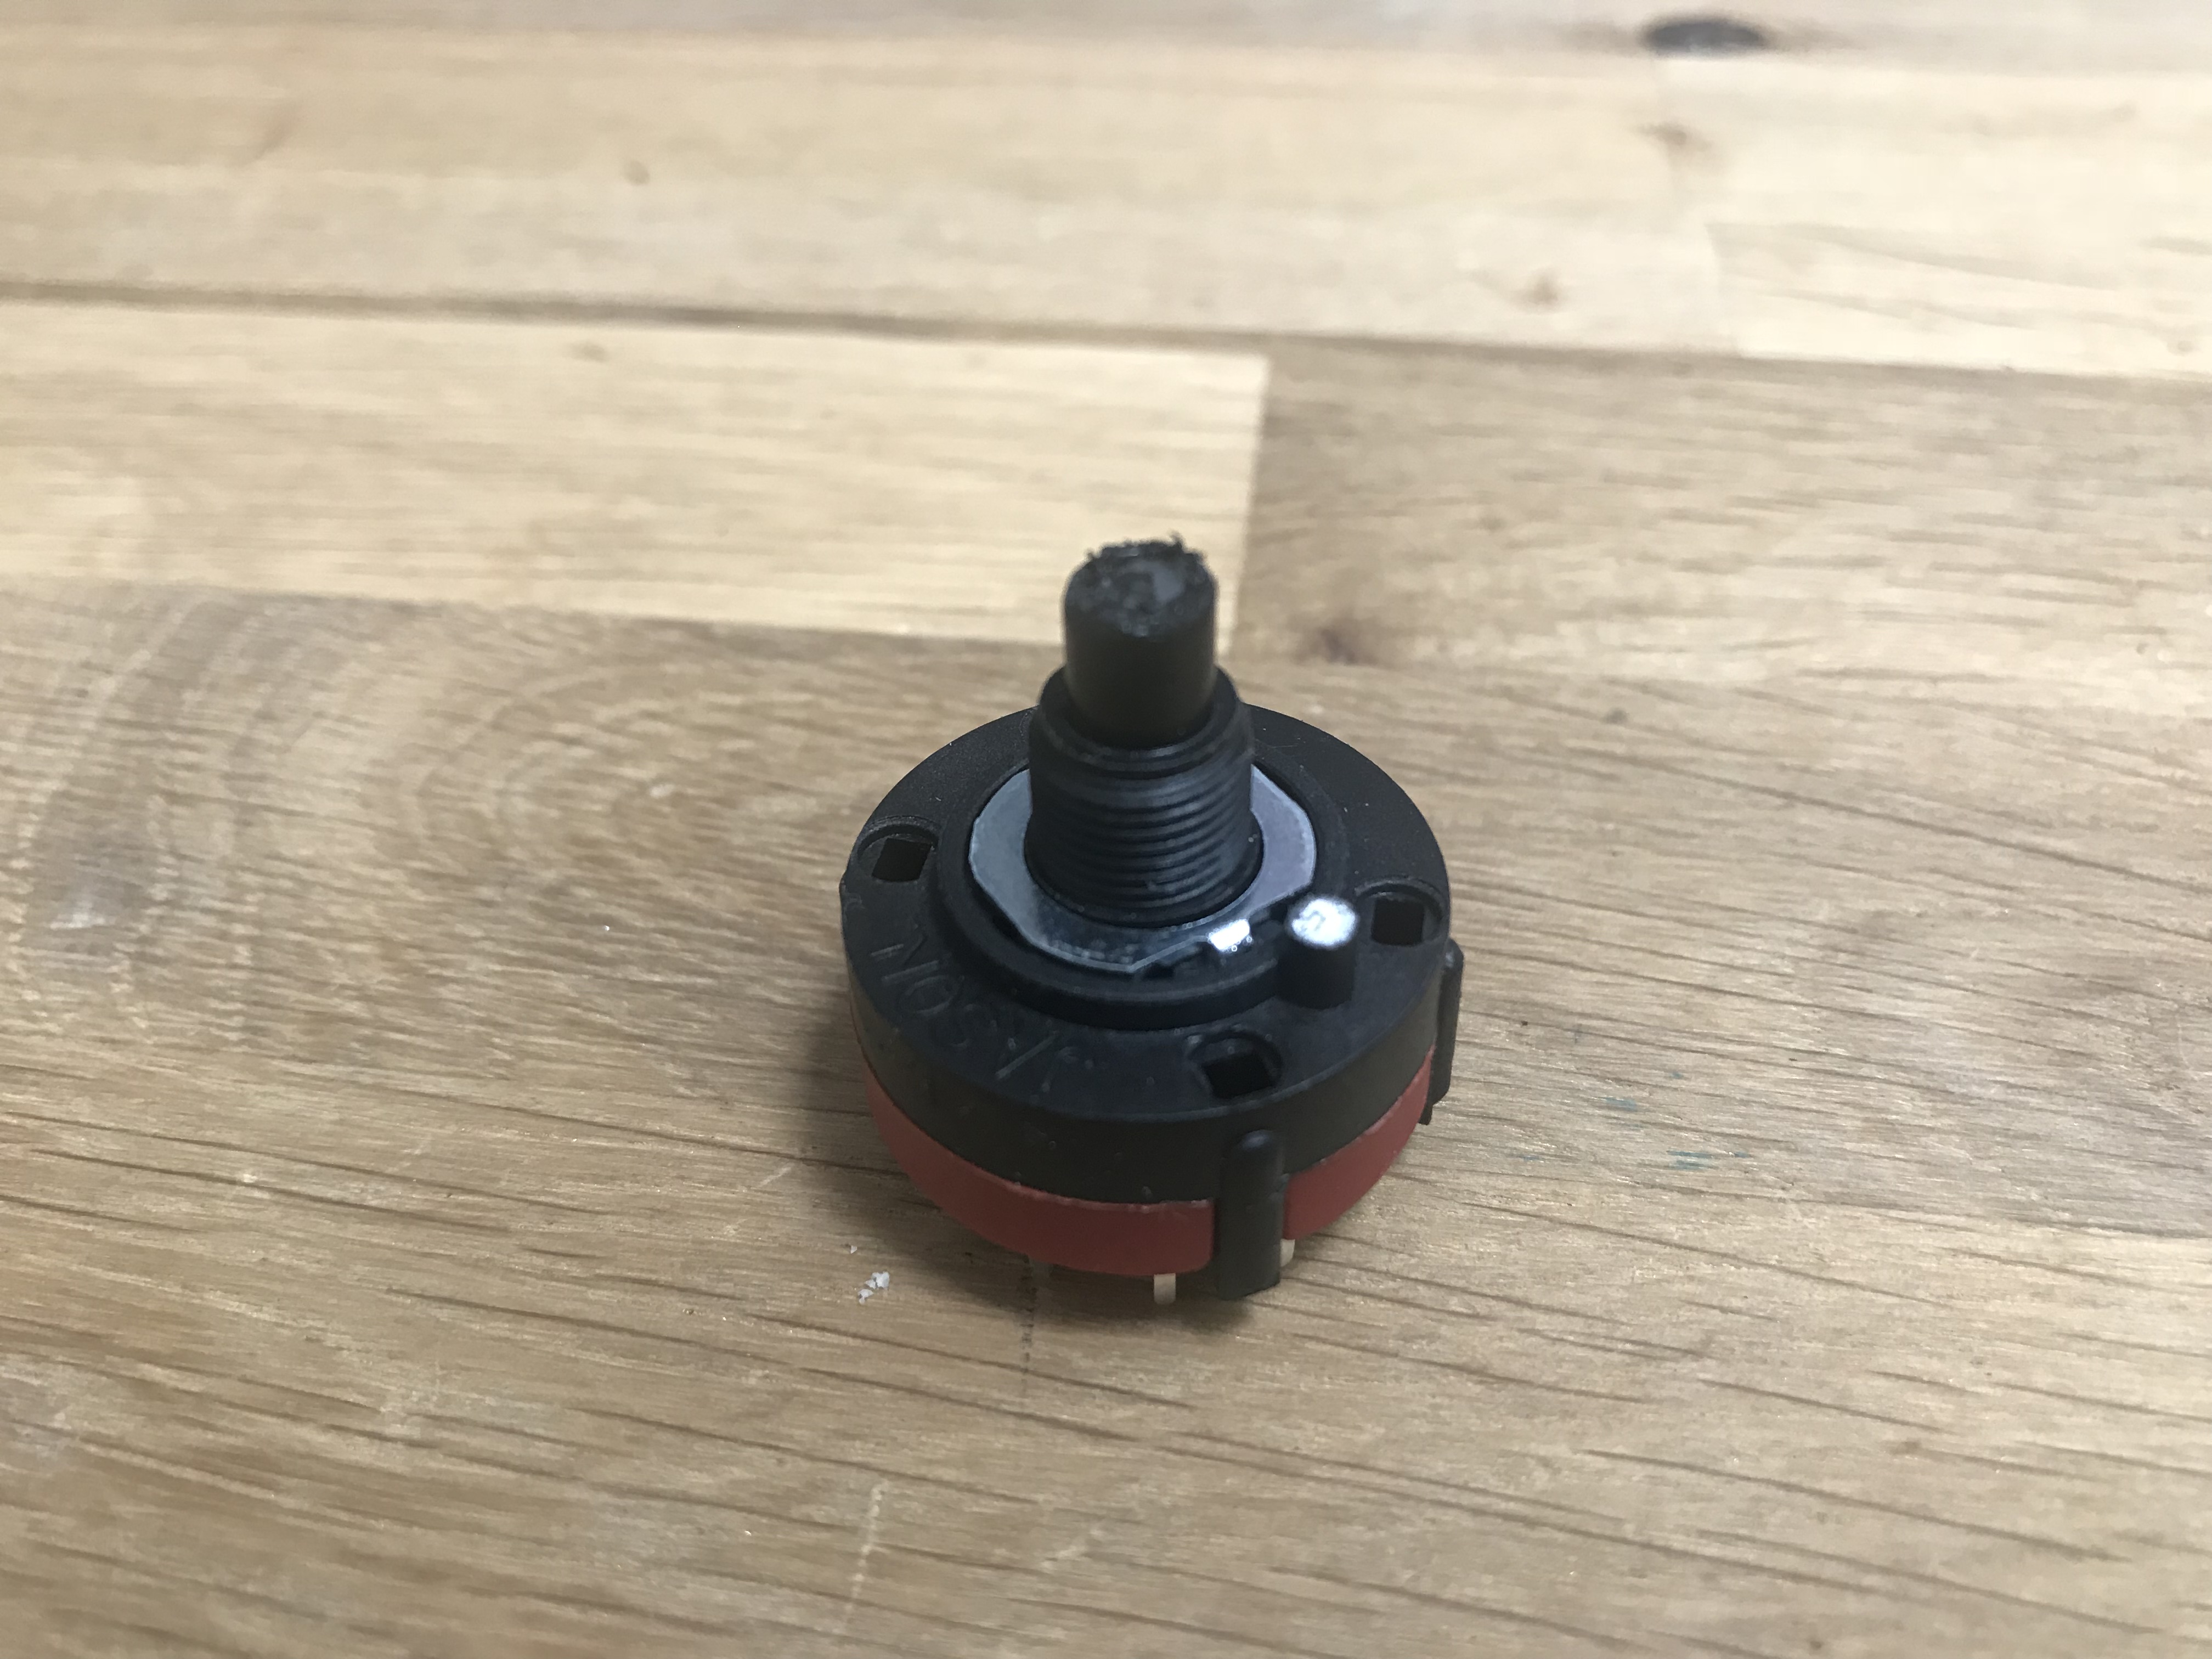
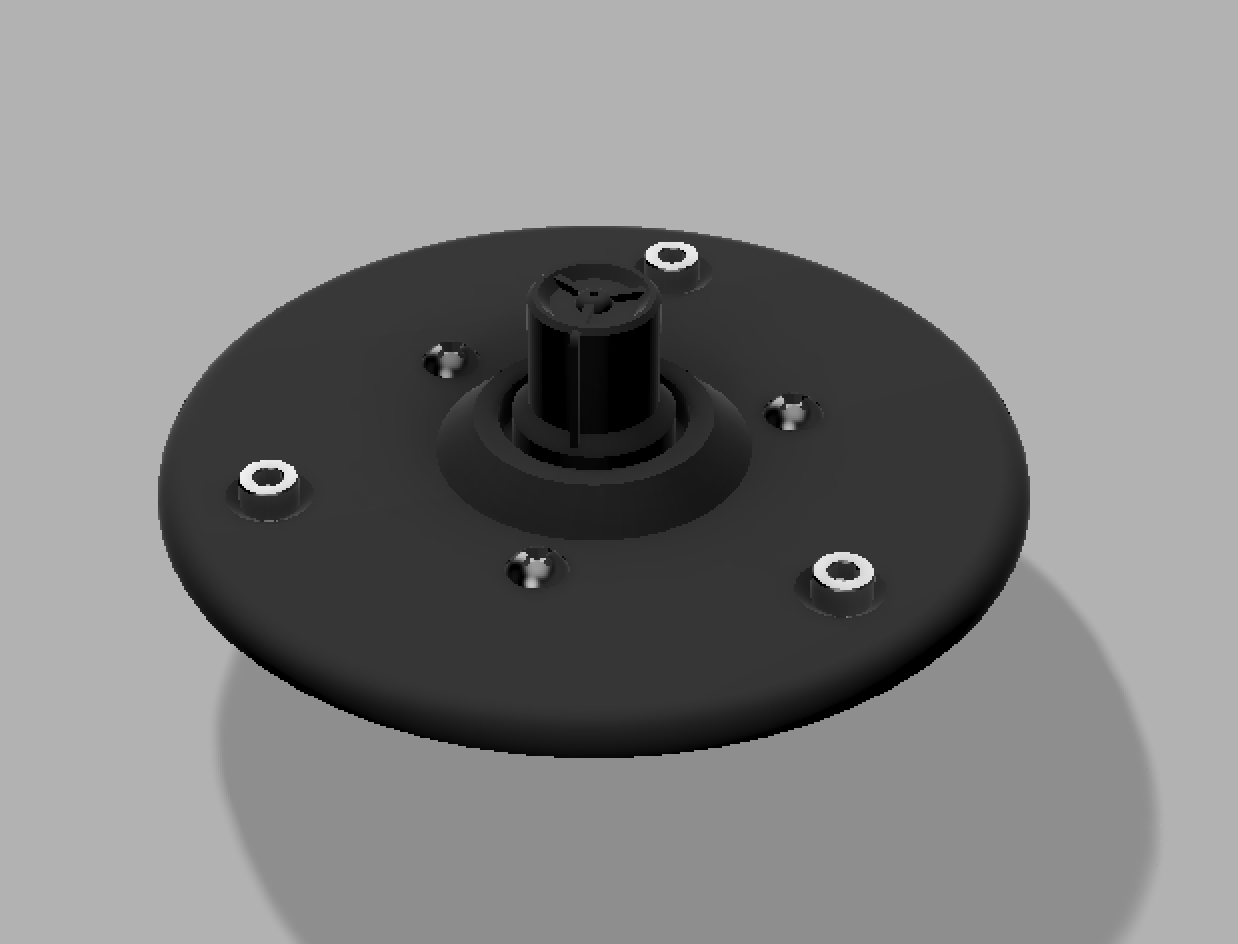
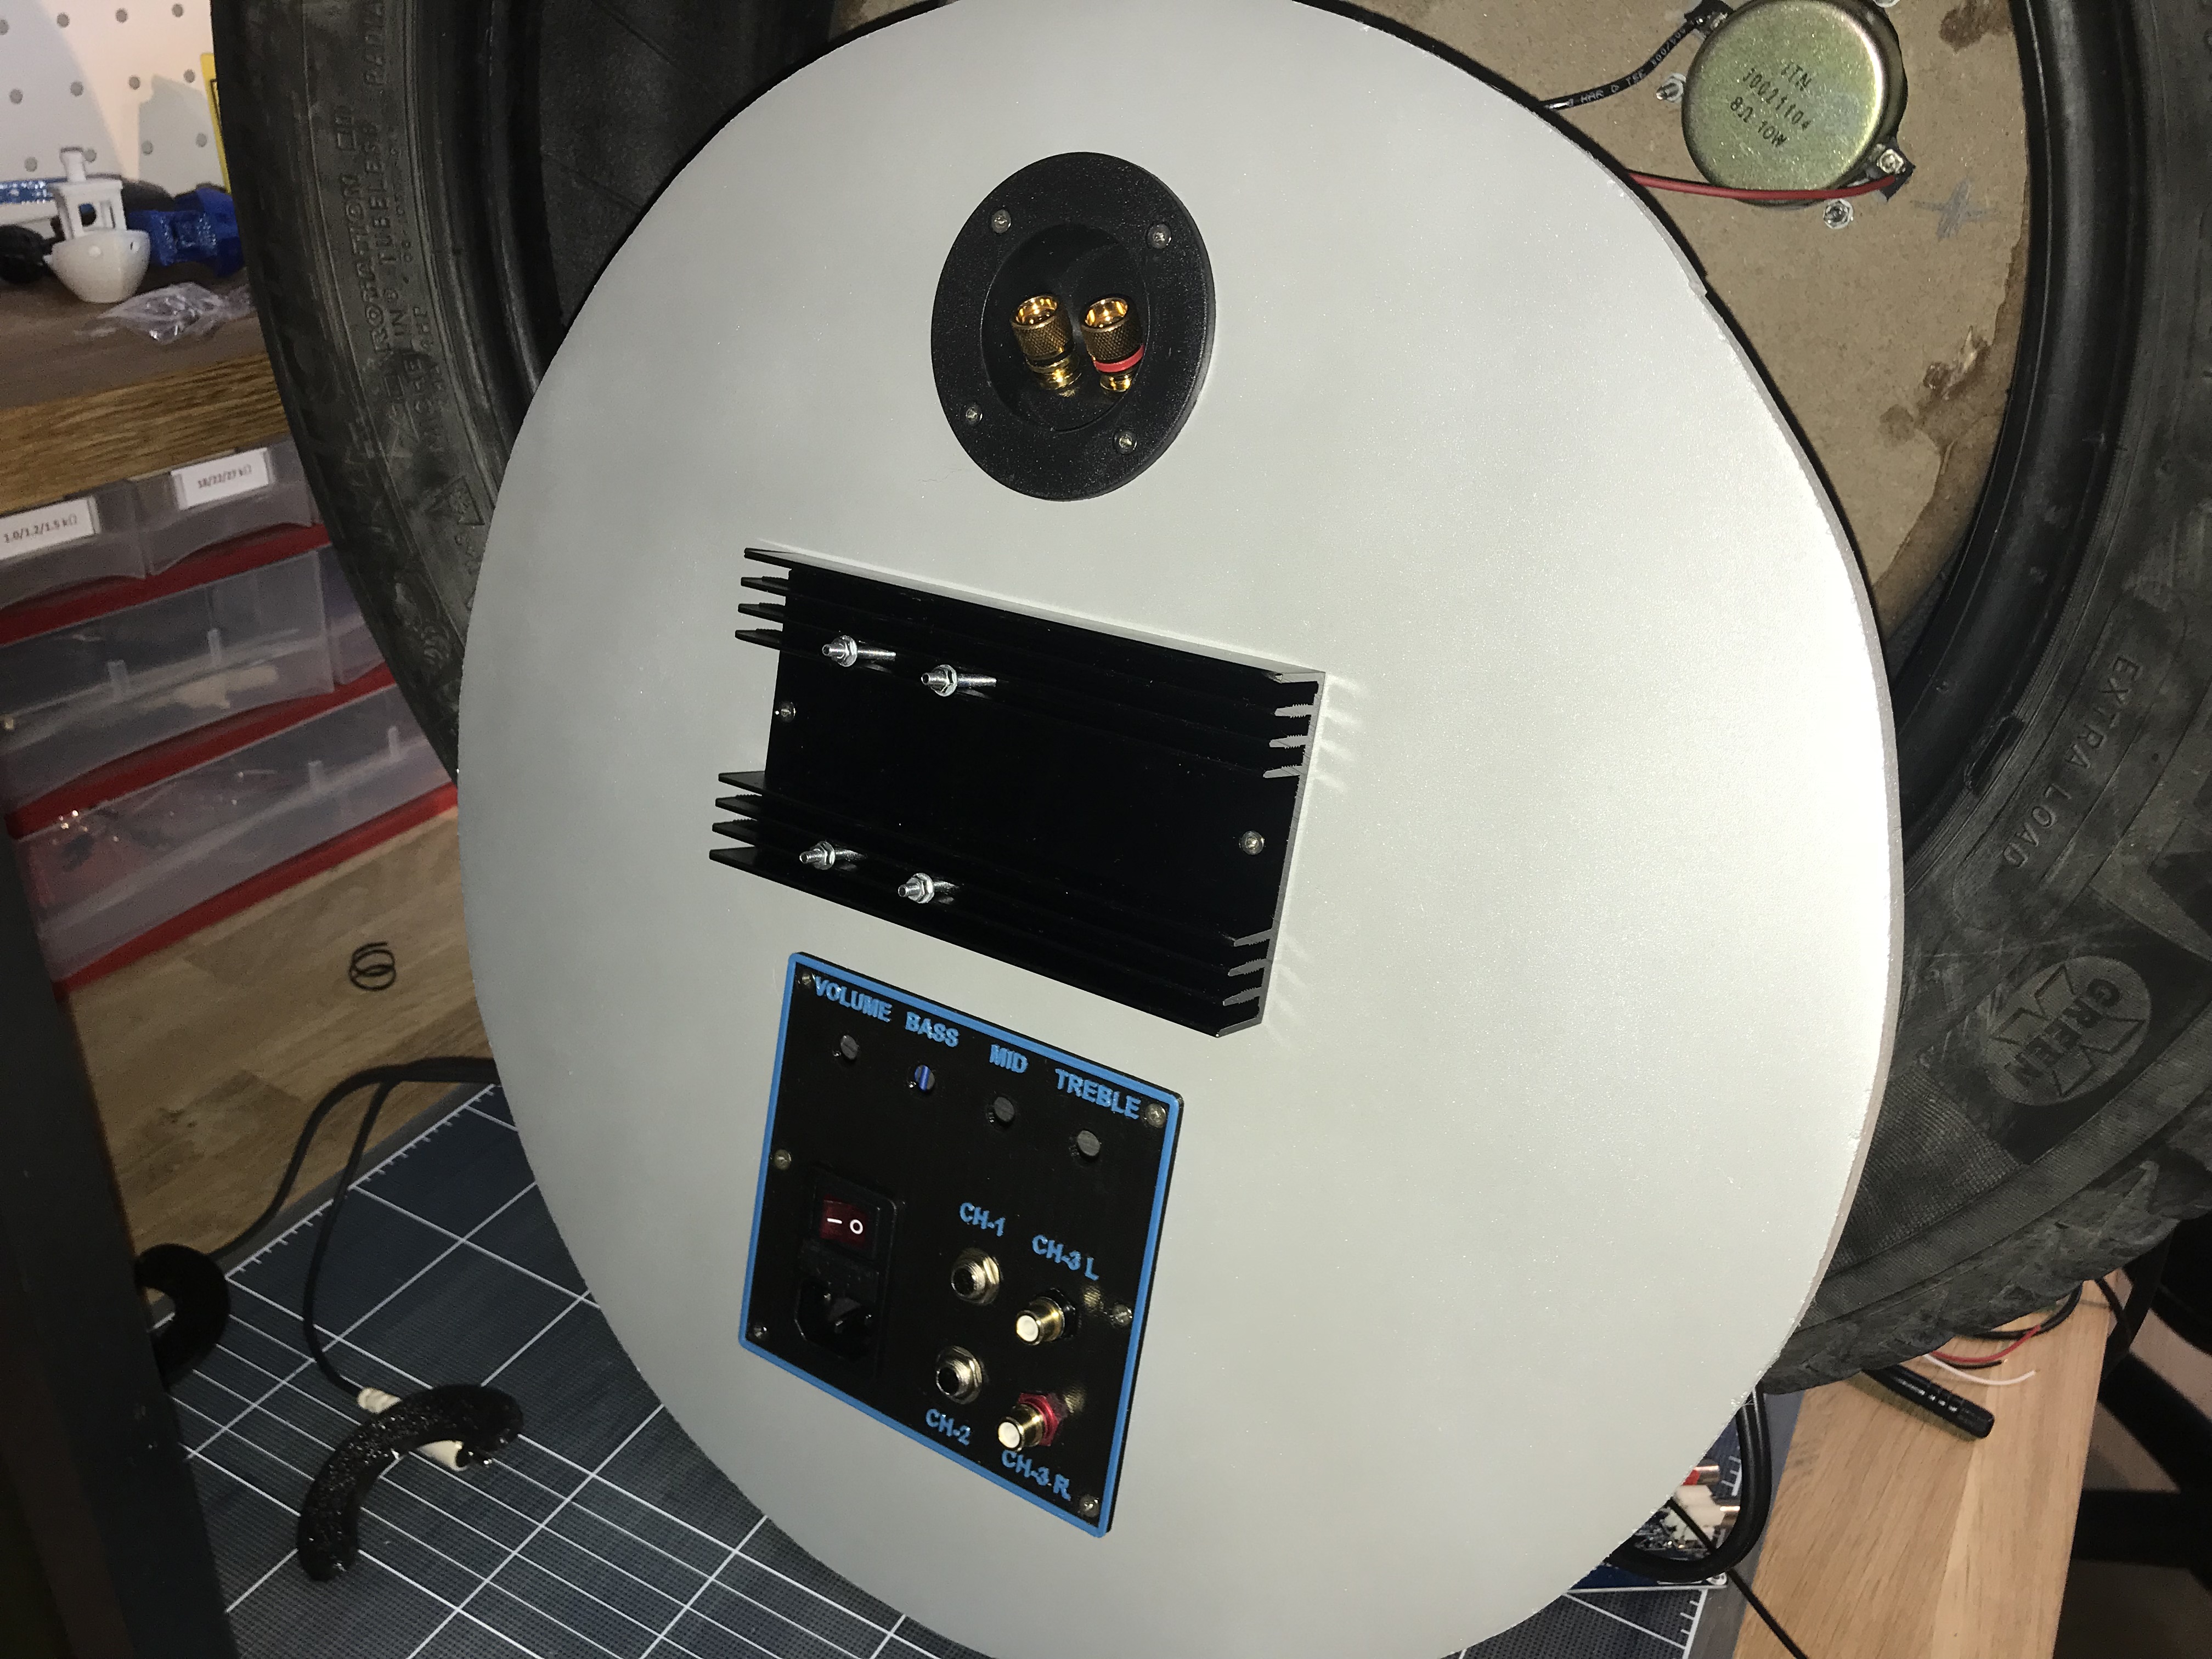
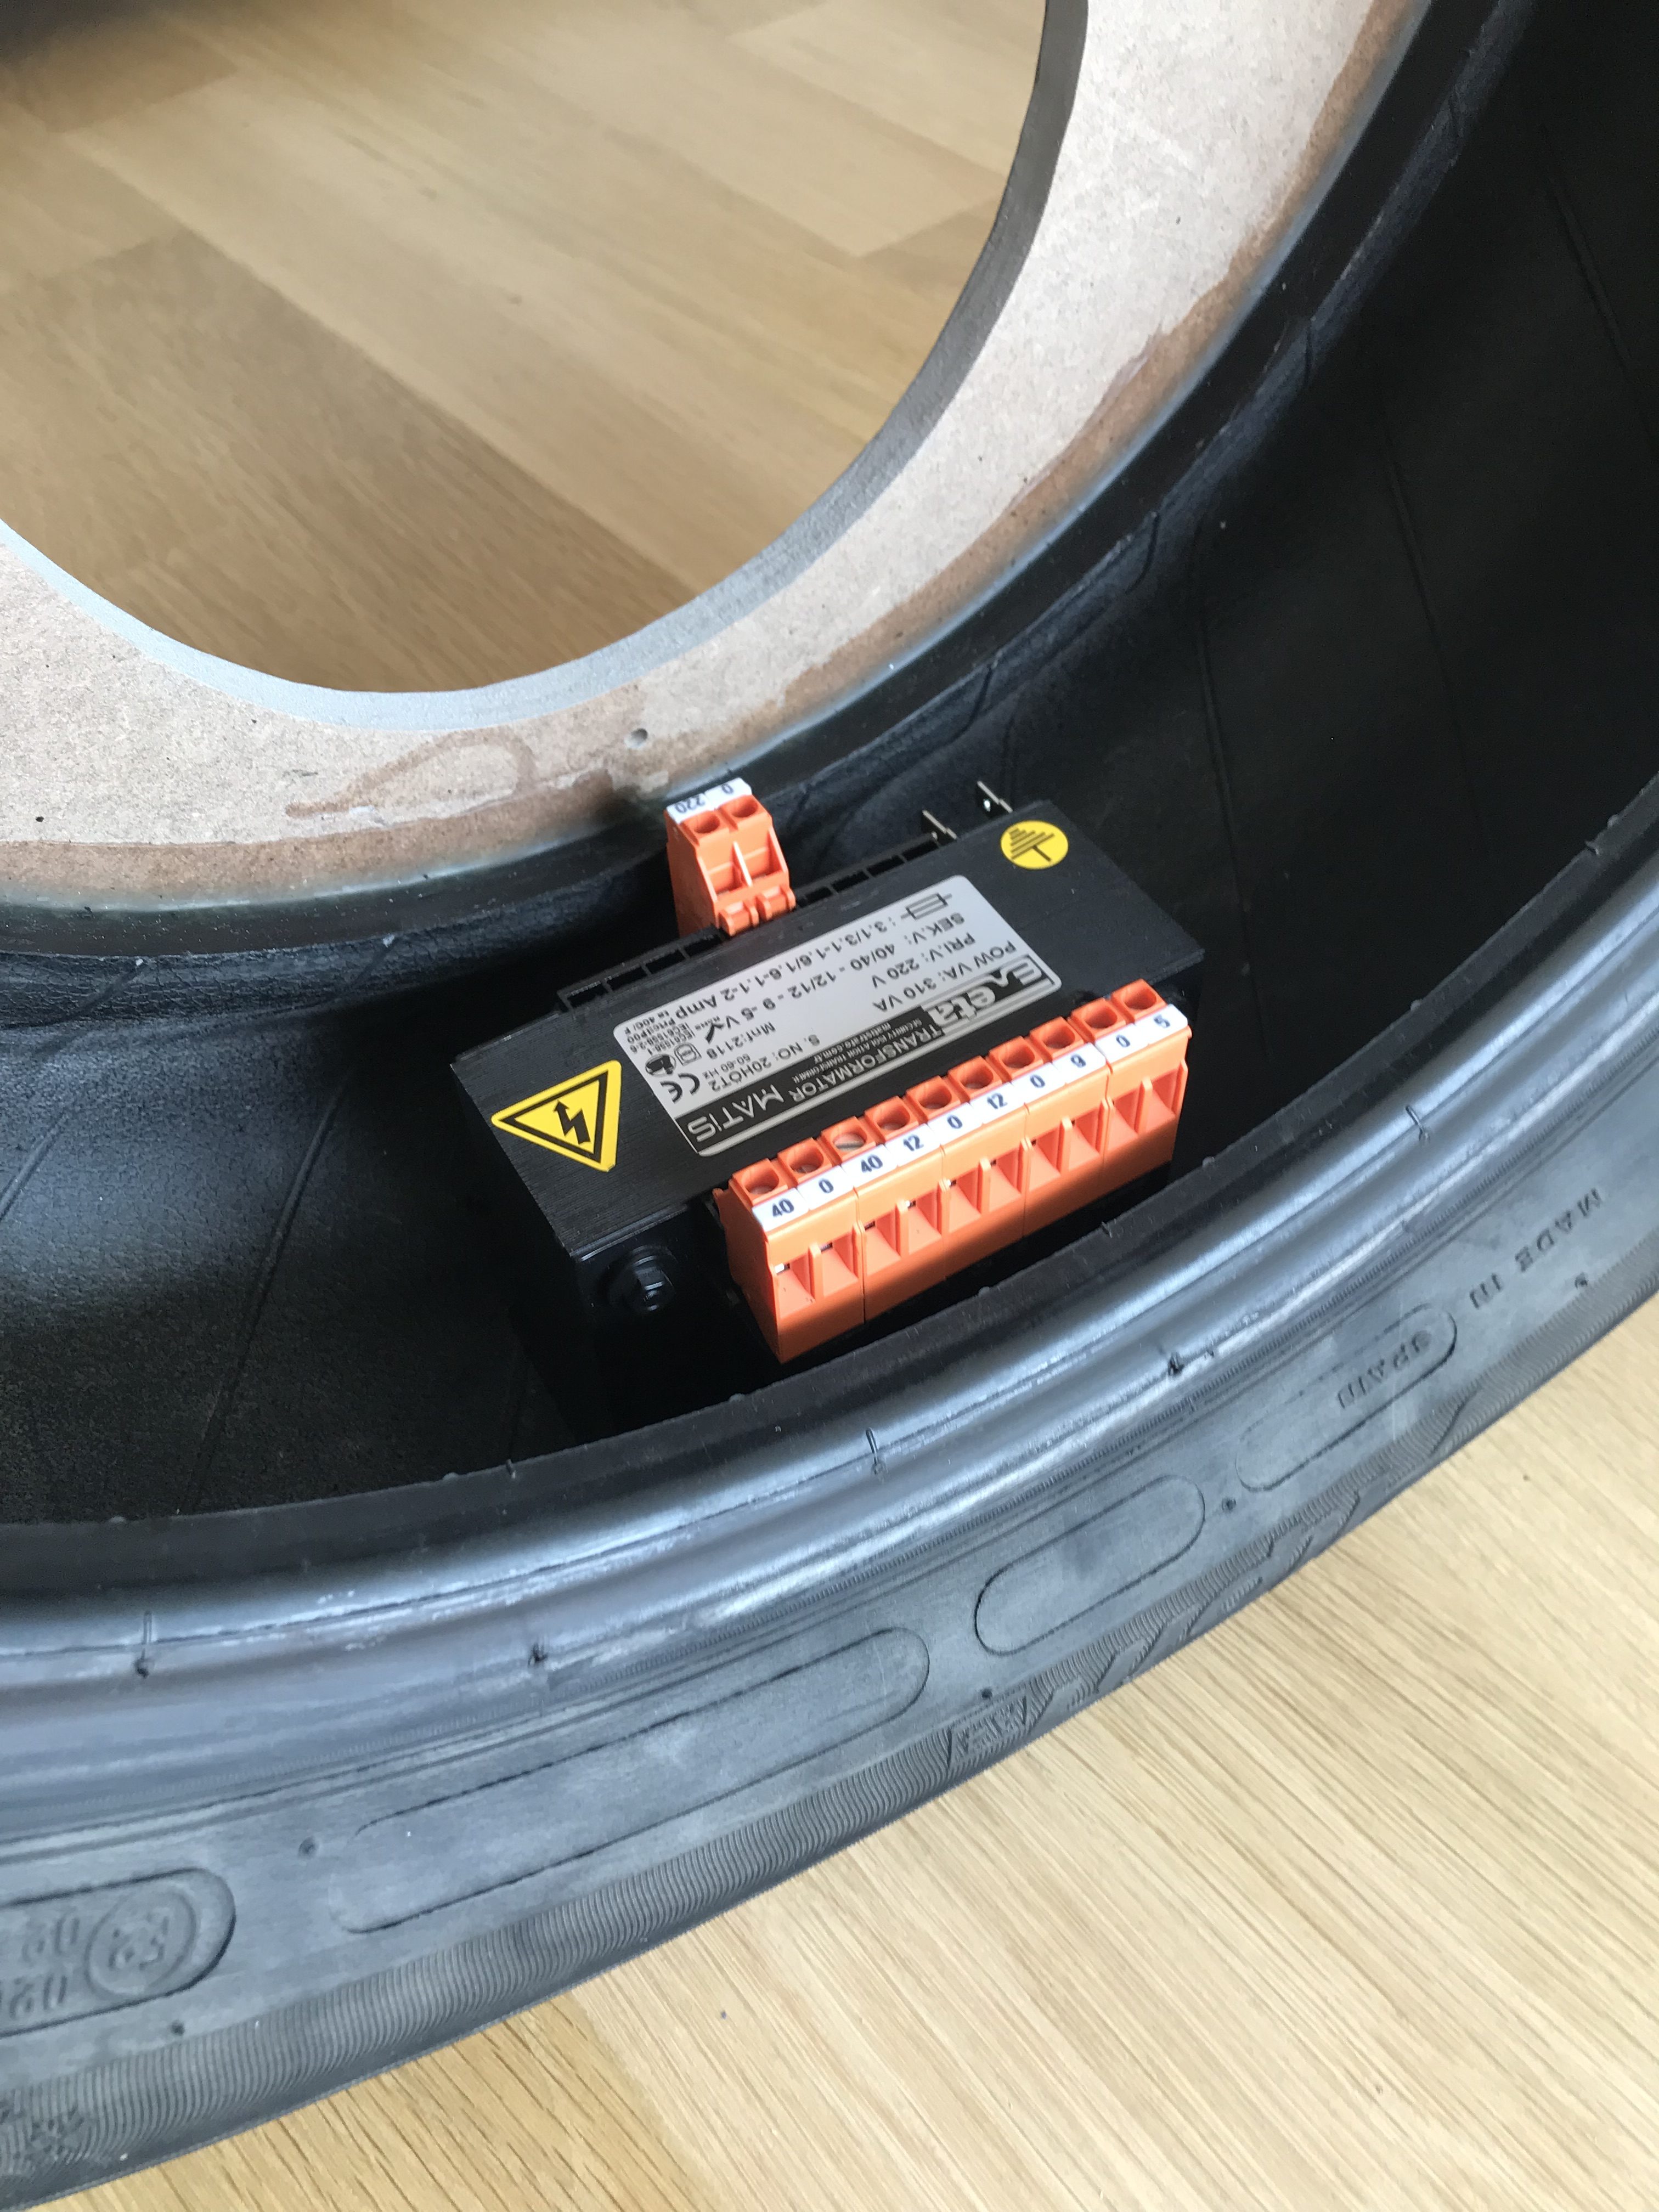
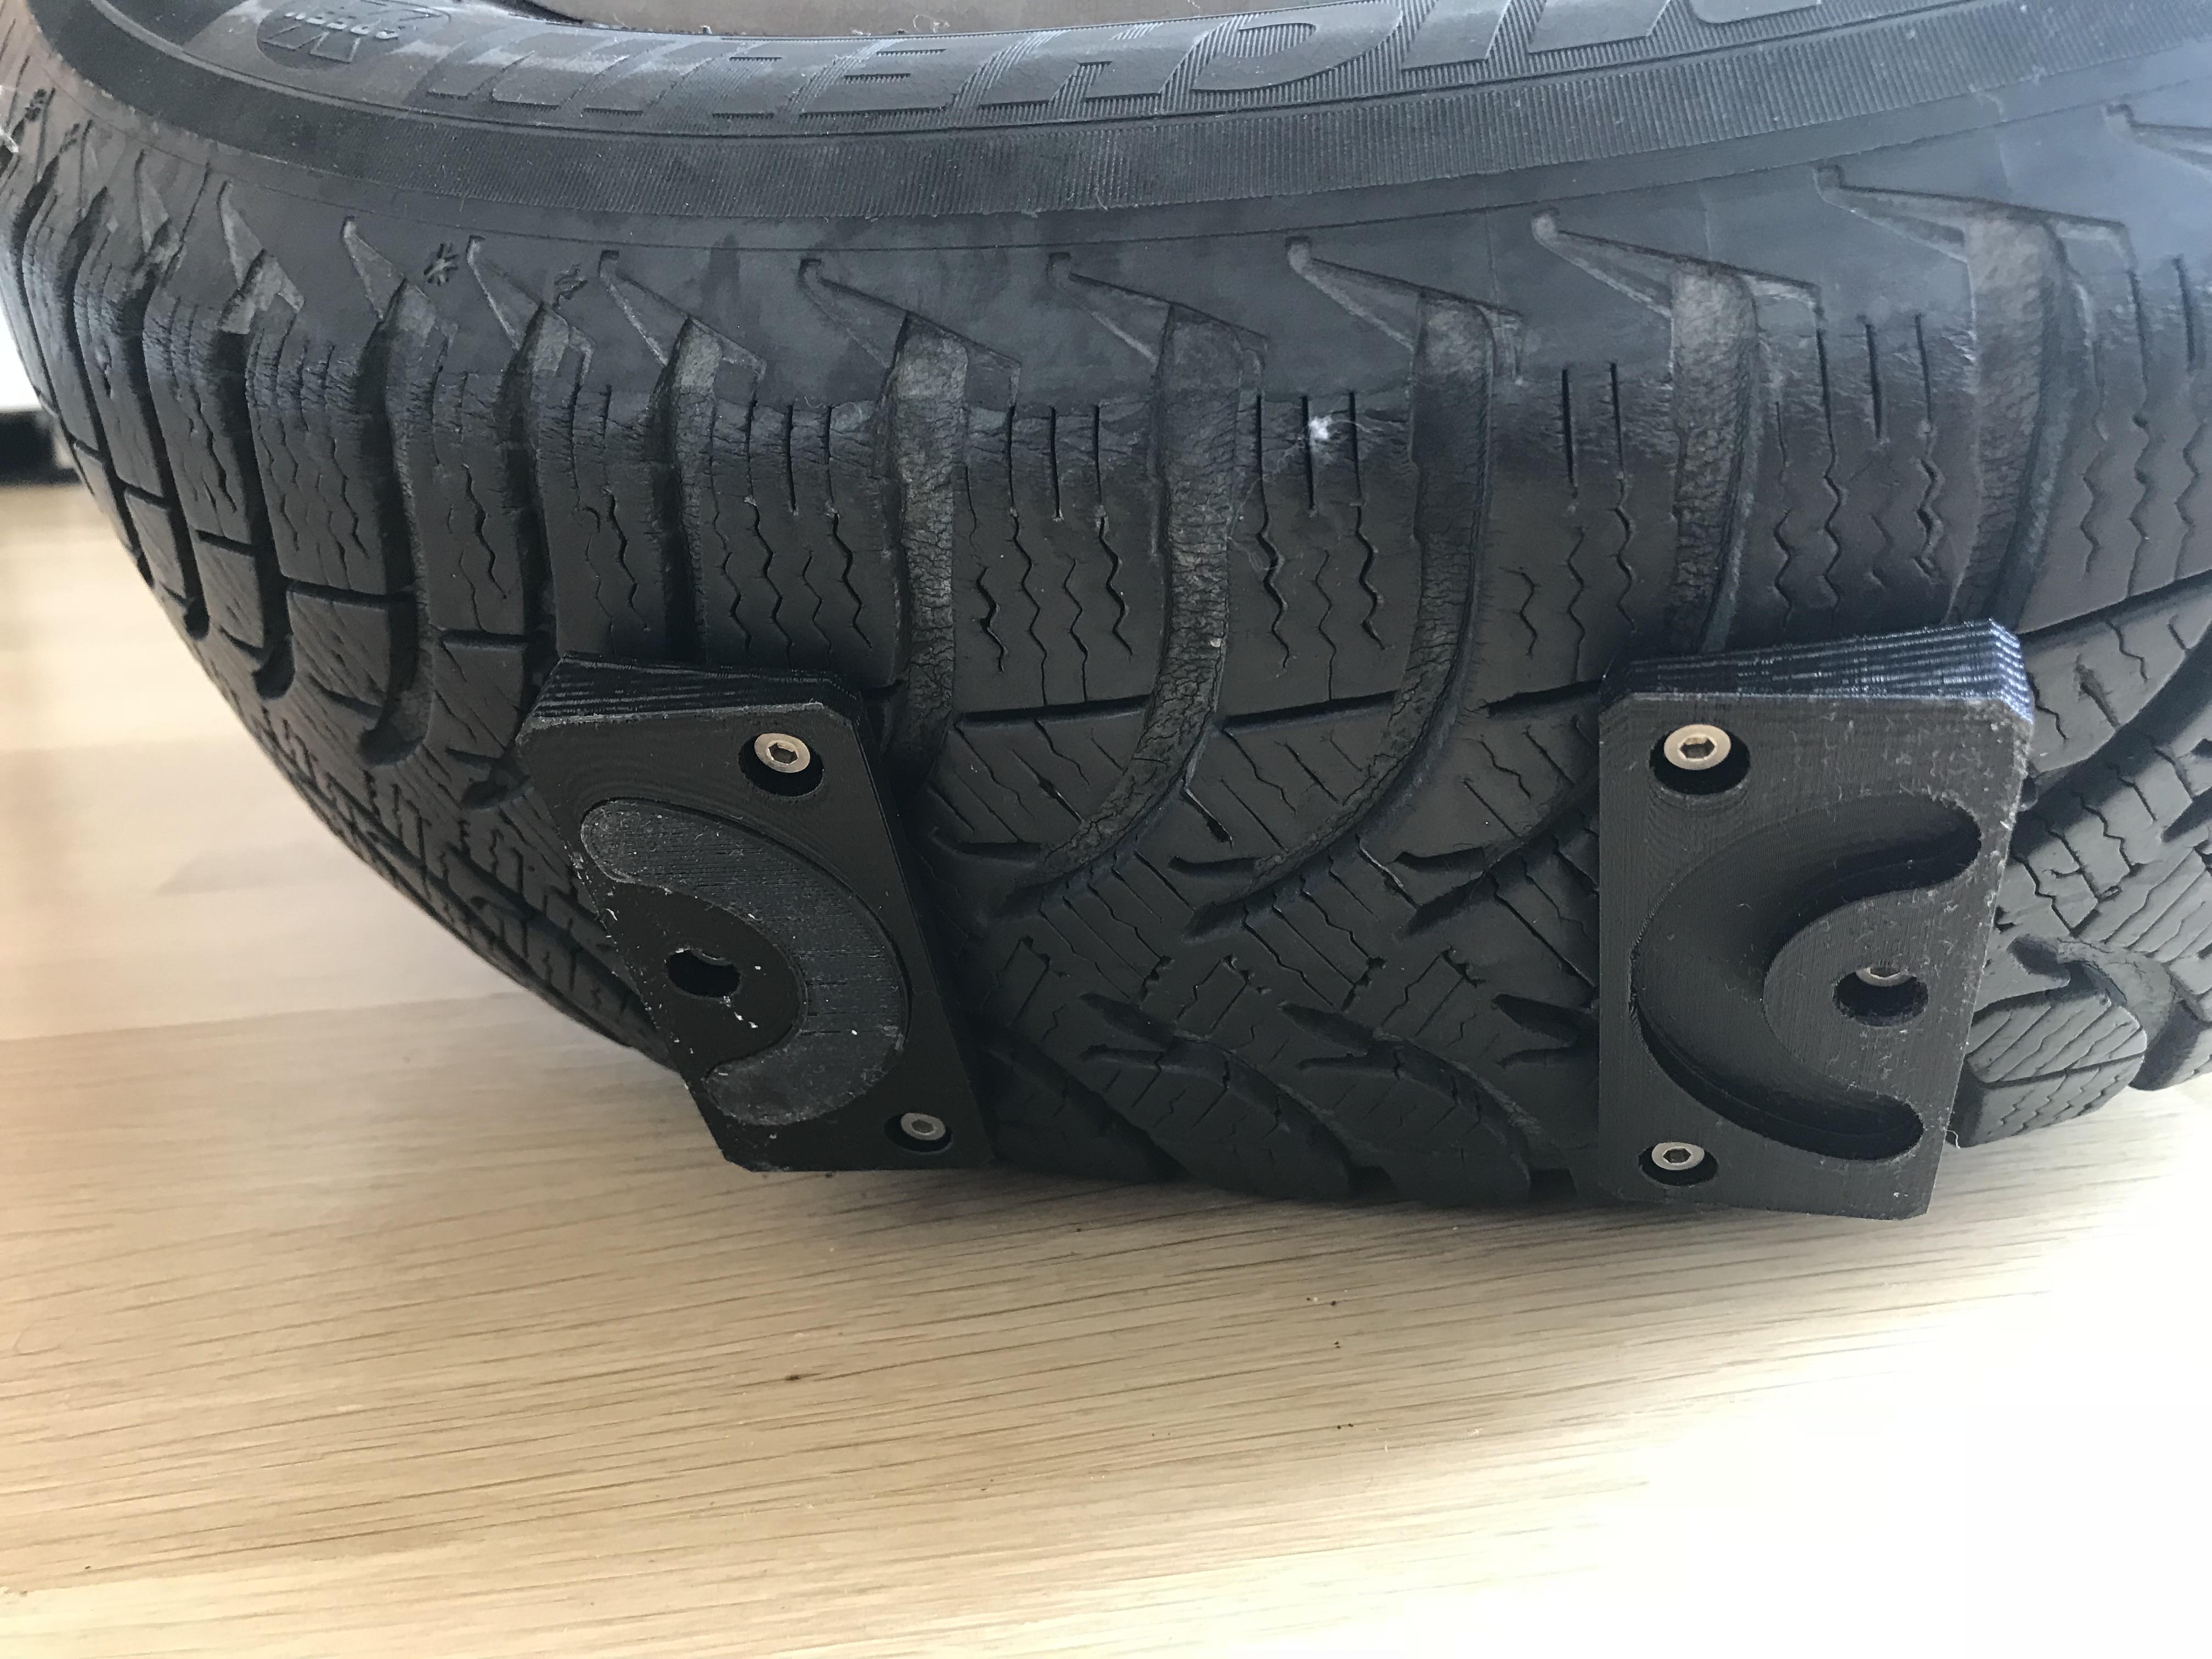
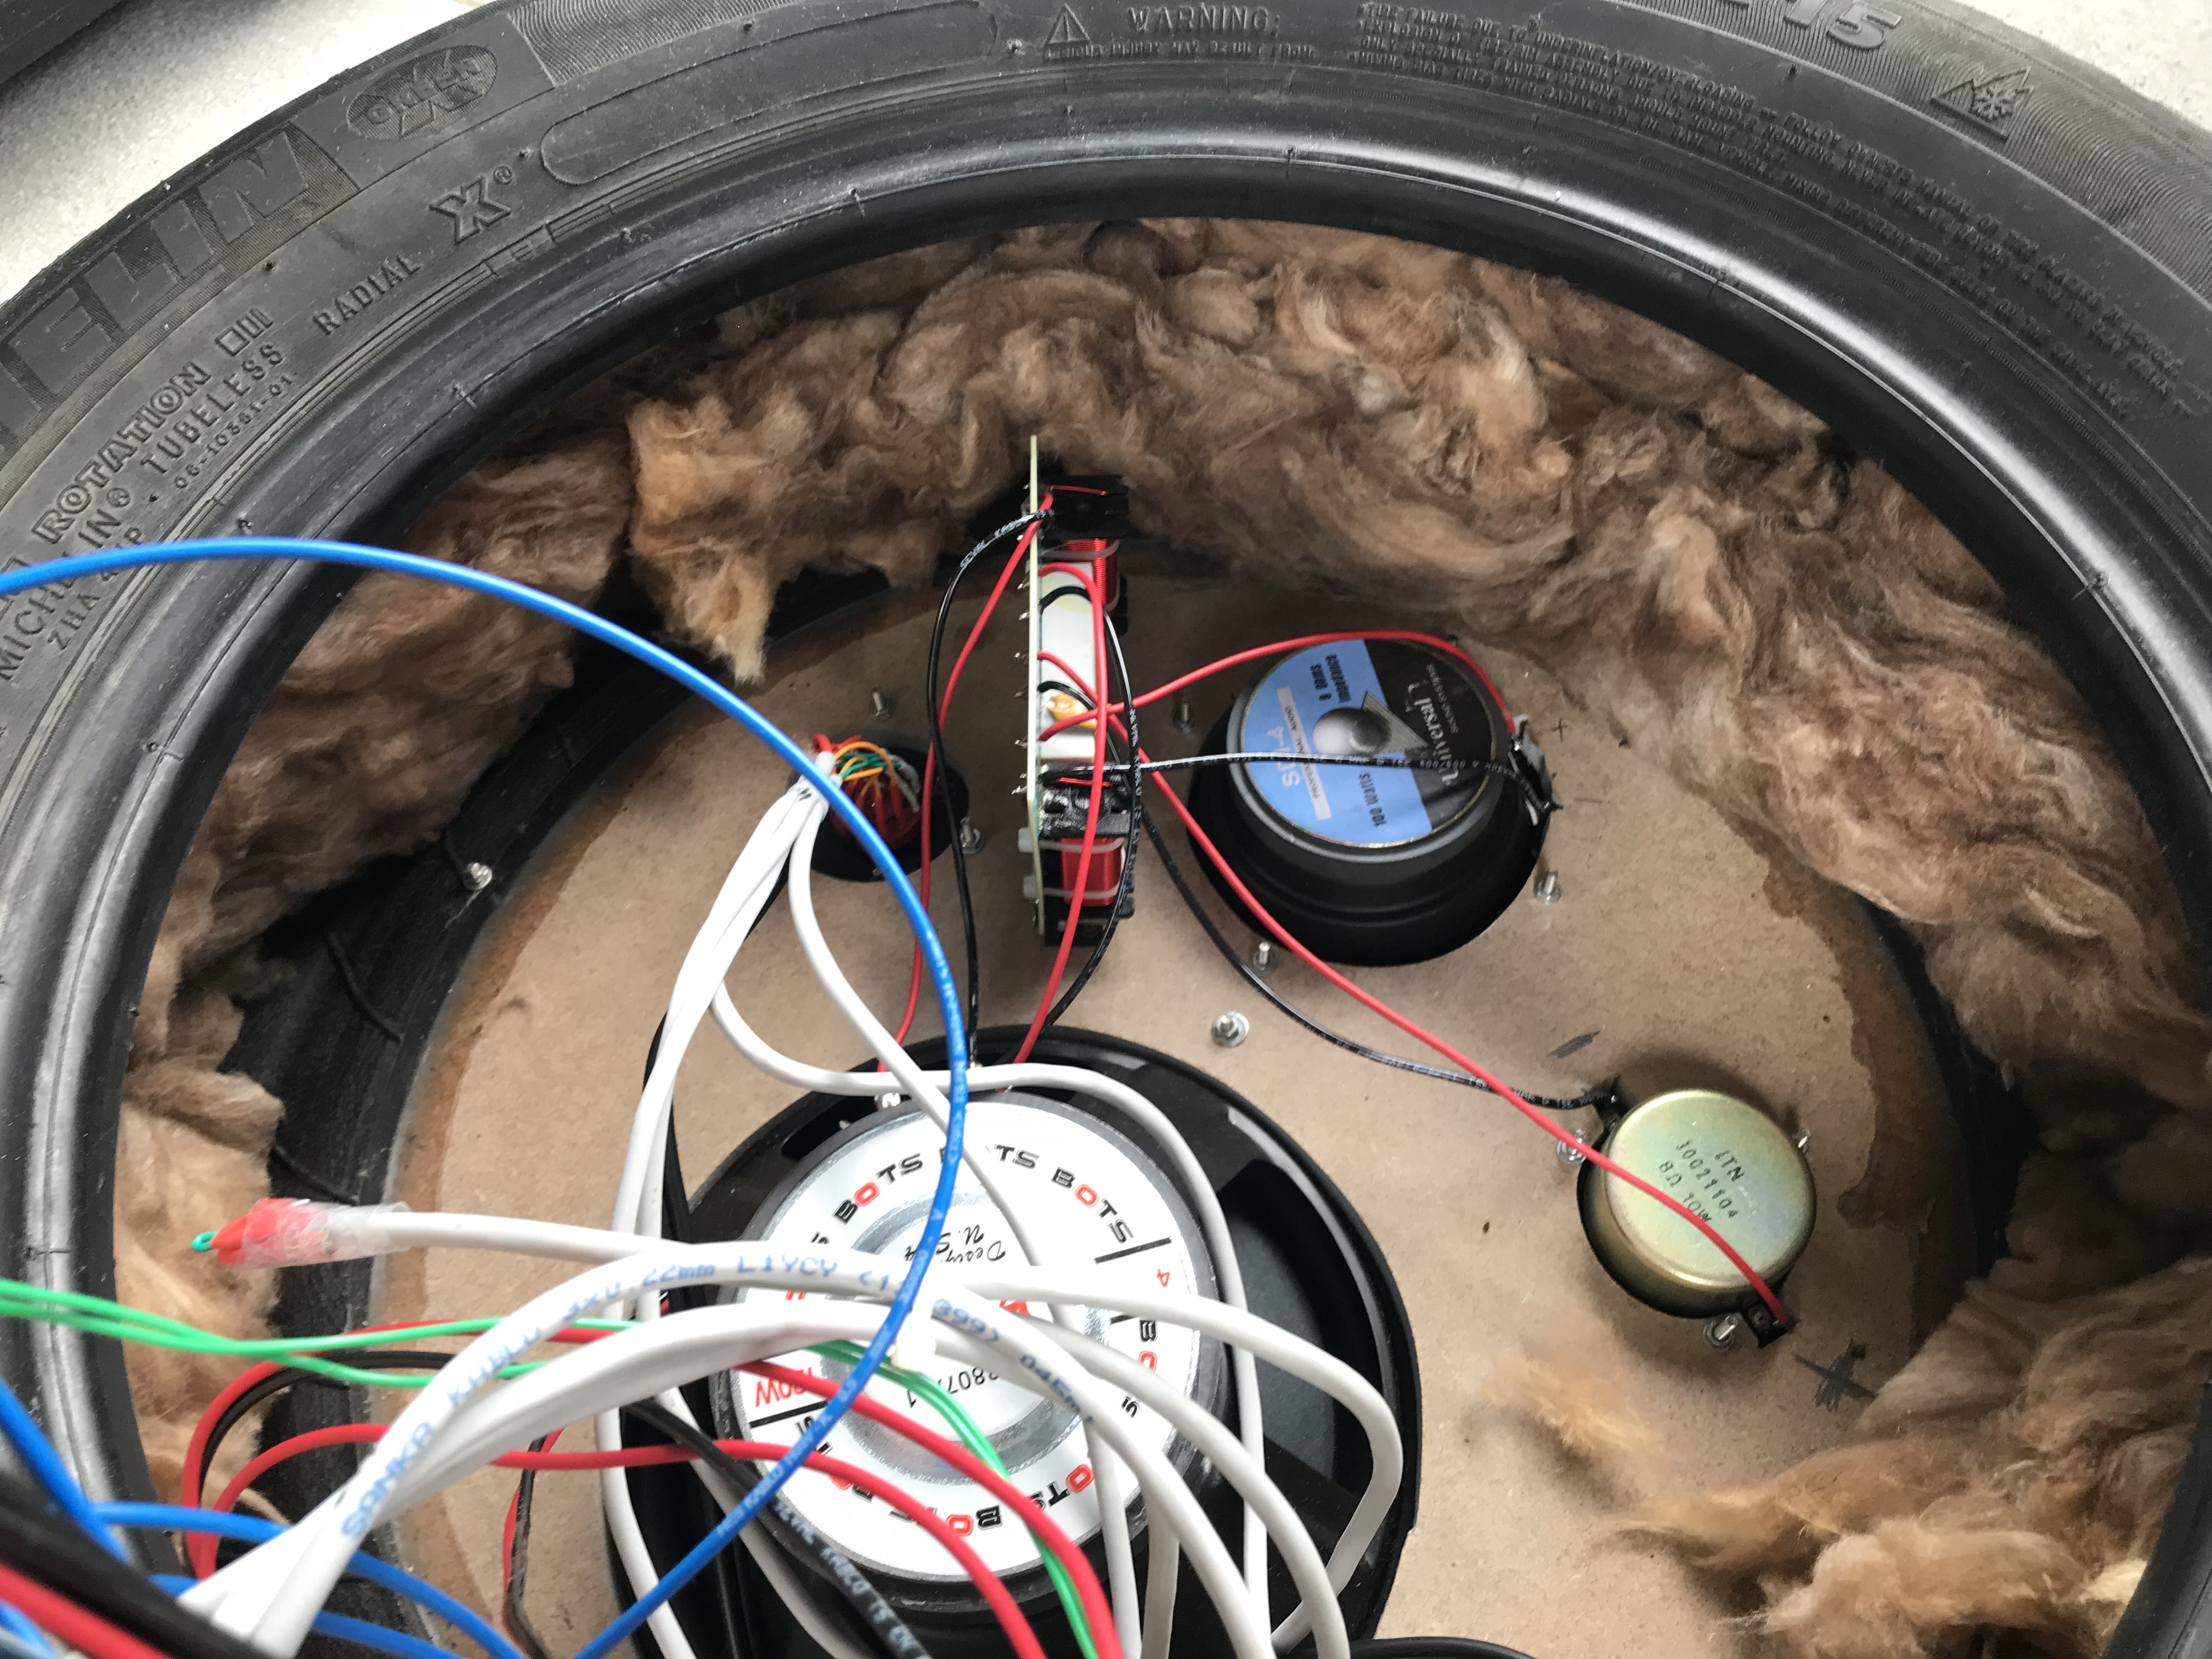
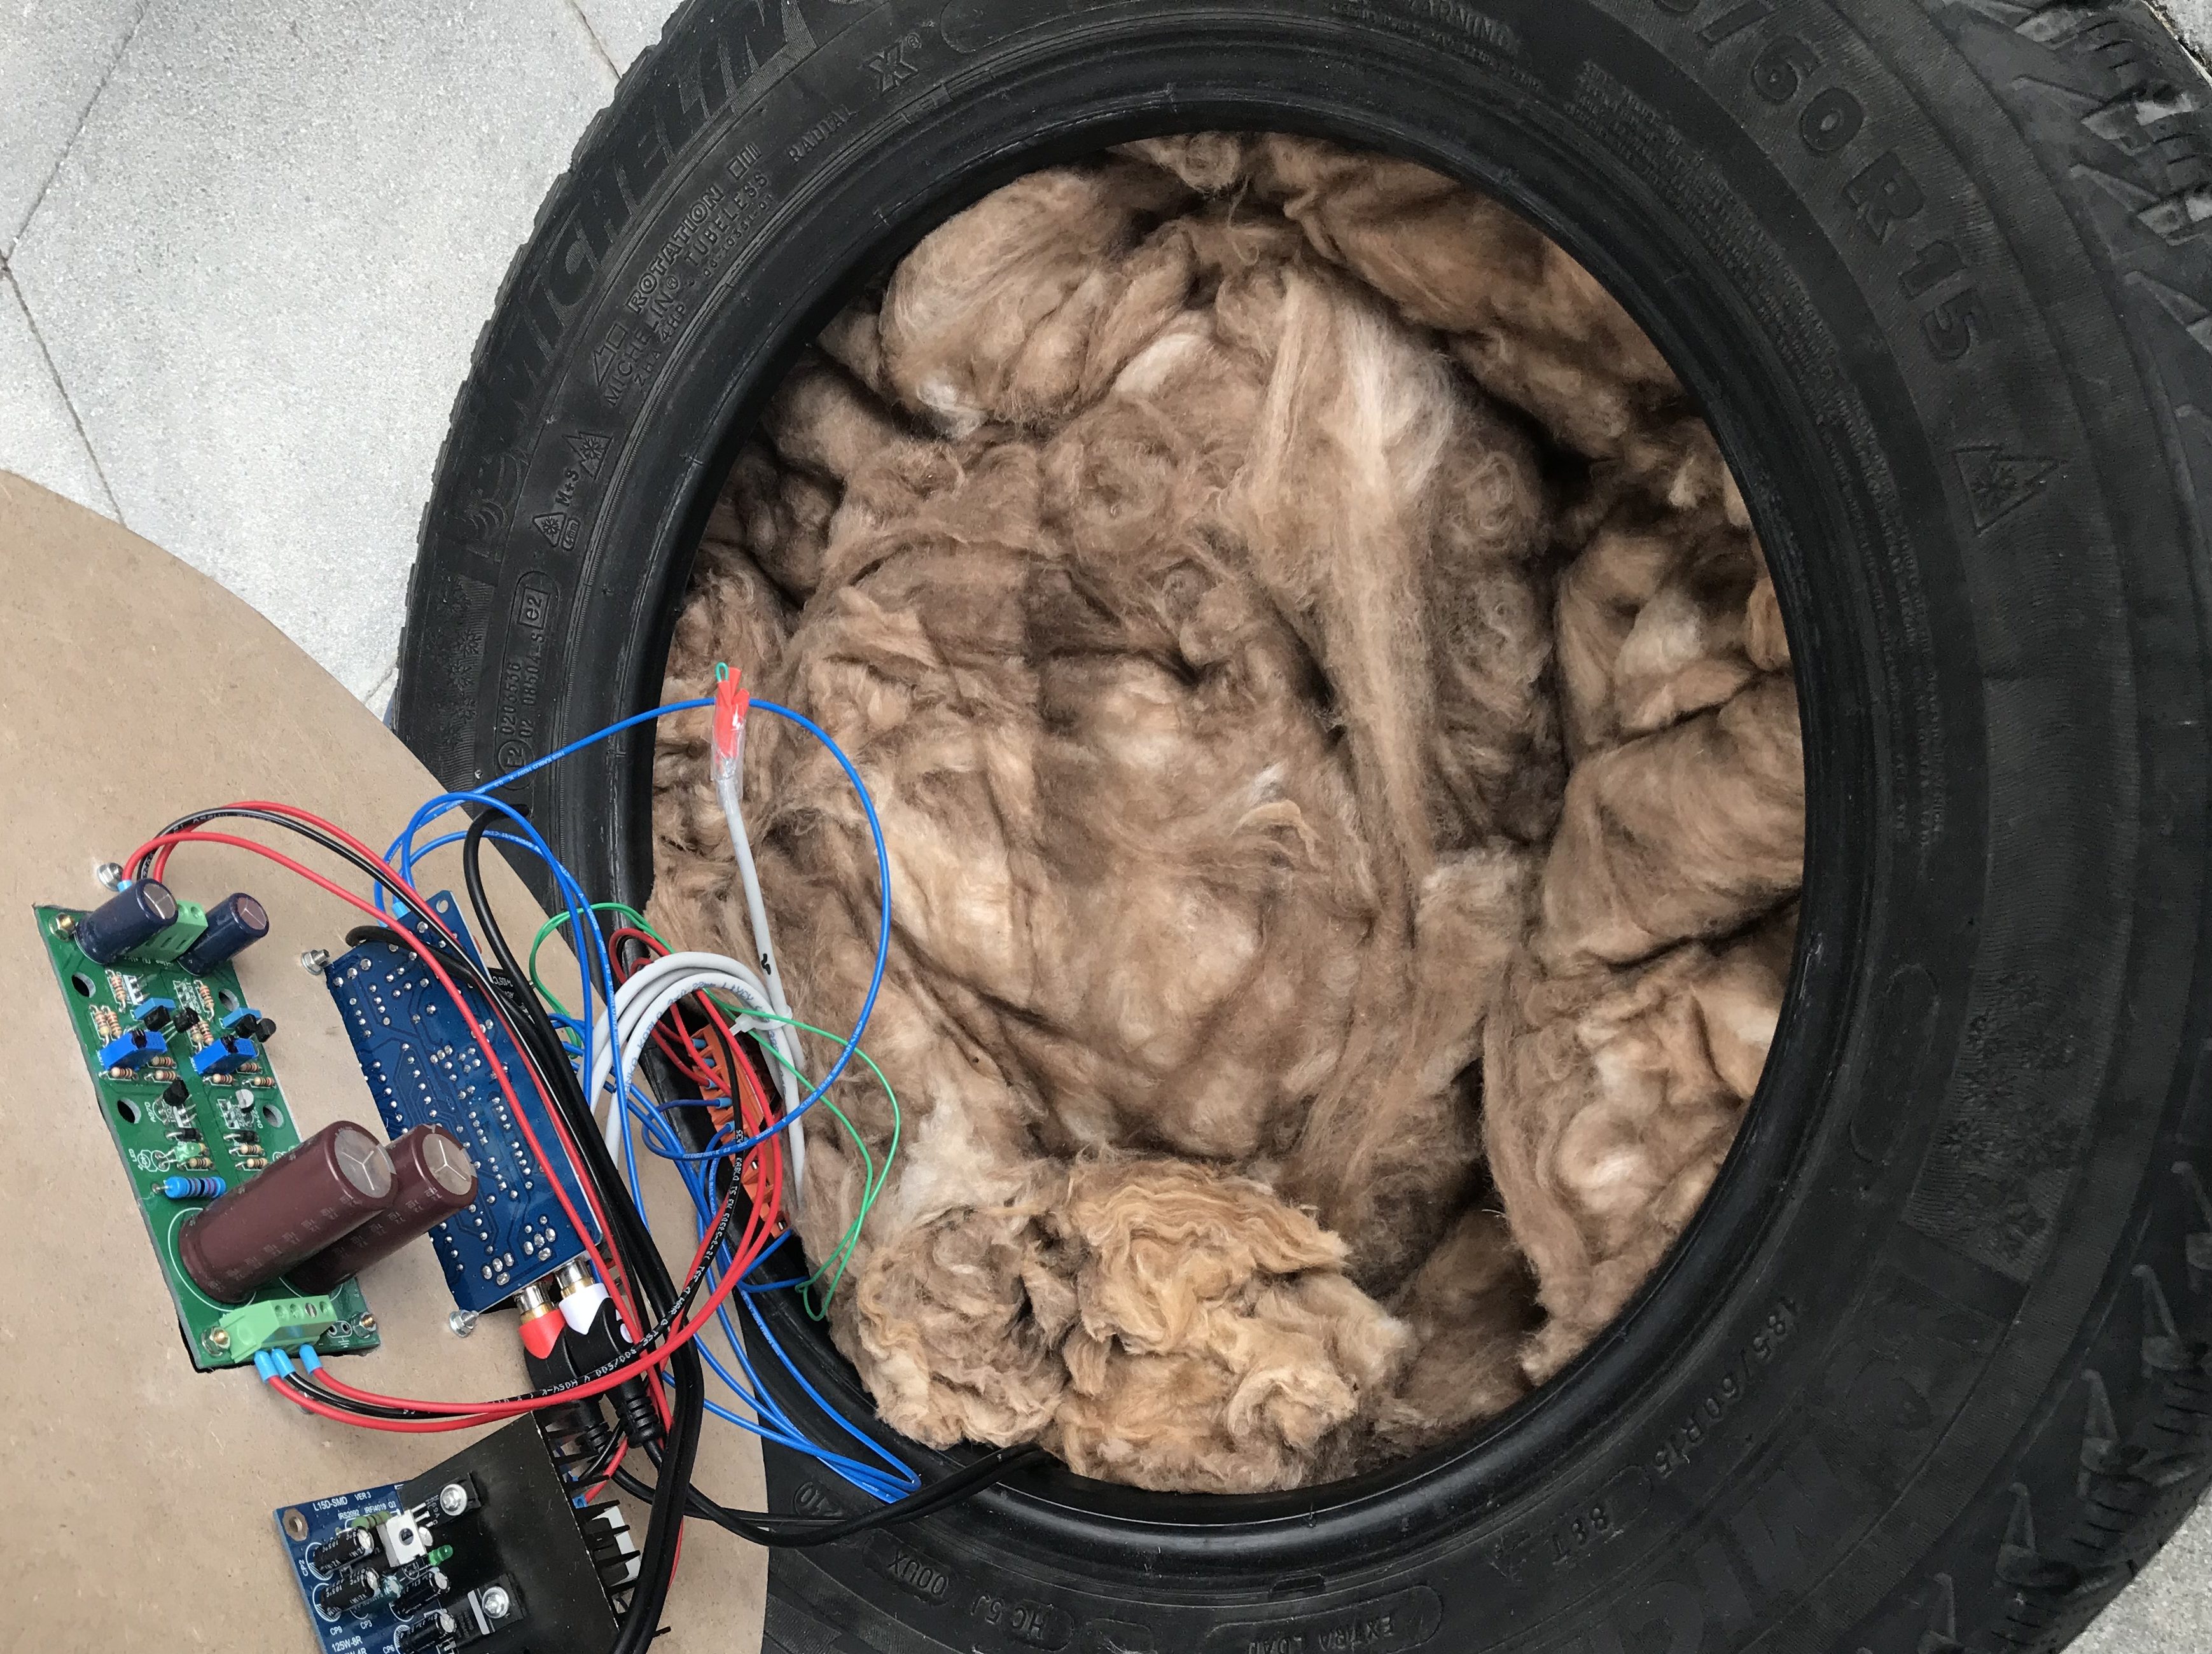
After the front cover it was time to move on to the back. I had pre-amp, a power supply and a input module to mount. Again, like the front cover I outlined and cut out the holes for these. To mount the preamp, the switch as well as the 3.5 mm jack and the 6.3 mm jack I had to design and 3D print a piece again. Here, because it would be in the back i didn’t bother to paint the piece and just mounted it to the back. In addition to these I had to mount a filter and a transformer. I chose to make a simple L bracket to mount the filter on the back of the front cover and decided to mount the transformer on the bottom of the tire with mounting brackets that would also act as feet for the tire so that it could stand on its own and not roll around.
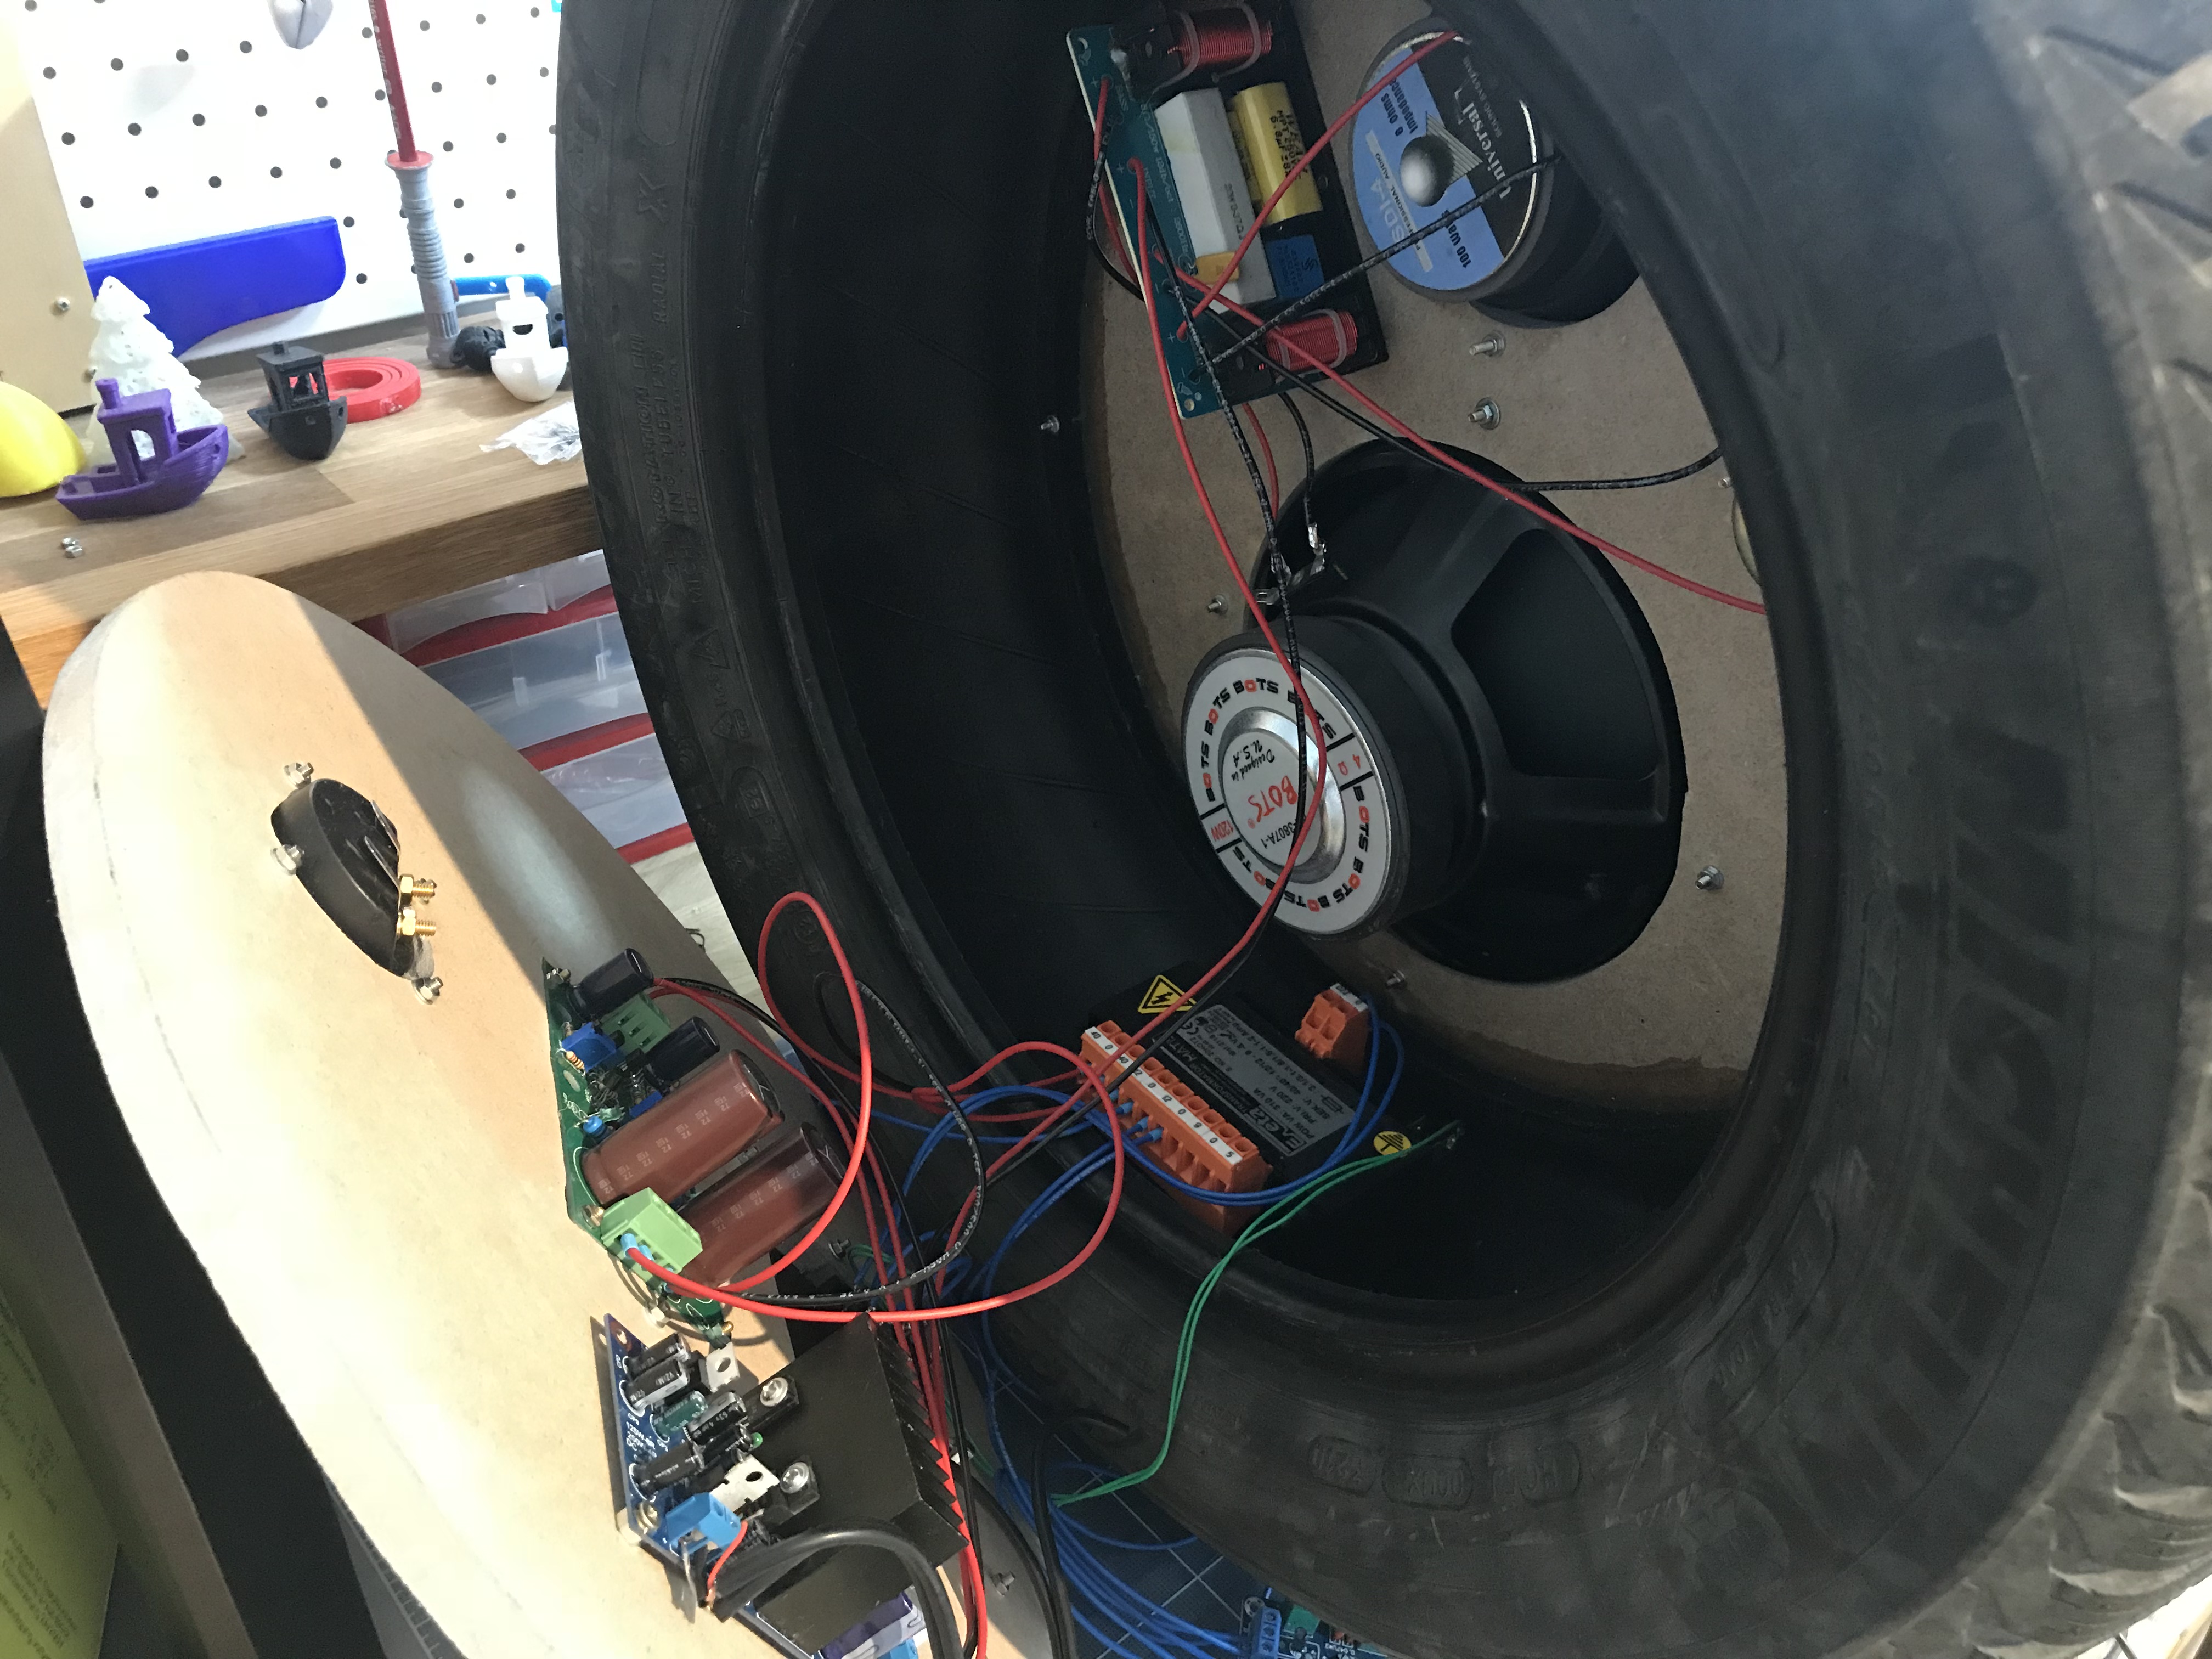
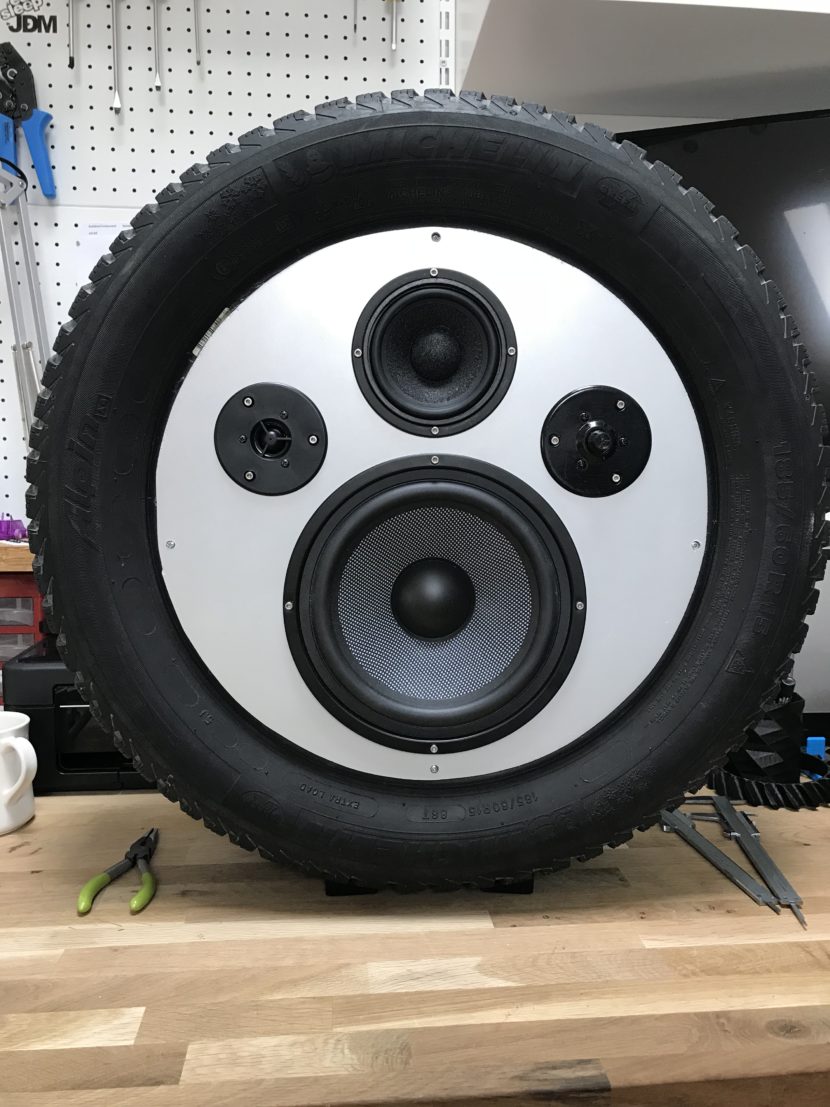
After all of this, I also sealed where the cover met with the tire with silicone as well as stuff the inside of the tire with glass wool to give a better and more clear sound.
And finally as a few finishing touches, I designed and 3D printed an outer ‘rim’ to go on the outside of the MDF cover that would make it look like it was a 3 piece wheel and painted the Michelin logos whites