-work in progress-
Ever since i started using Thingiverse, I have been a fan of Daniel Noree‘s Open RC project. Recently, having gone into summer break, I decided to make one of my own. Here is a step by step article of how I am doing it:
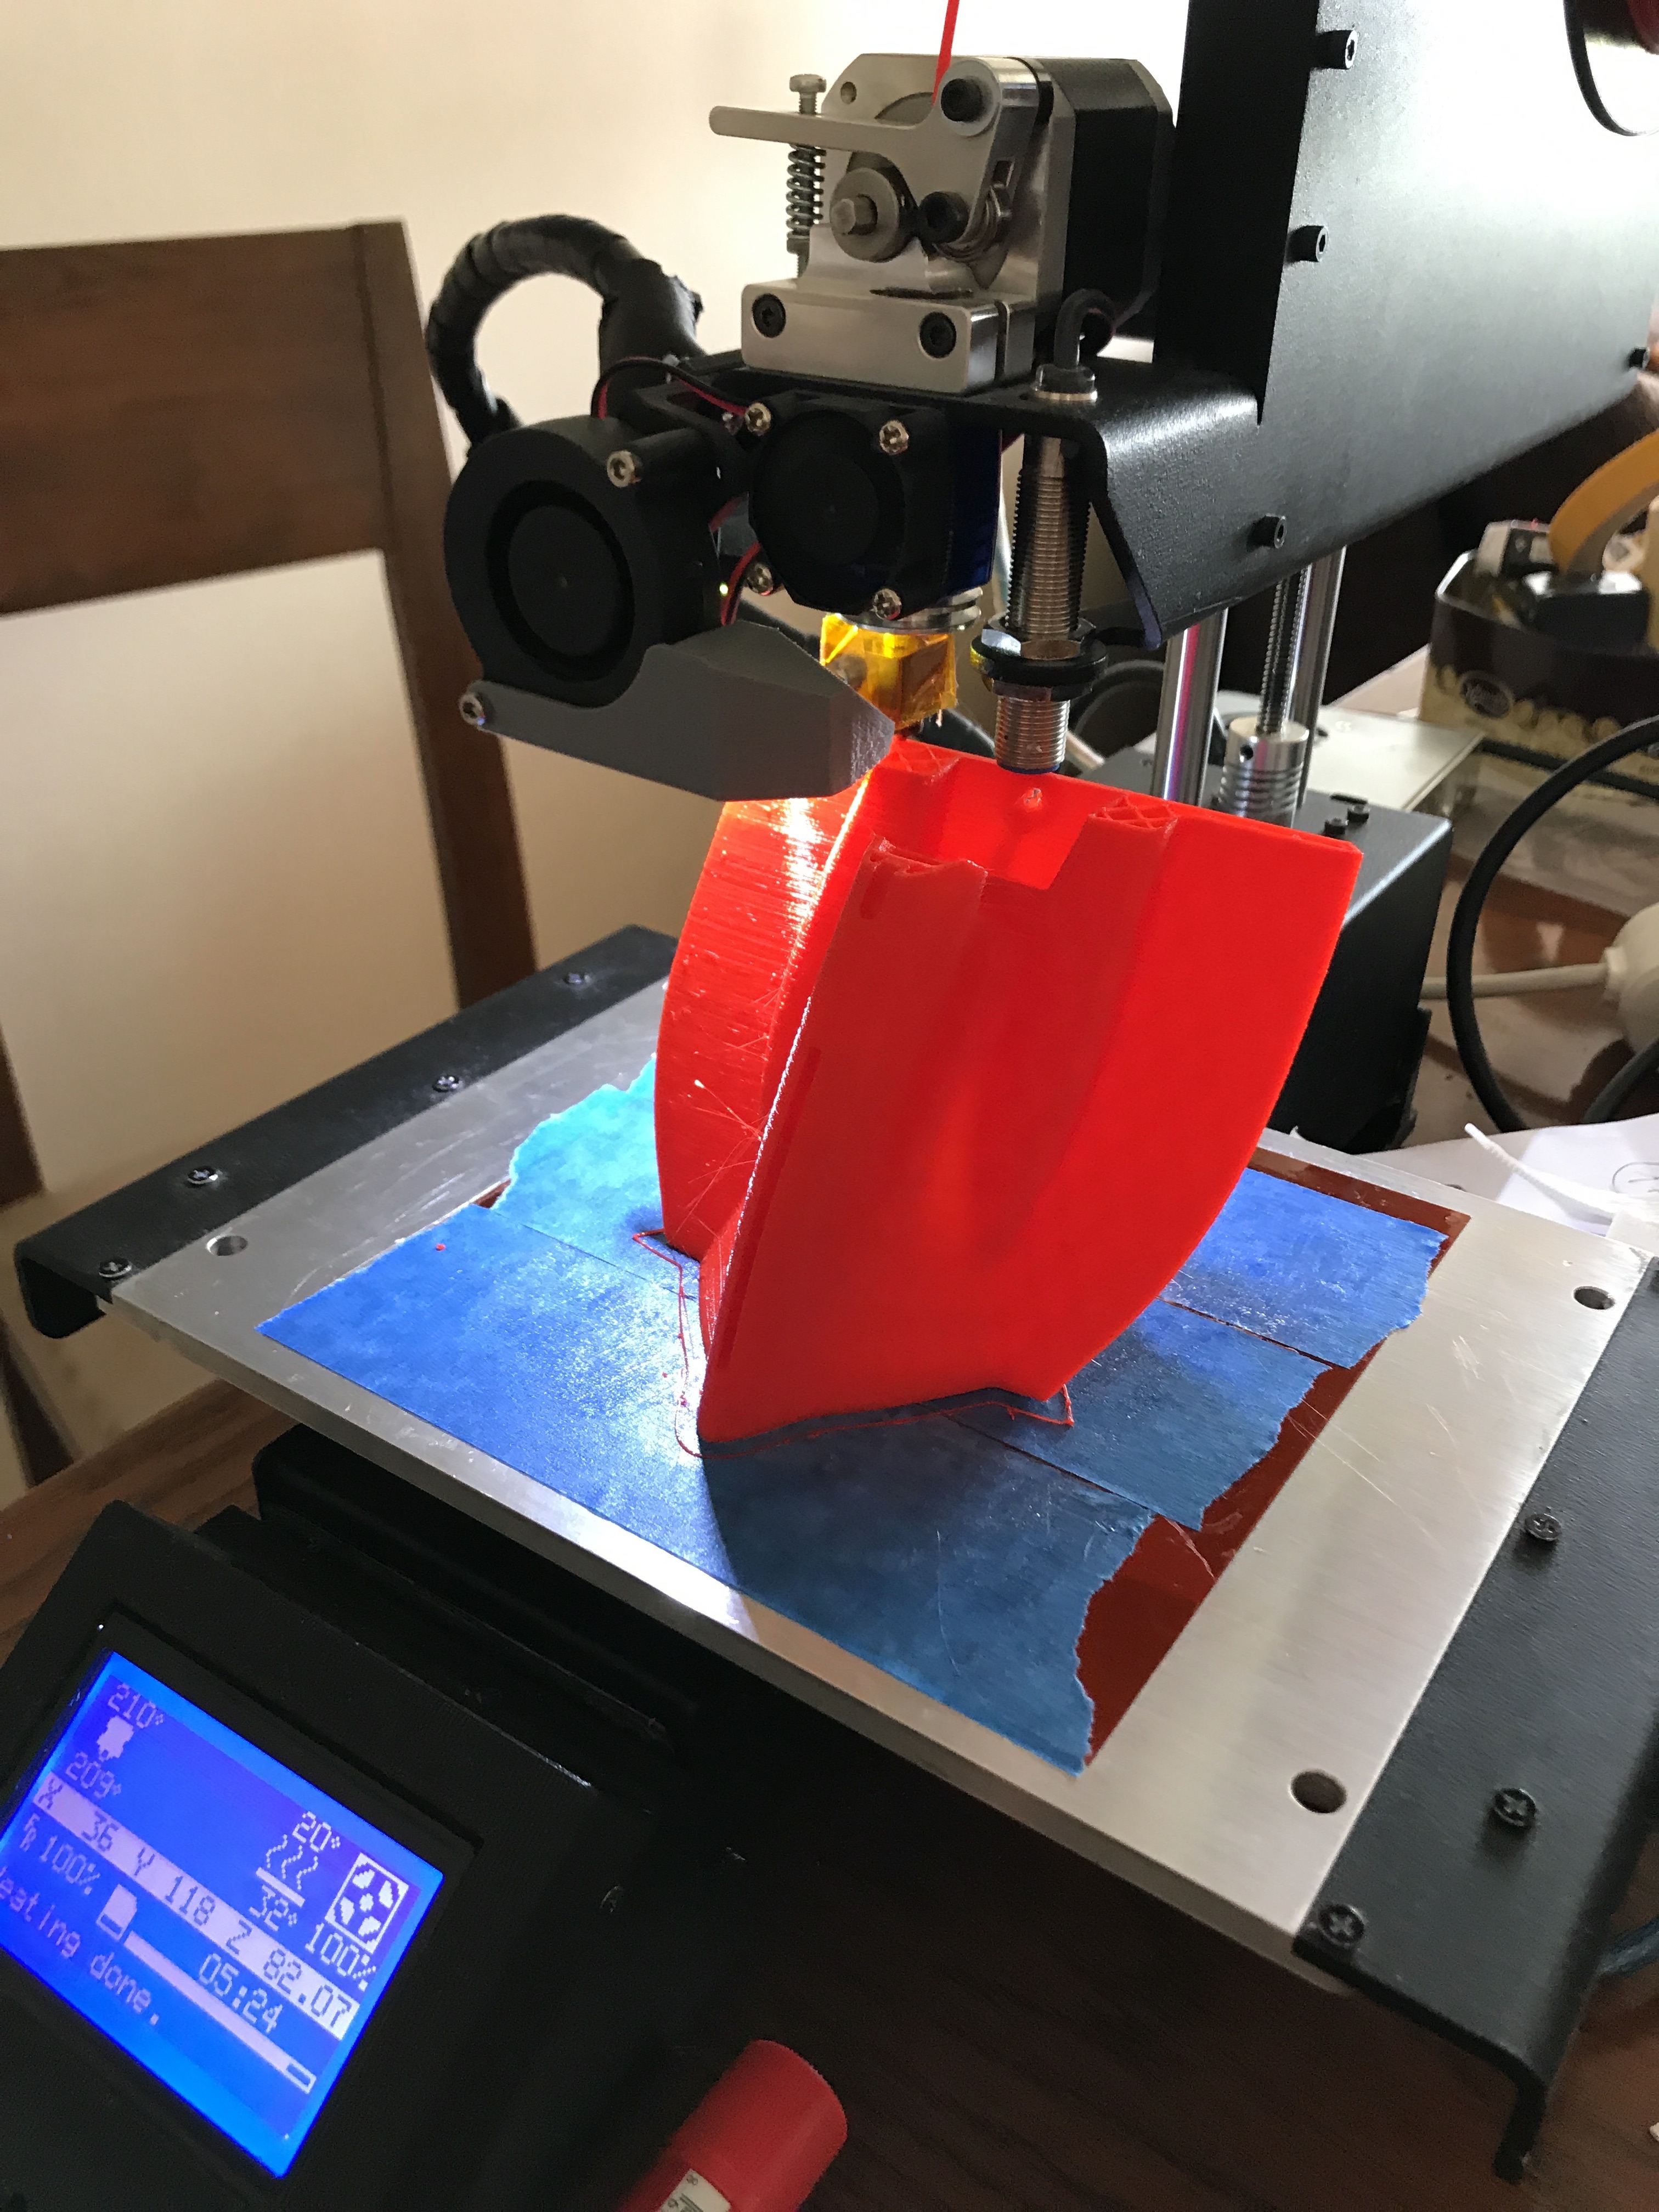
Step 1: Printing the Pieces
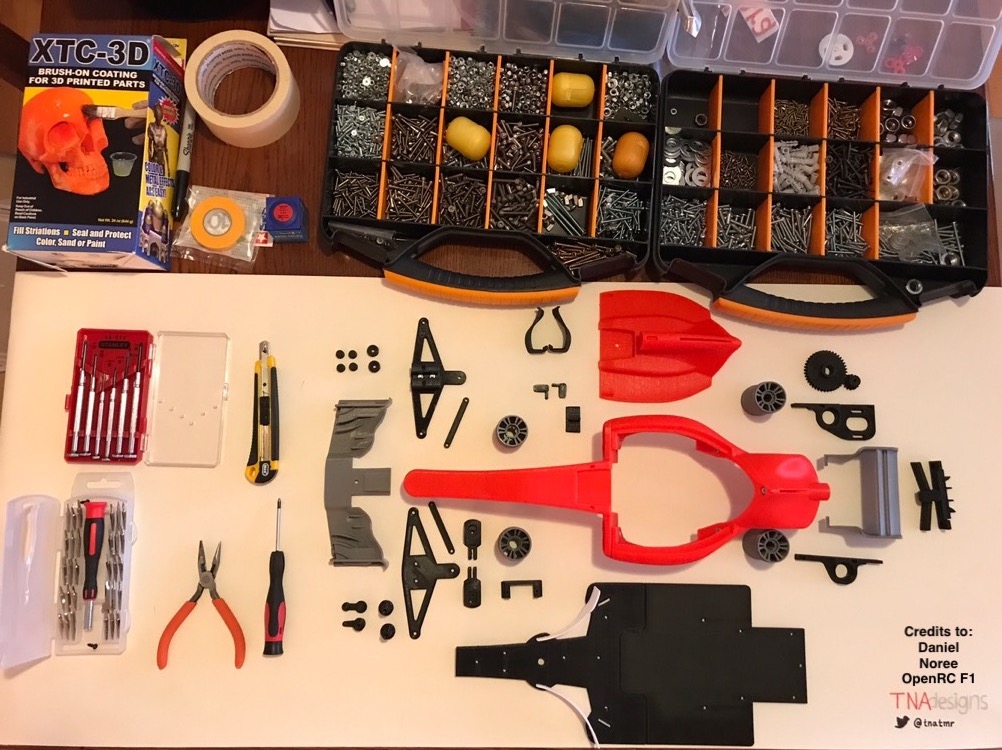
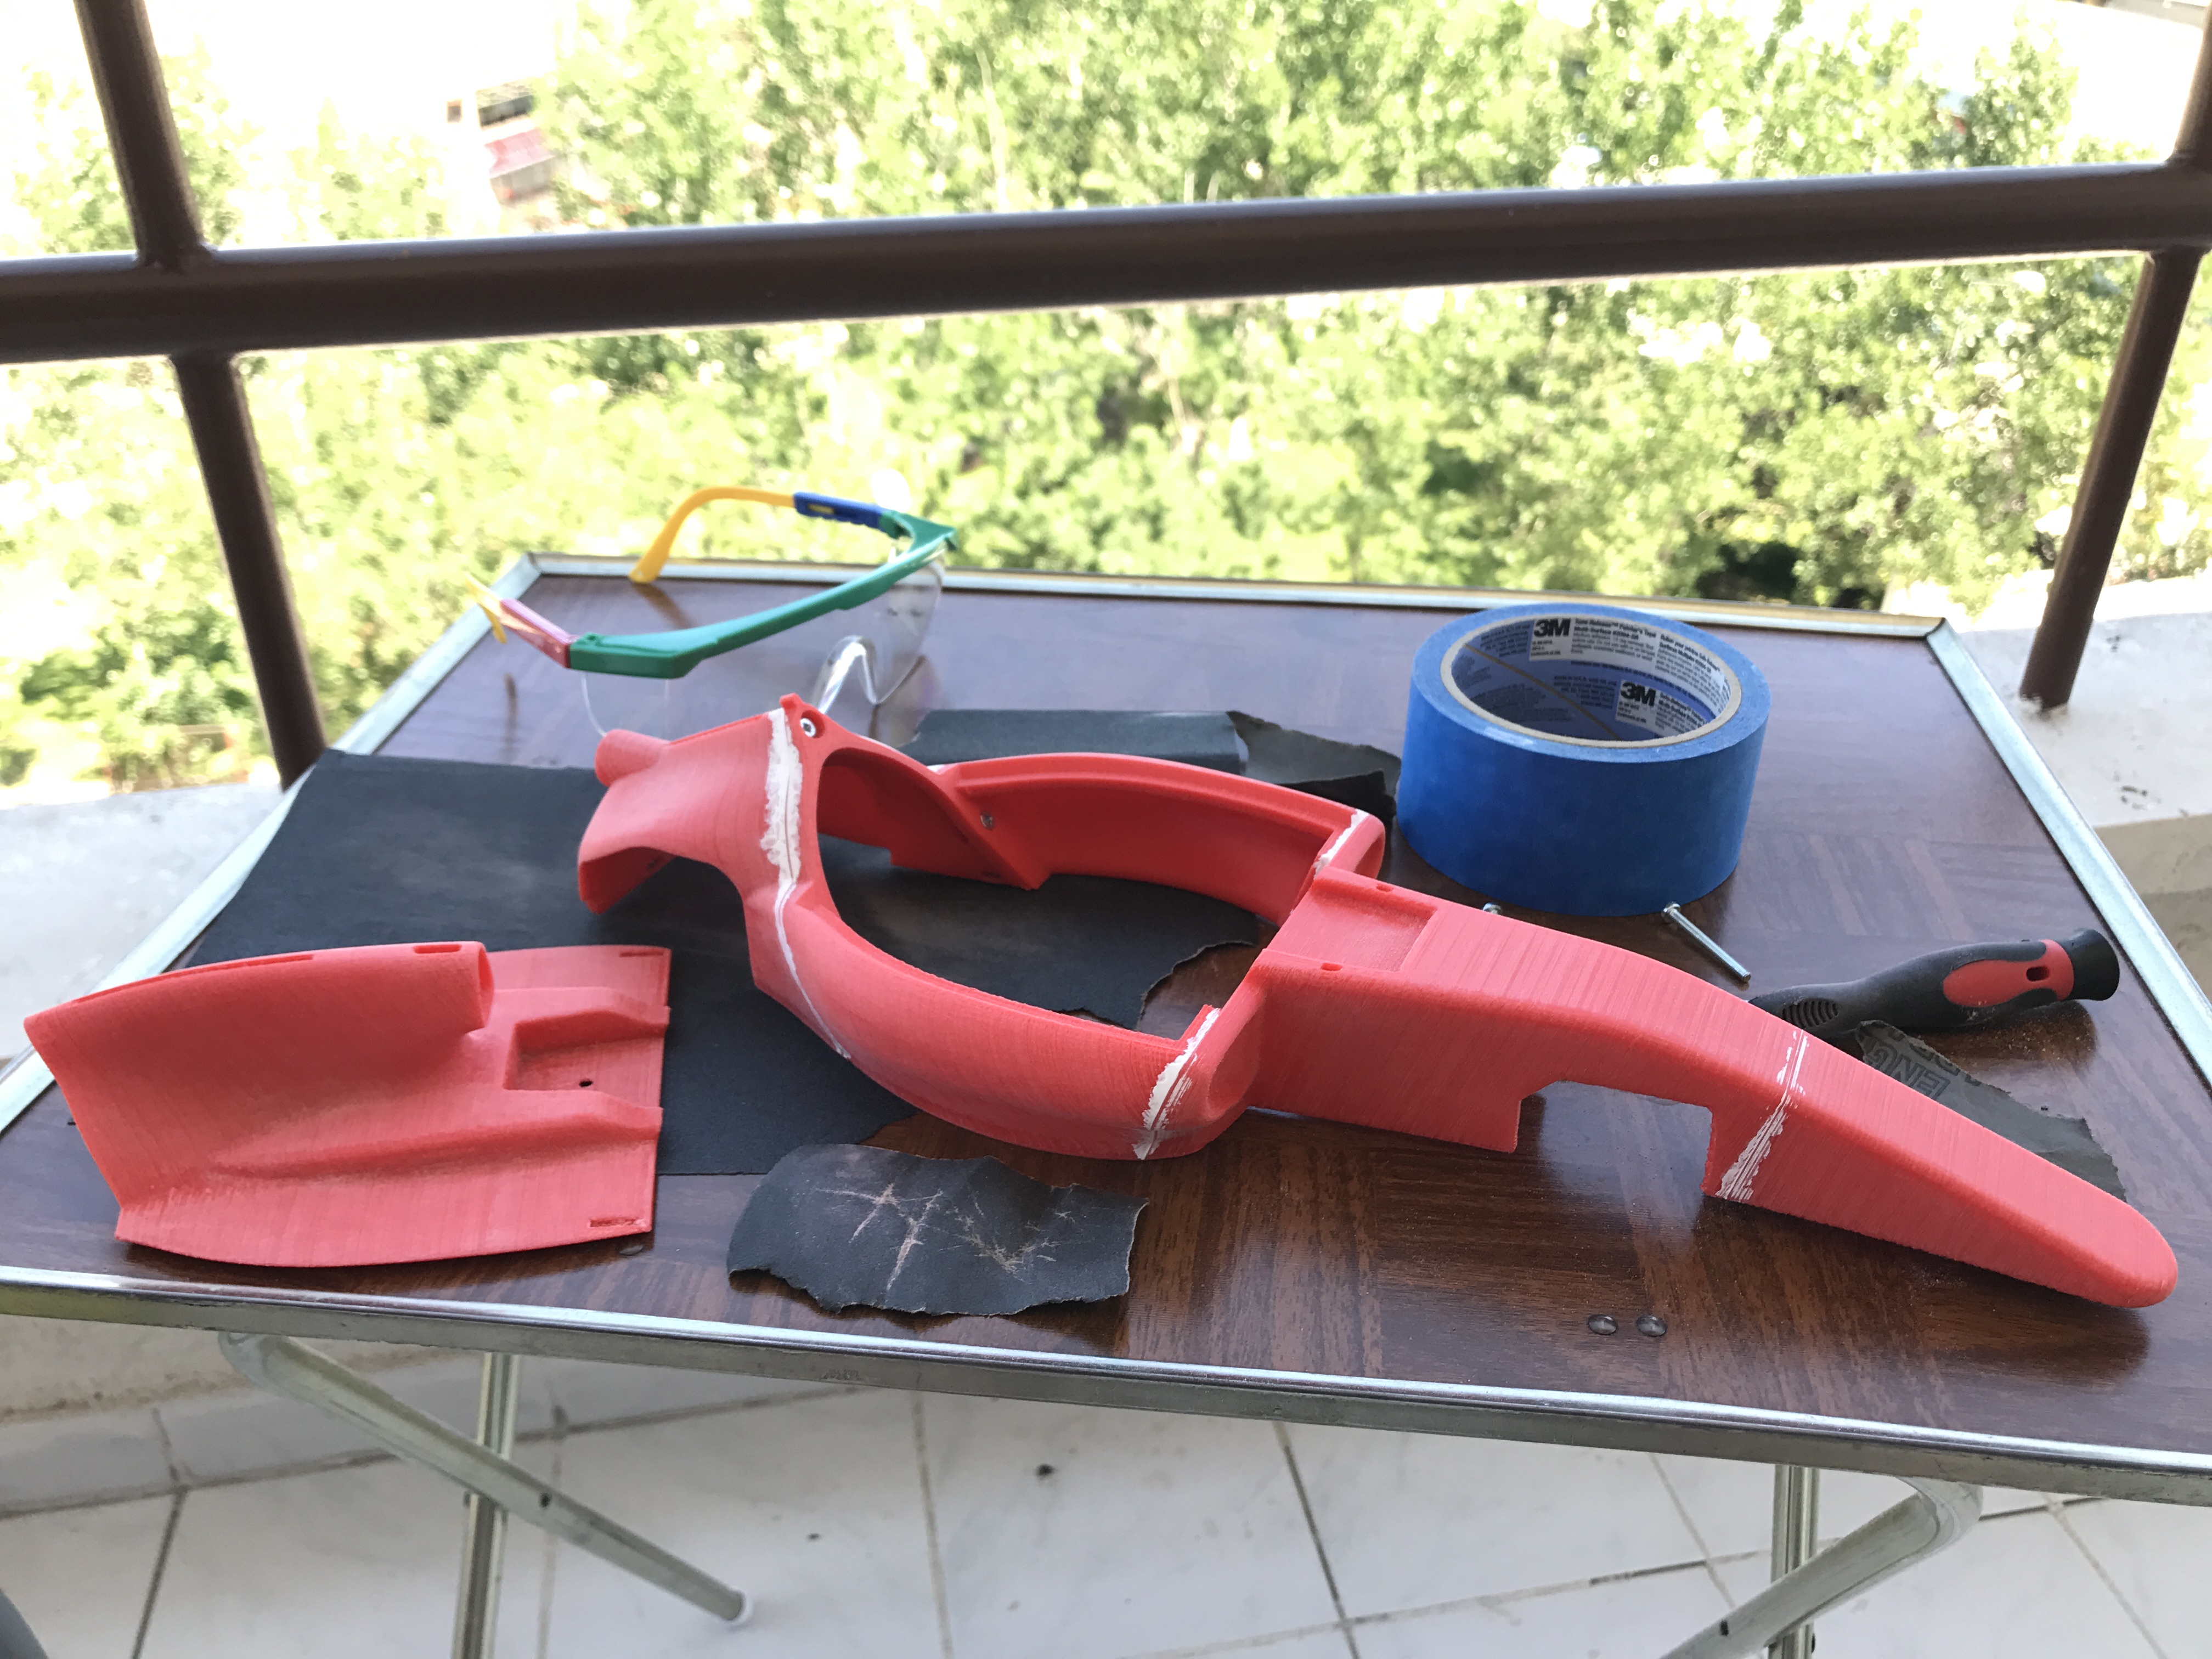
This one might sound a little simple but the OpenRC has a lot of parts which range from ginormous body parts to small gears. So before anything, I printed all of the parts and layer them all out. Since I didn’t have the electronics yet, I decided to start with assembling the body first. The body consists of 5 parts and a front and rear wing.
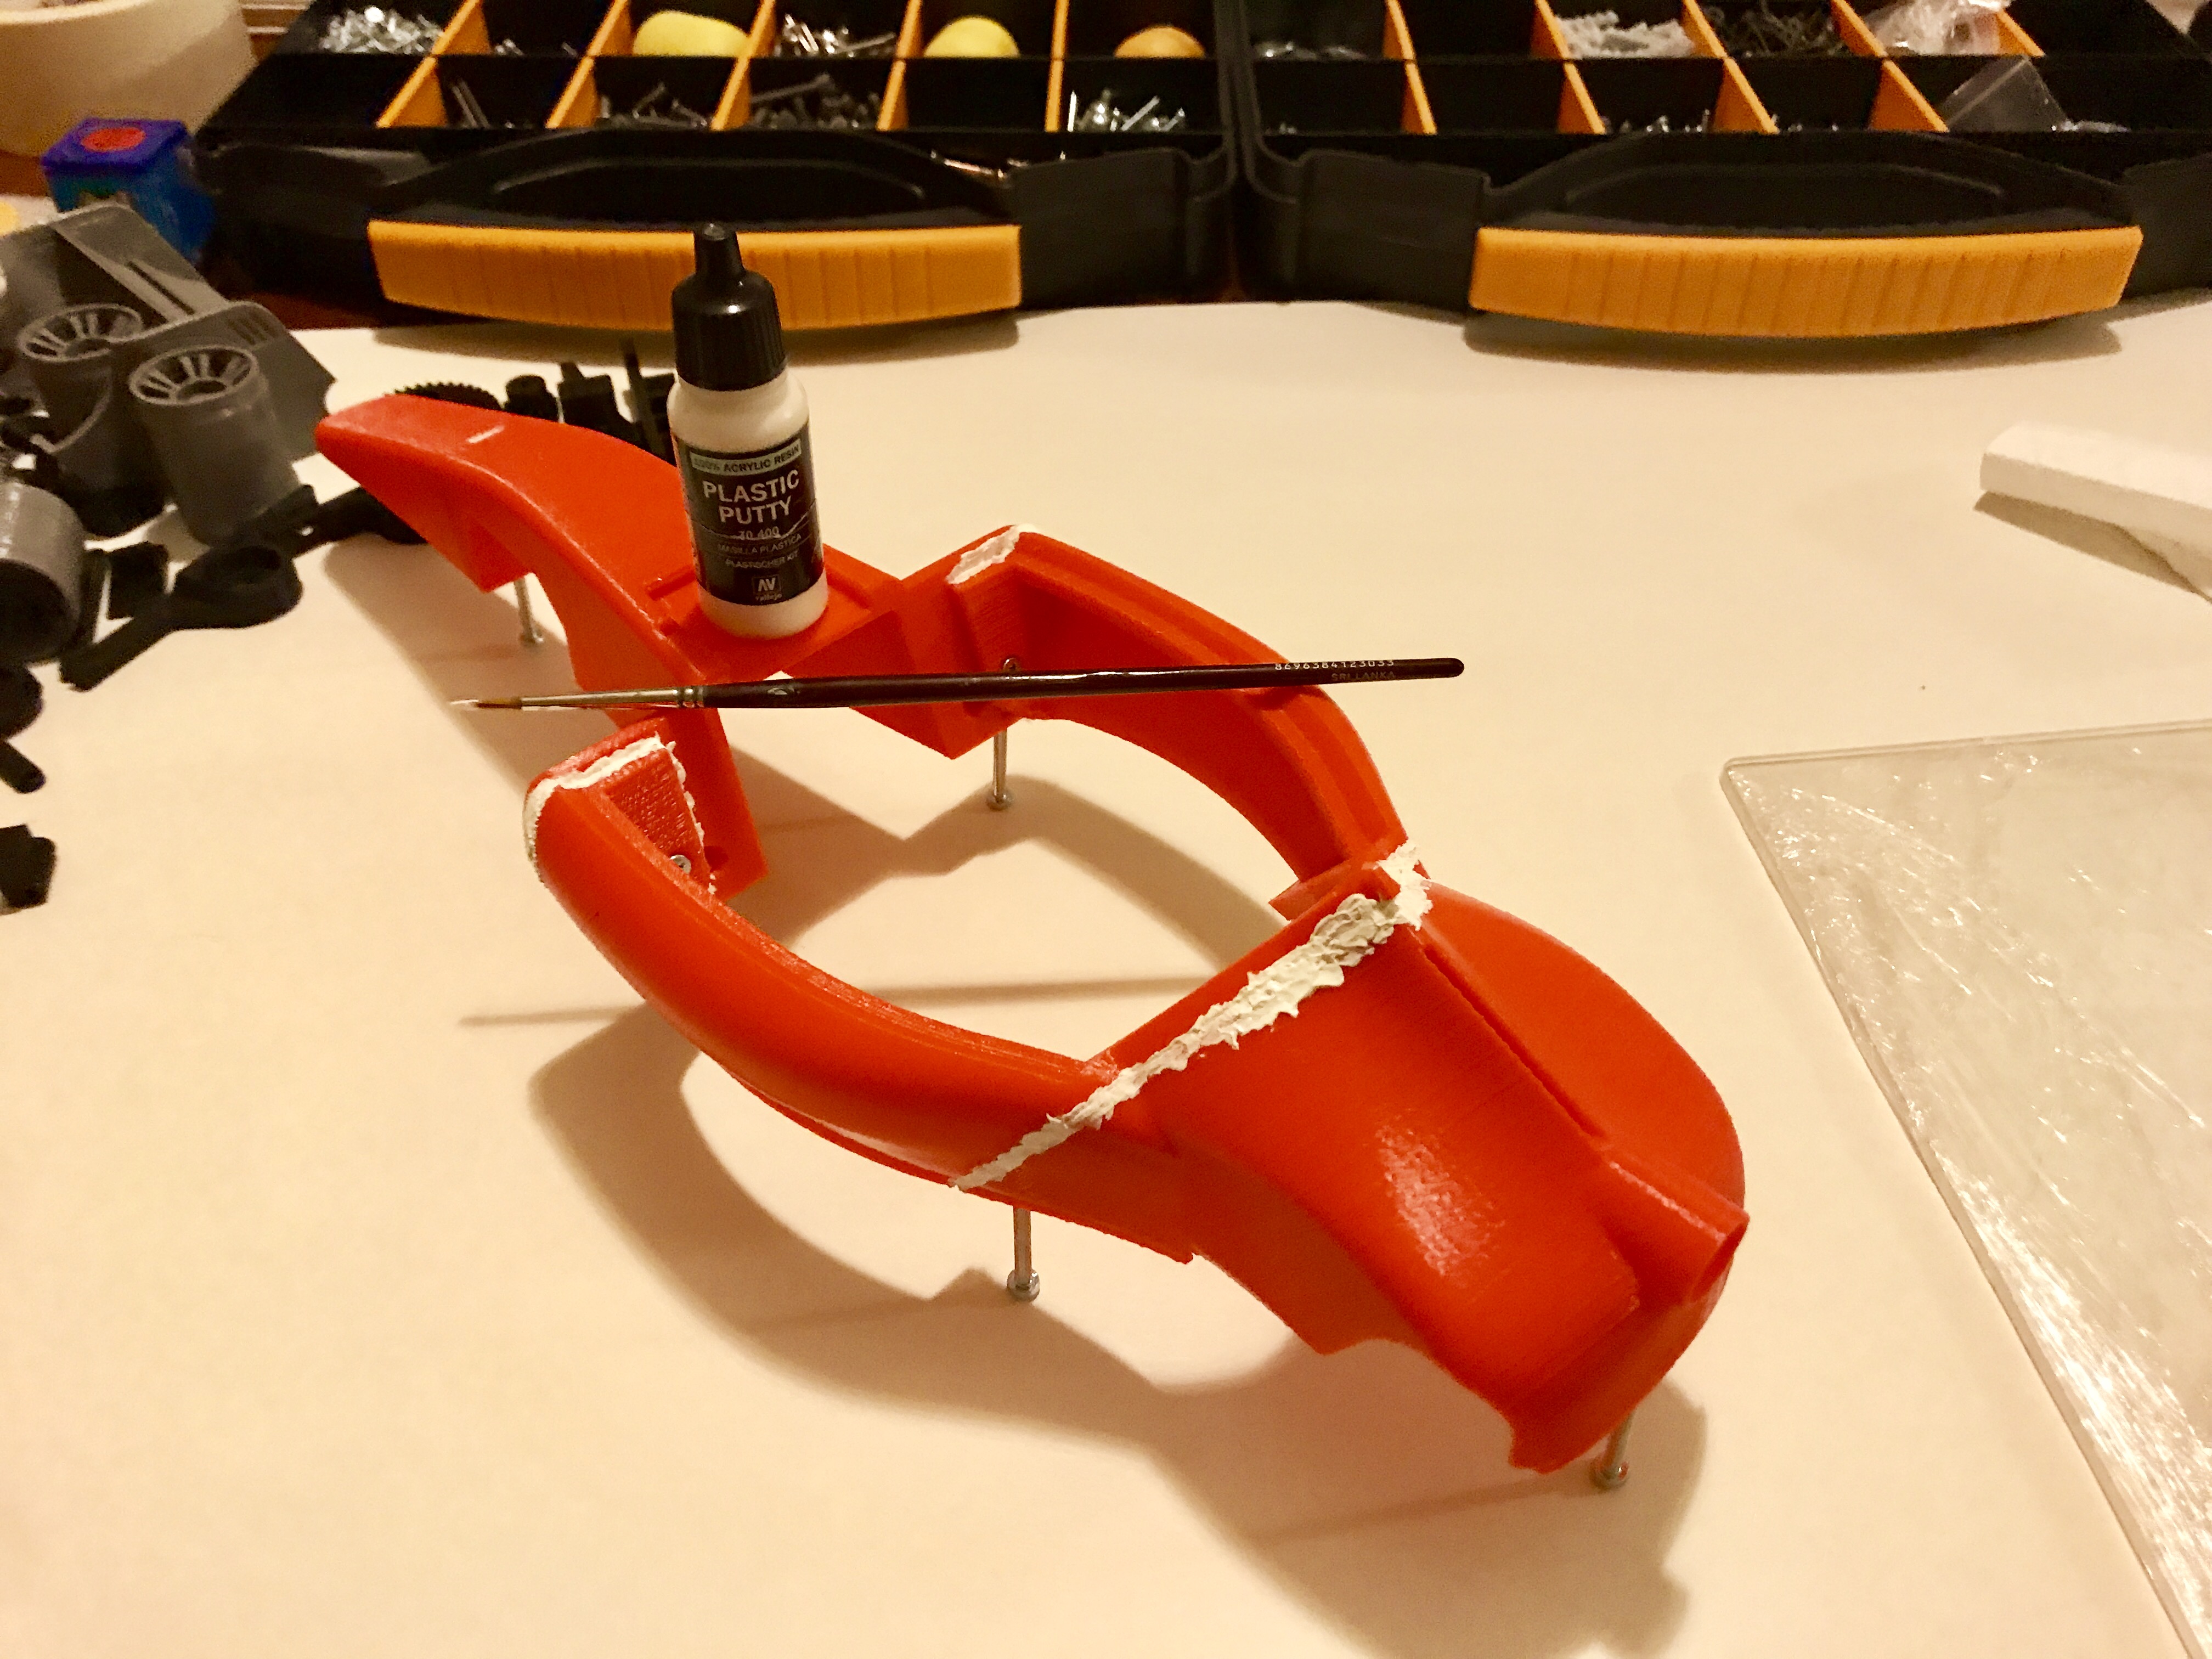
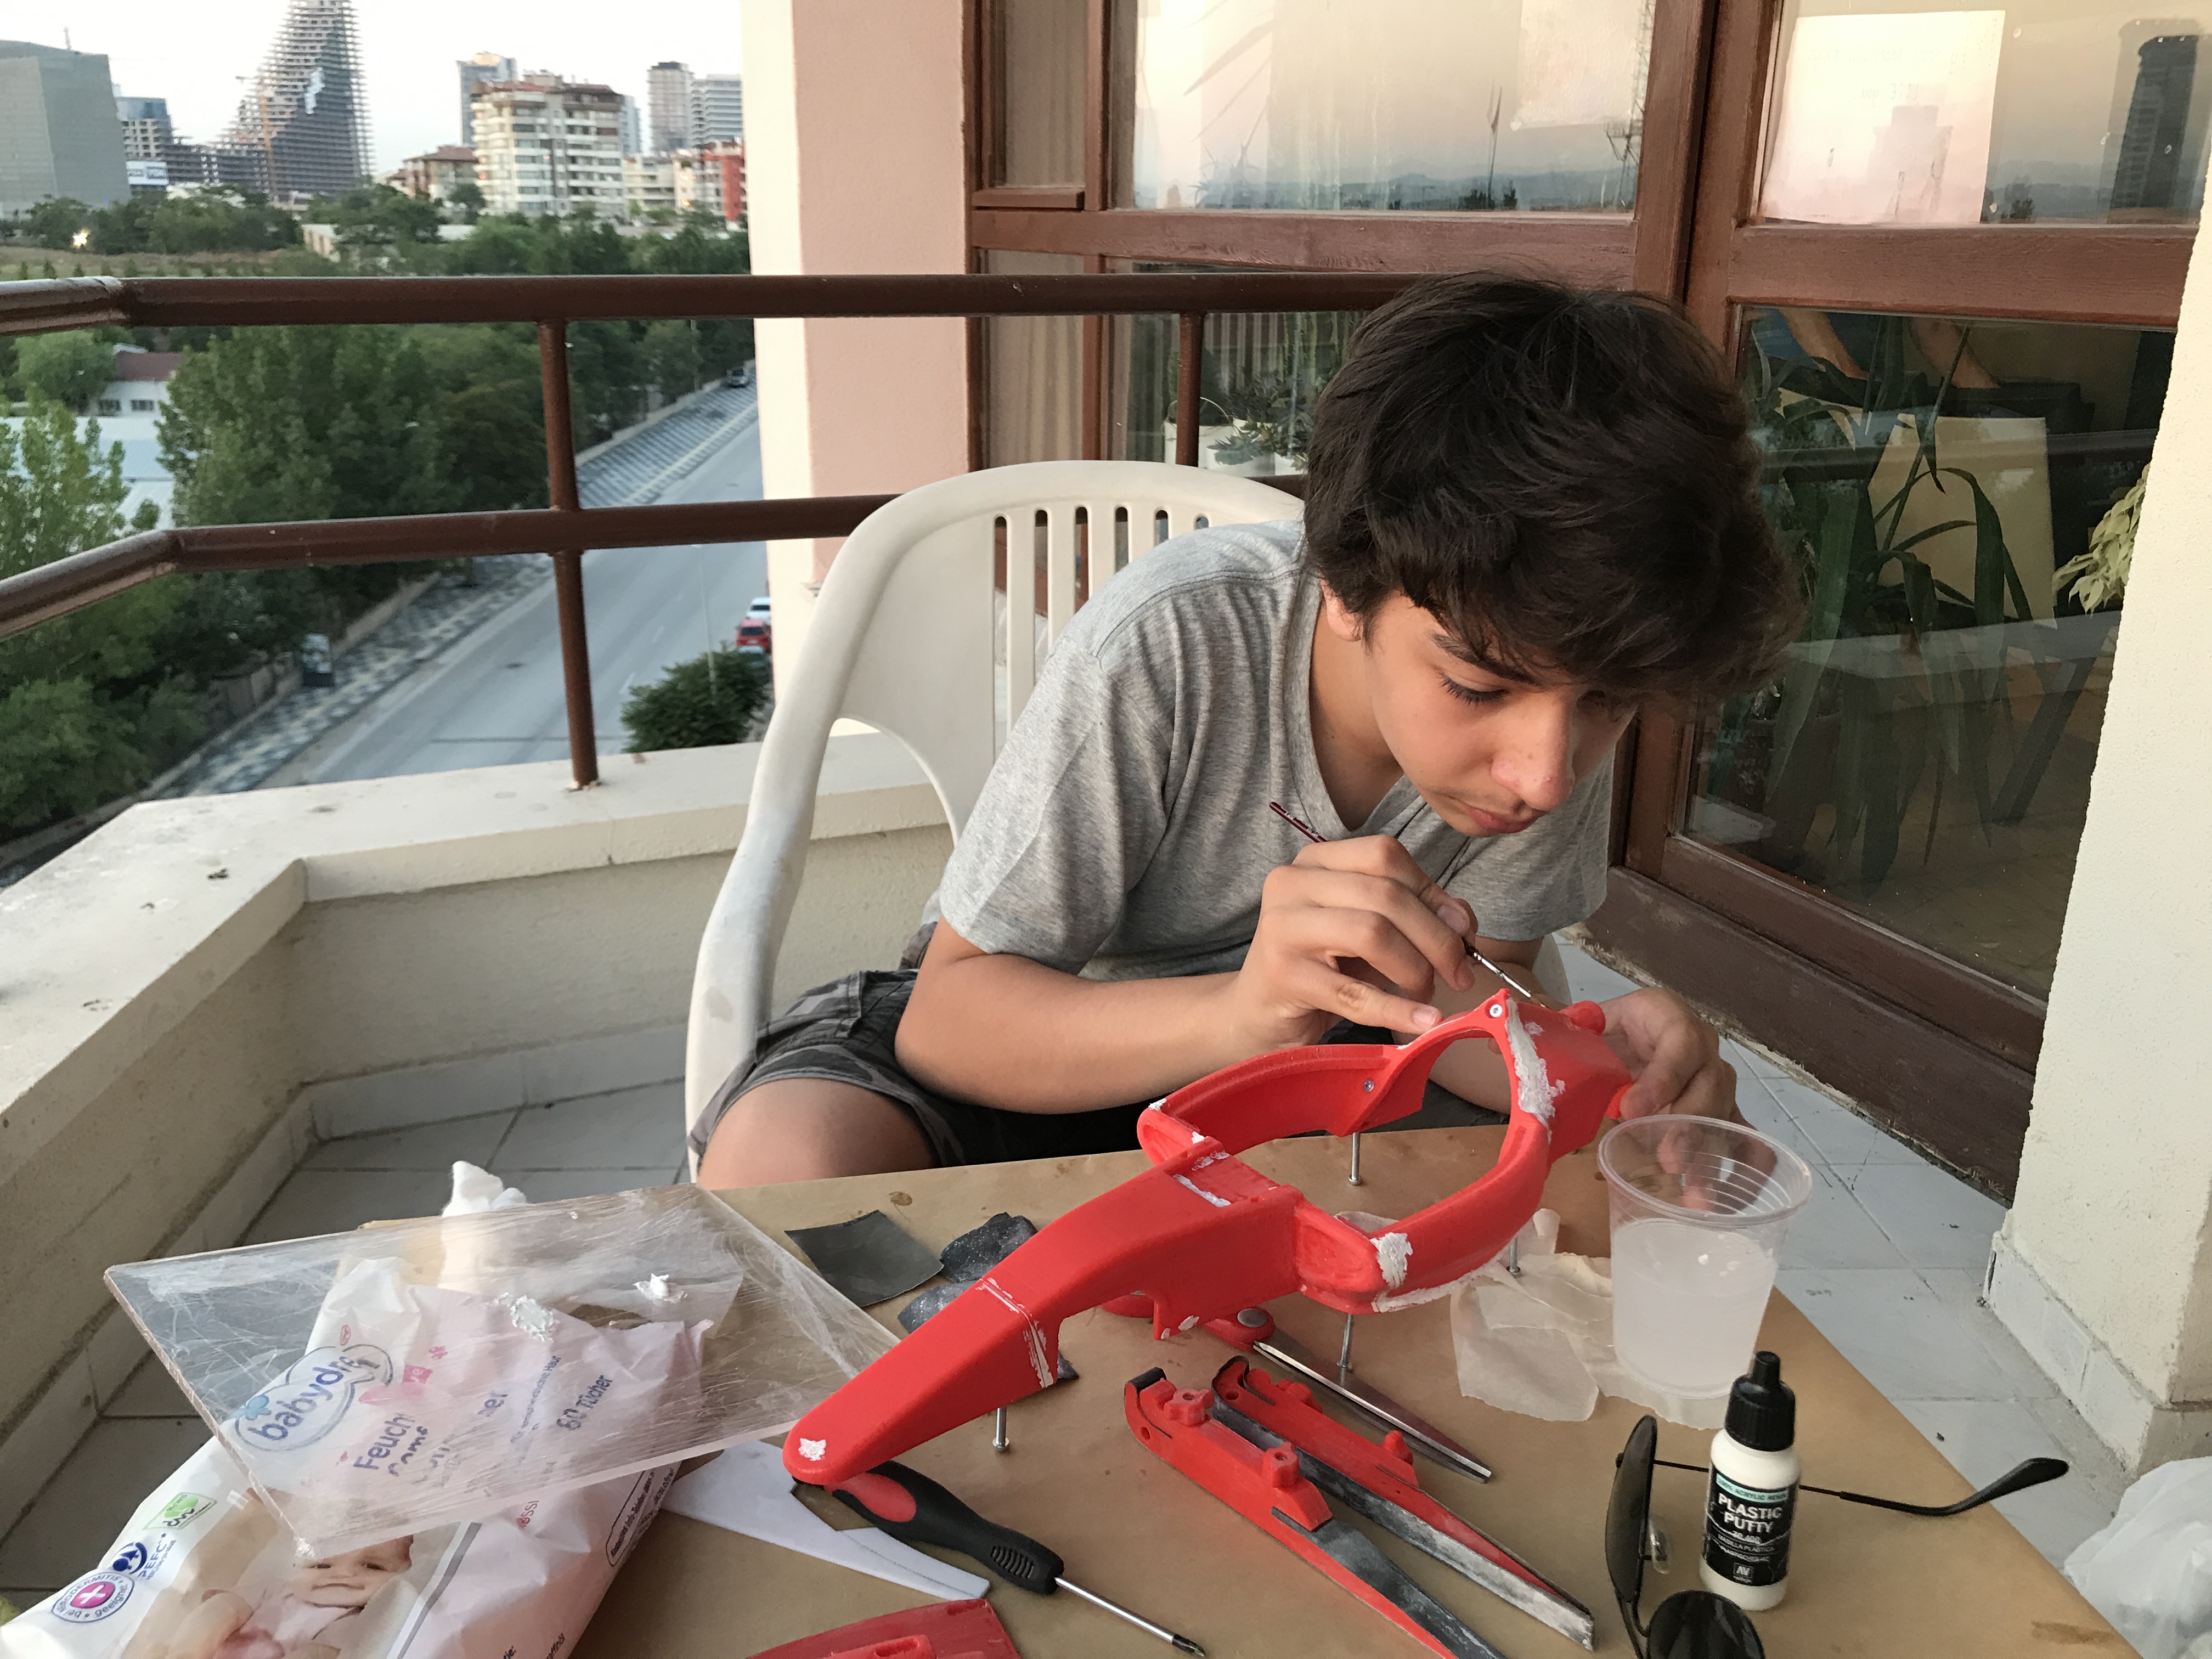
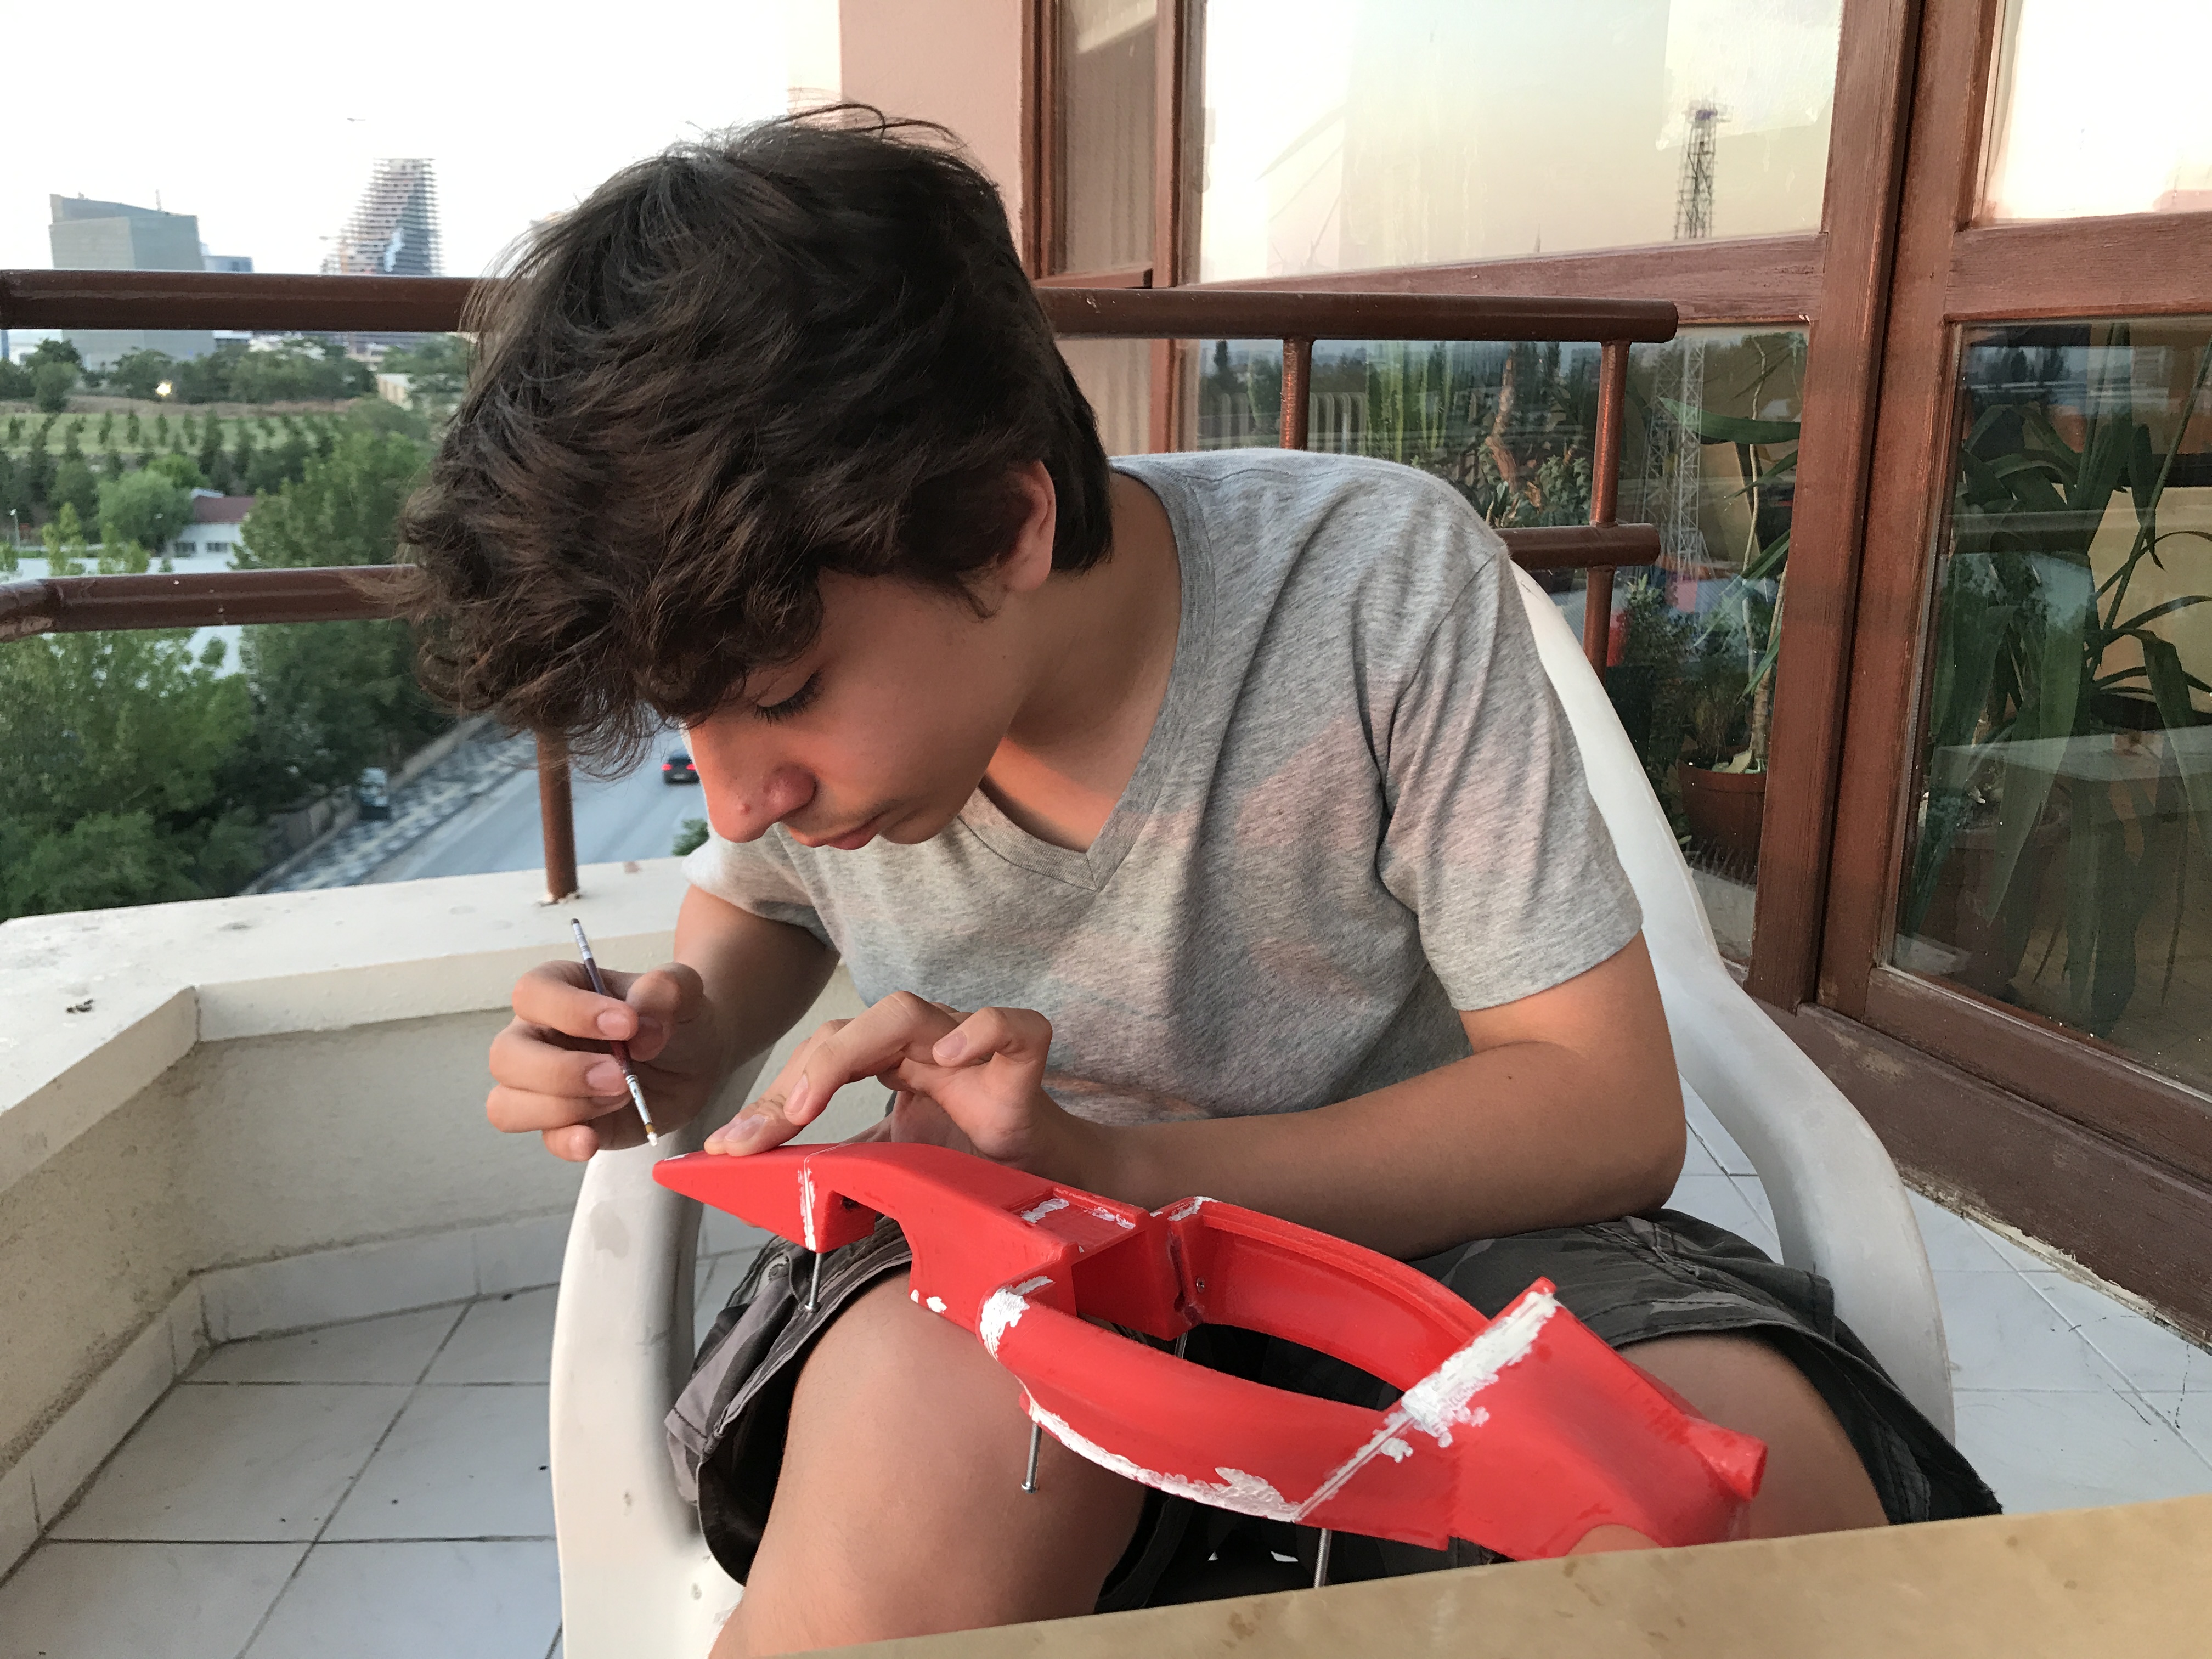
Step 2: Filling Holes and Sanding
The Formula 1 car has 4 body parts that assemble to each other using m3 nuts and screws. However thanks to my not so miraculous print quality and slight imperfections with FDM printers, there were small gaps between the parts. To be honest, they are totally normal, but I wanted to have a perfect shell, so using a plastic body filler called plastic putty from Vallejo, I filled the gaps. I put a lot of it around the gaps and than sanded the extra material to the same level with the whole. After this I also dry sanded the whole body with 180 grit sand paper. One trick I would have here is to use your hands and run the sandpaper along the body of the car, following the curves and sanding in straight forward motion. After this, it was time for XTC-3D.
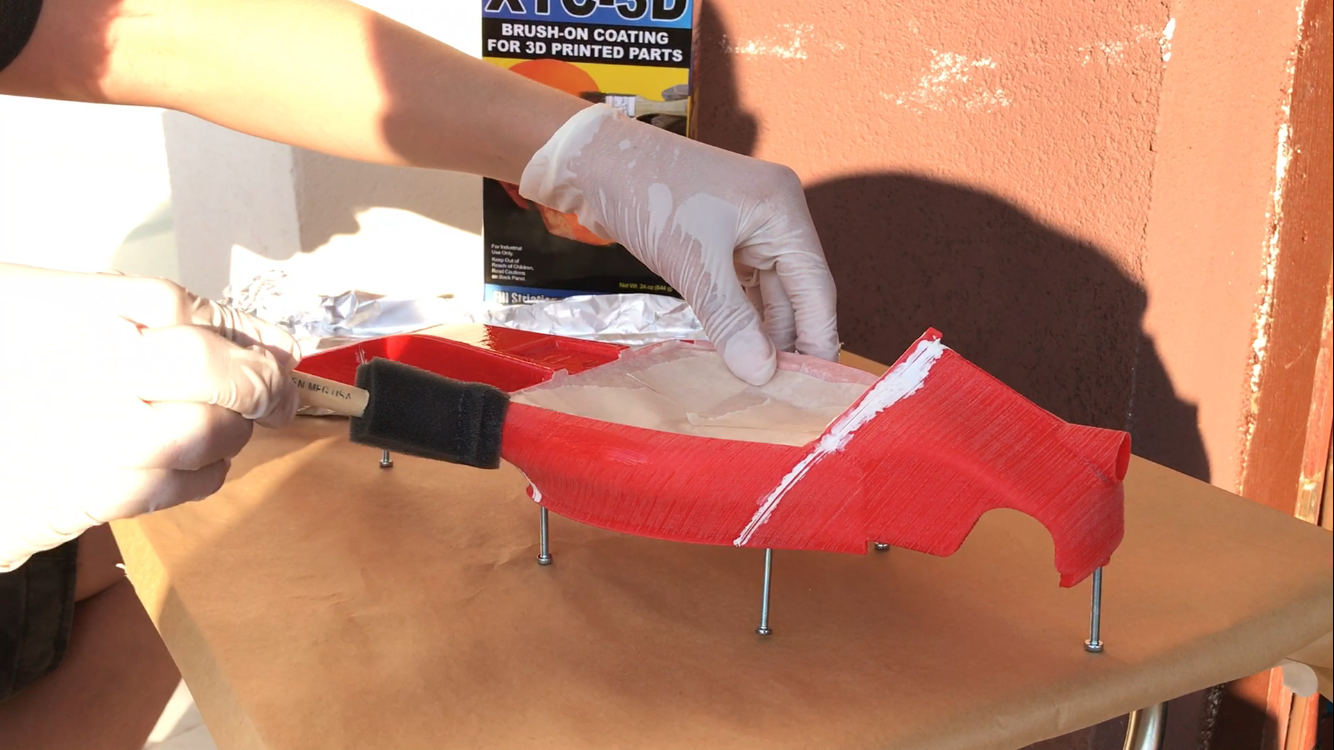
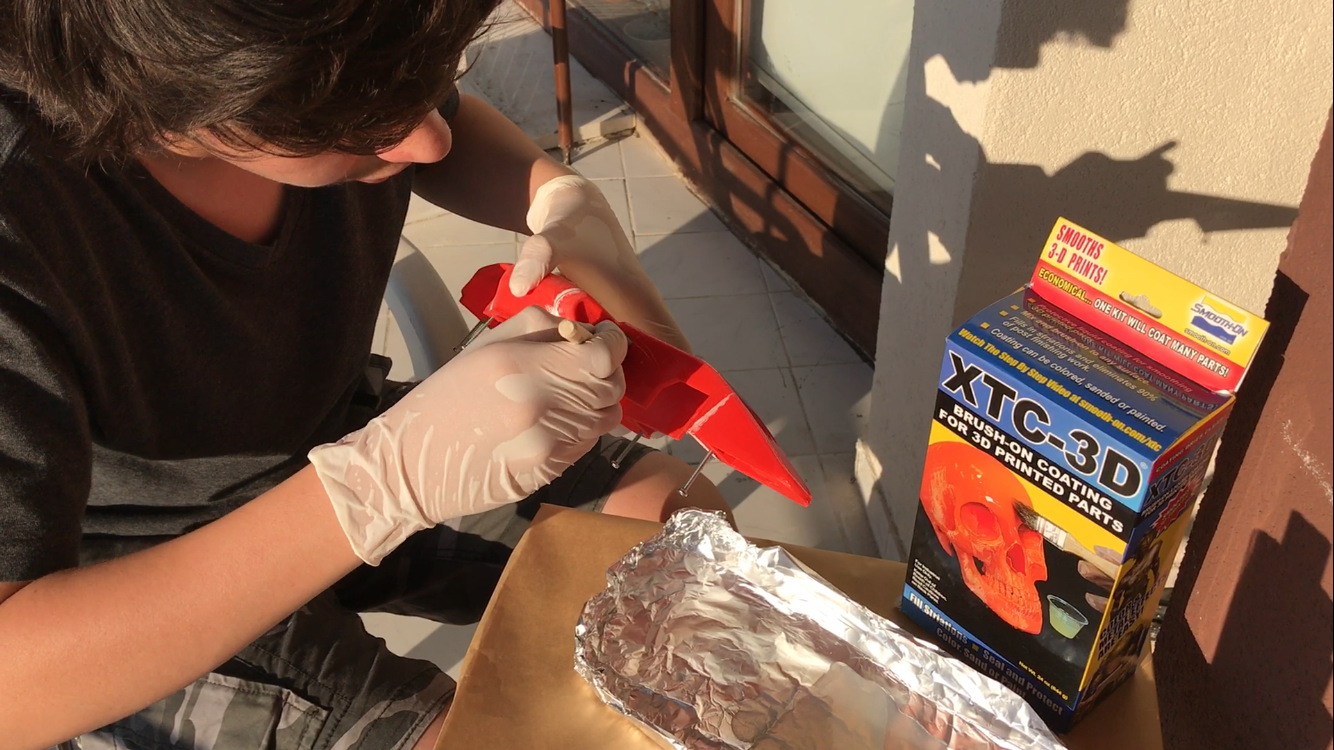
Step 3: Coating with XTC-3D
After sanding the body, I gave it a quick wipe with a wet wipe. Then I started on the XTC-3D coating. The XTC-3D is a solution that is used to coat 3d printed parts and give a smooth finish. In the box comes two solutions, A and B, which are mixed in a 2 to 1 ratio on volume, safety papers twice the number of instructions, measuring cup and a sponge brush. I also added 3×30 screws to the 6 mounting holes on the bottom so I would have somewhere to hold the shell and masked the whole in the middle. After mixing the two solutions, I poured the mixed solution on to a aluminium foil tray I made. Slowly I applied the coating on to the shell and I tried to cover everywhere once. The coating does have a short applying time and when you feel like the solution on the tray is getting dense or hard to apply, stop and trash that one. Because when I was doing it, I had some left over and I wanted to do the top cover as well, but since the solution was starting to solidify, I missed a lot of spots and there were a lot tiny holes in the coating. Another trick I would suggest is to apply the coating in an ordered manner, for example starting from the nose, moving to the back of the car without doing the same place twice, which also brings me to my next step.
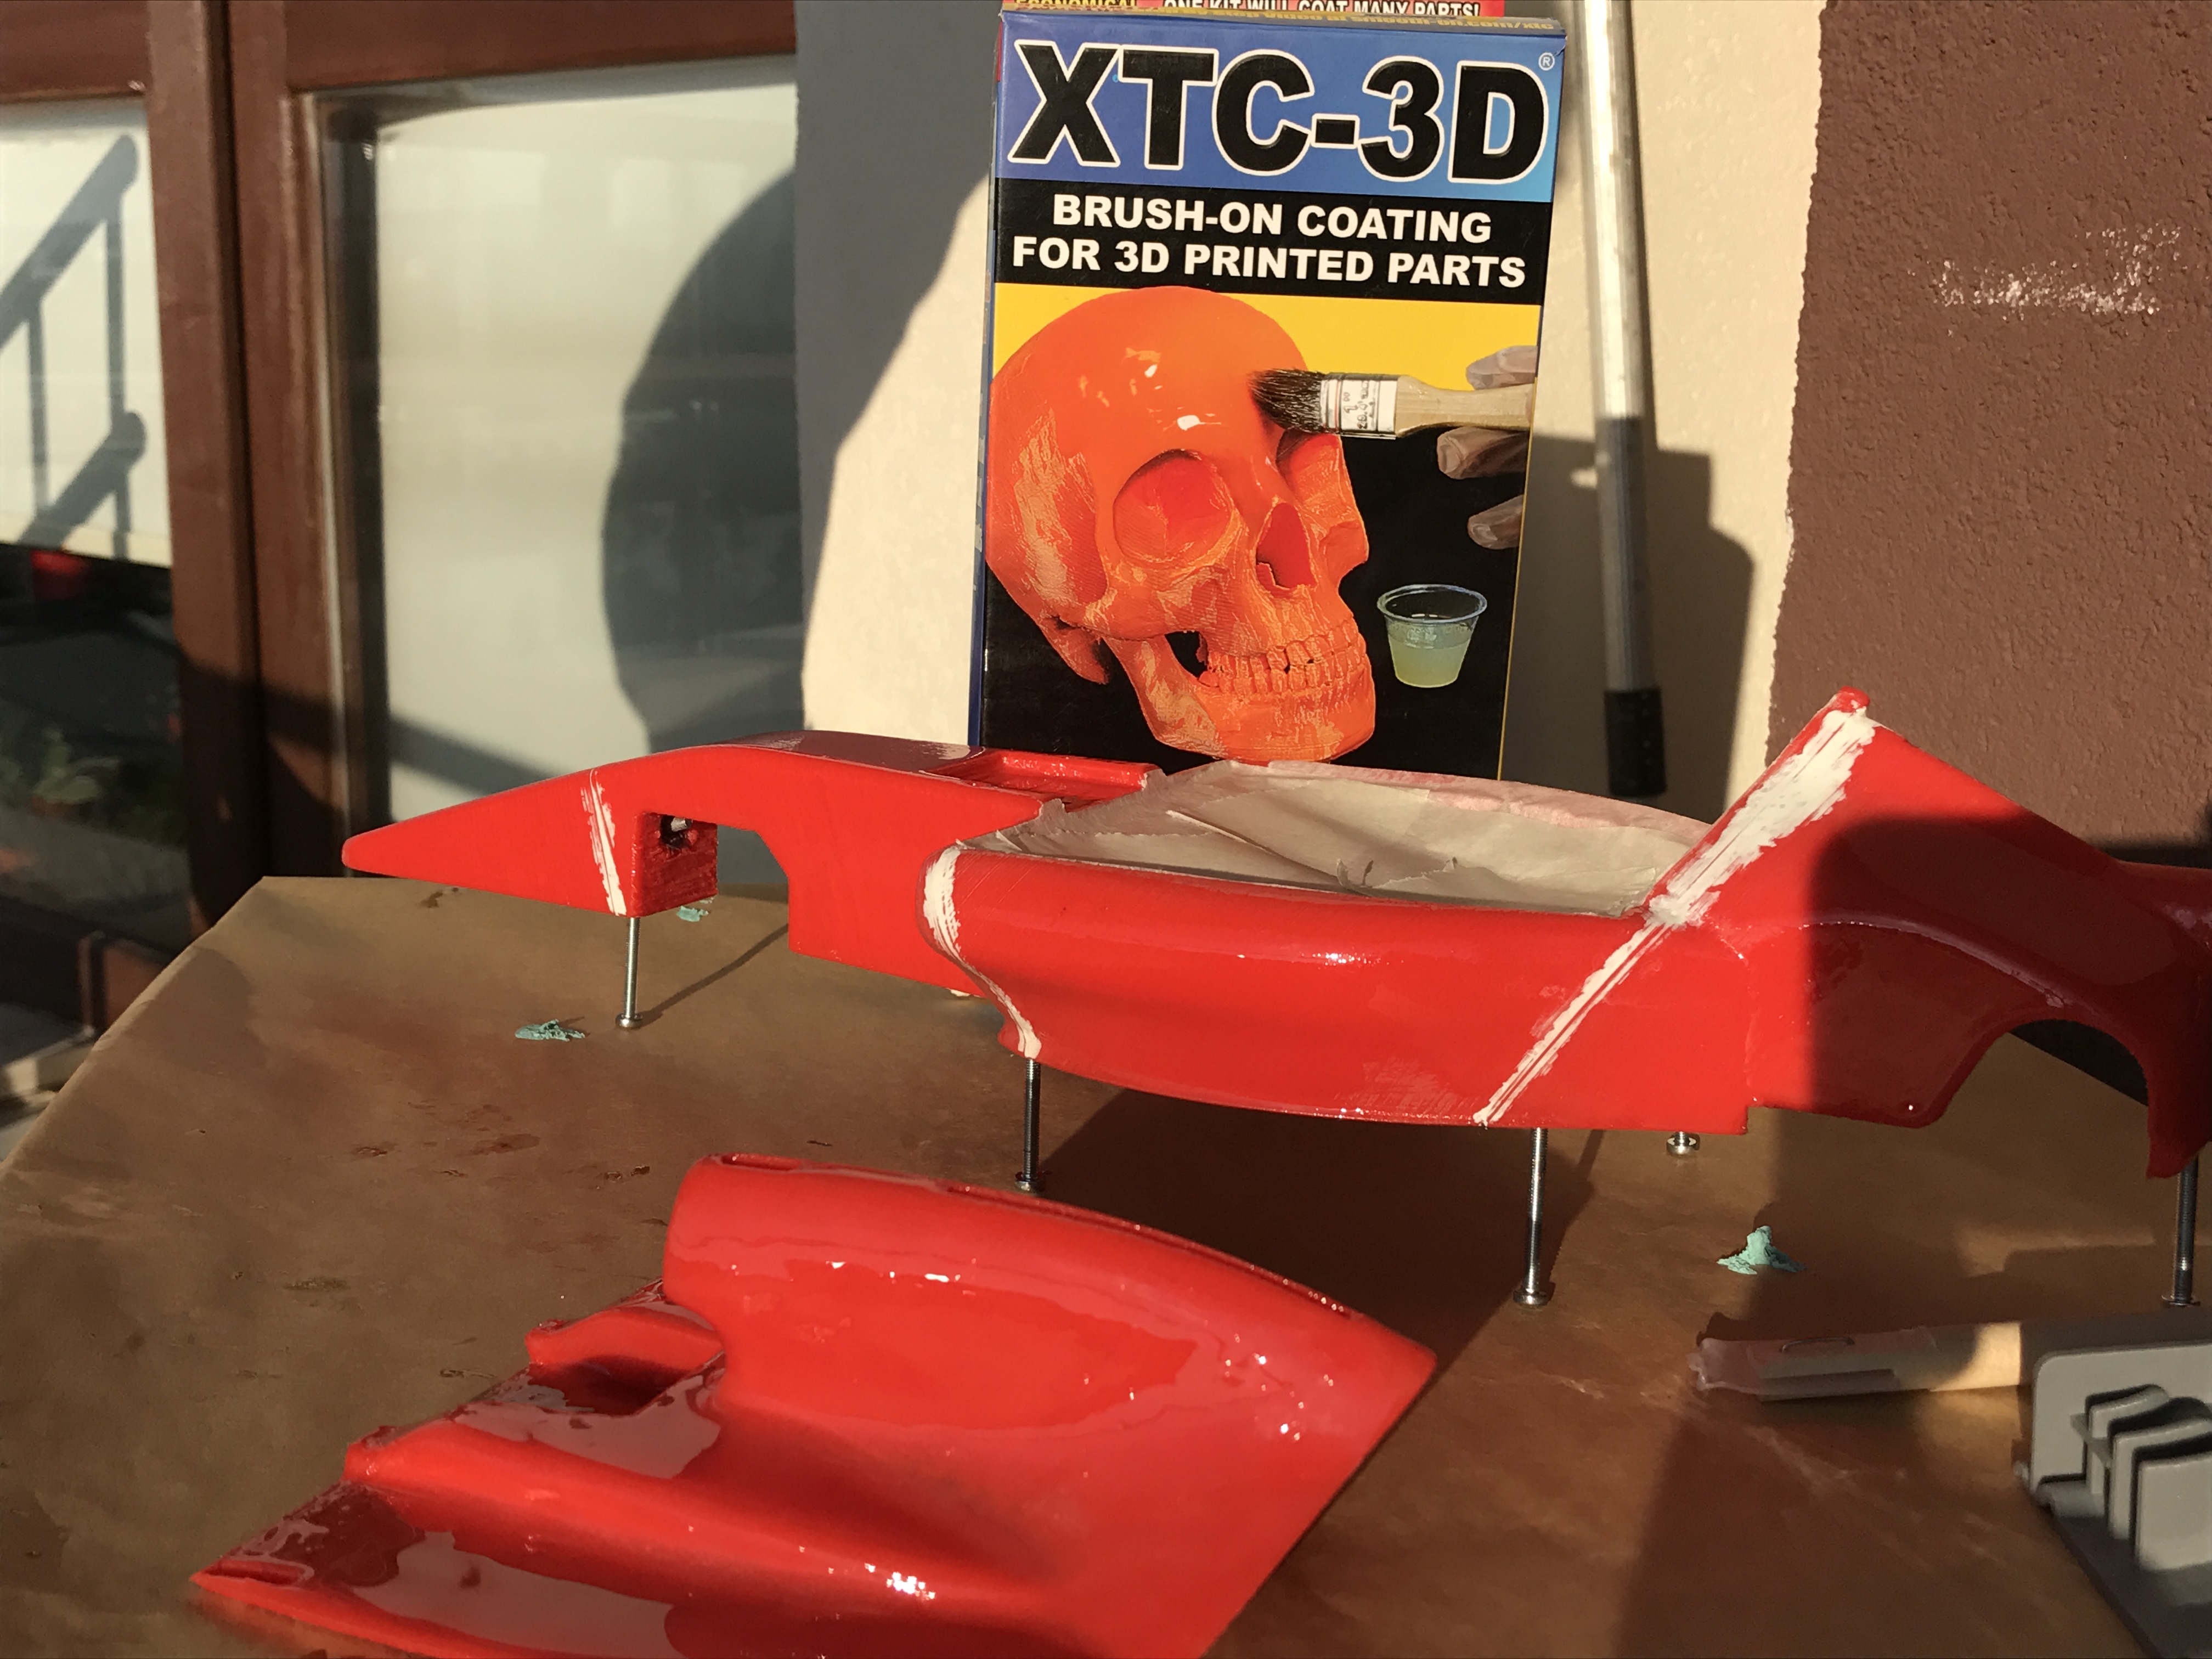
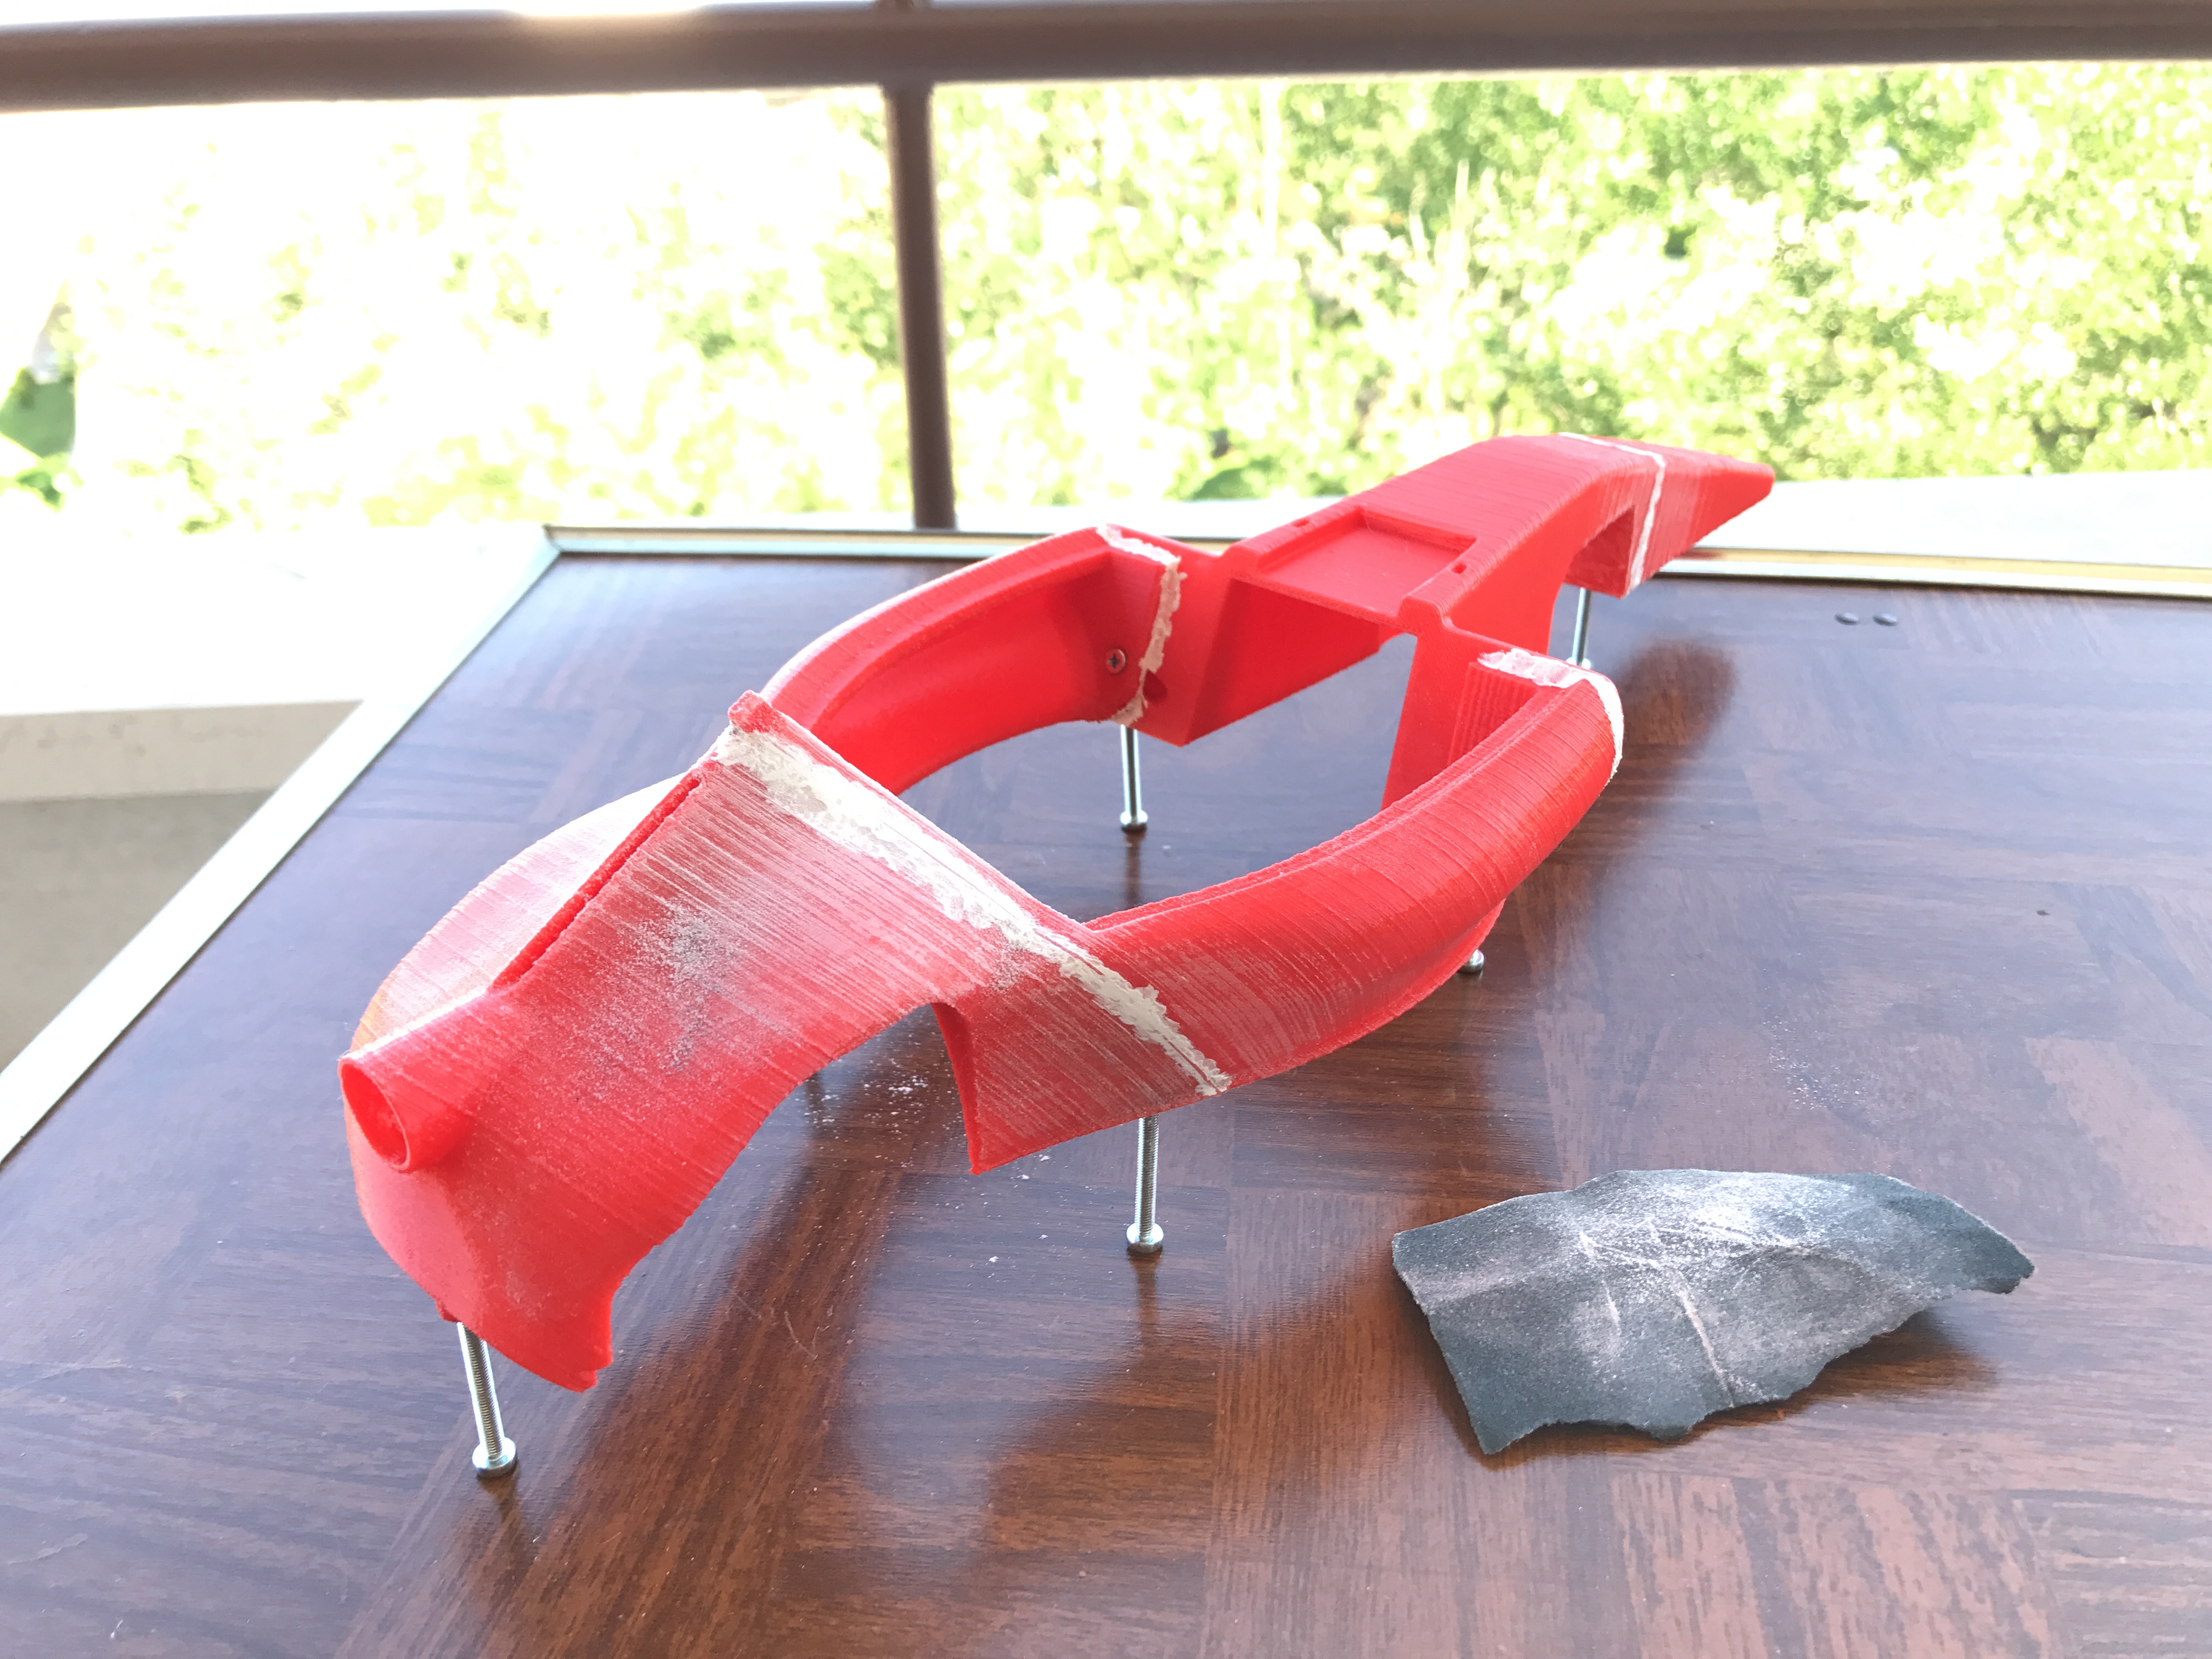
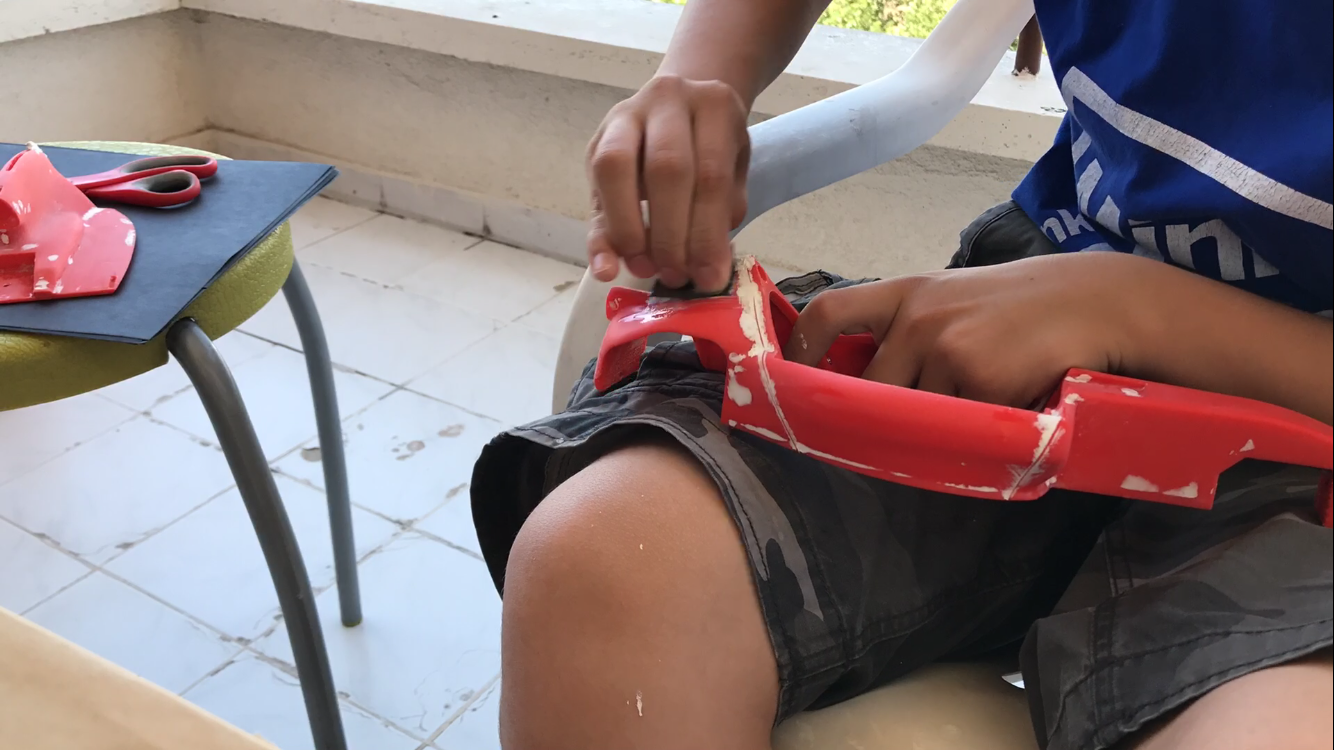
Step 4: Filling Missed Spots & Final Sanding
As I said, this was my first time using XTC-3D so I made some mistakes. Because i did not coat it in an orderly manner, I missed some spots and i had to use the plastic putty once more to fill those spots. An easy way to see the missed spots is wet sanding the whole shell with 240 grit sandpaper and than drying it. After you do this, if you do it properly, you should see that the missed spots are still glossy, where as the parts that were coated properly are now dull and matt. So apply putty to those missed spots and than wet sand the whole body once more with 180 grit sandpaper. also, it is important to wet sand the shell in this step, because the XTC-3D easily blocks the sandpaper when dry, so wet sanding makes your job much easier. Once I completed this, I wet sanded the whole shell two times more, once with 600 and once with 1200 grit sandpaper. When this is complete, the shell should be absolutely flawless. And i also want to bring notice on to the fact that i spent about 2 hours just sanding the whole shell over and over again. Prep is the key to a good paint job.
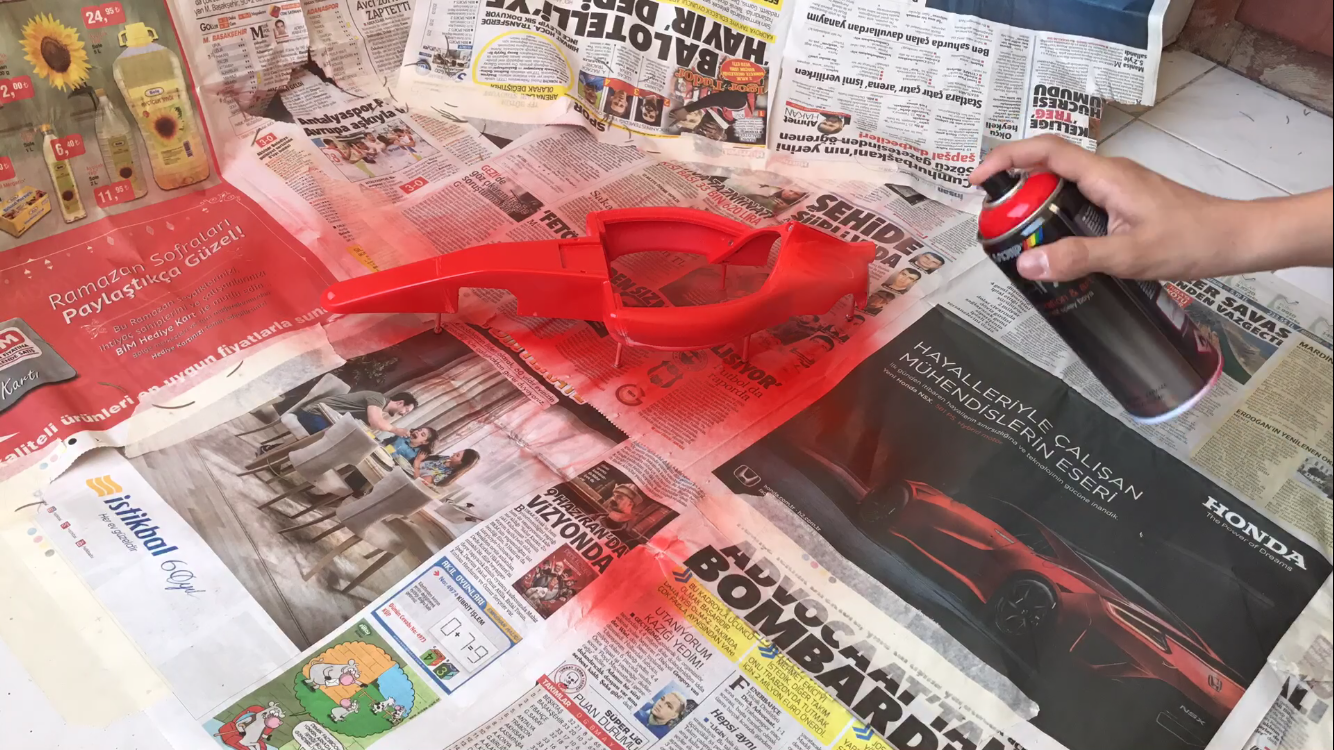
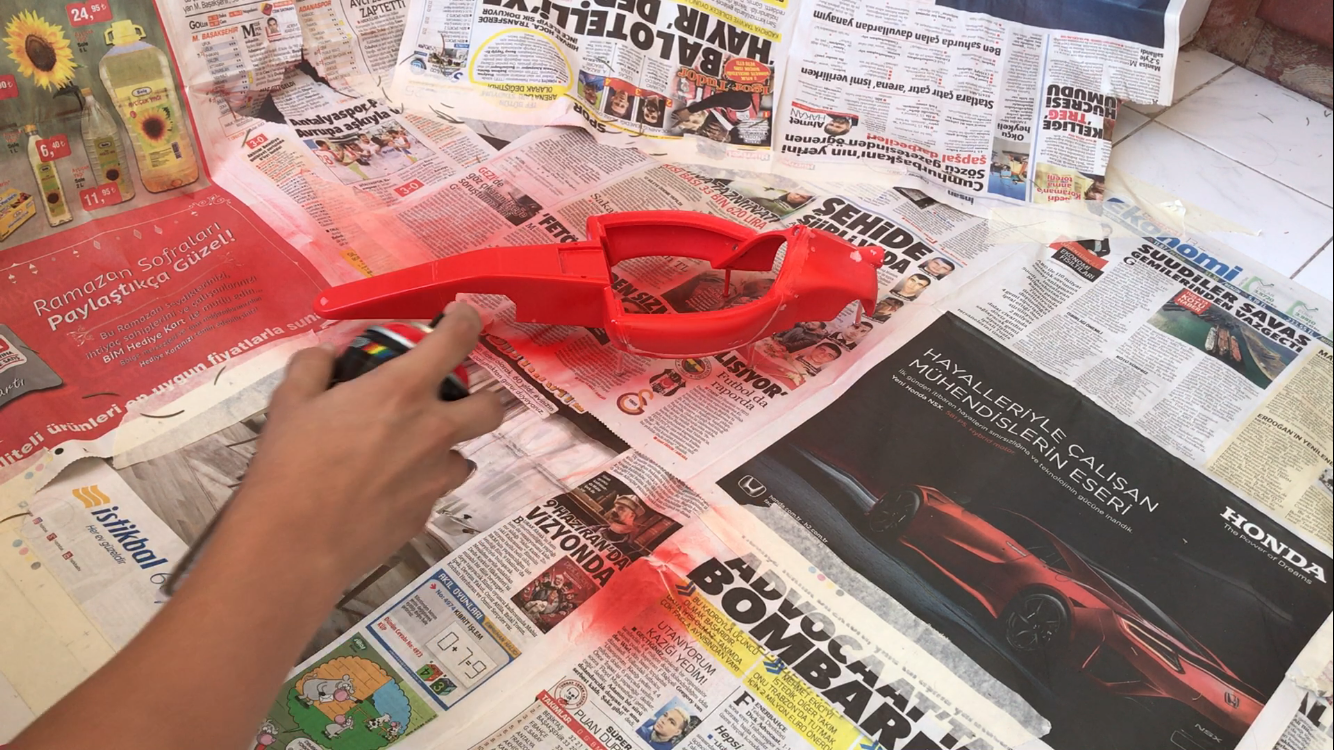
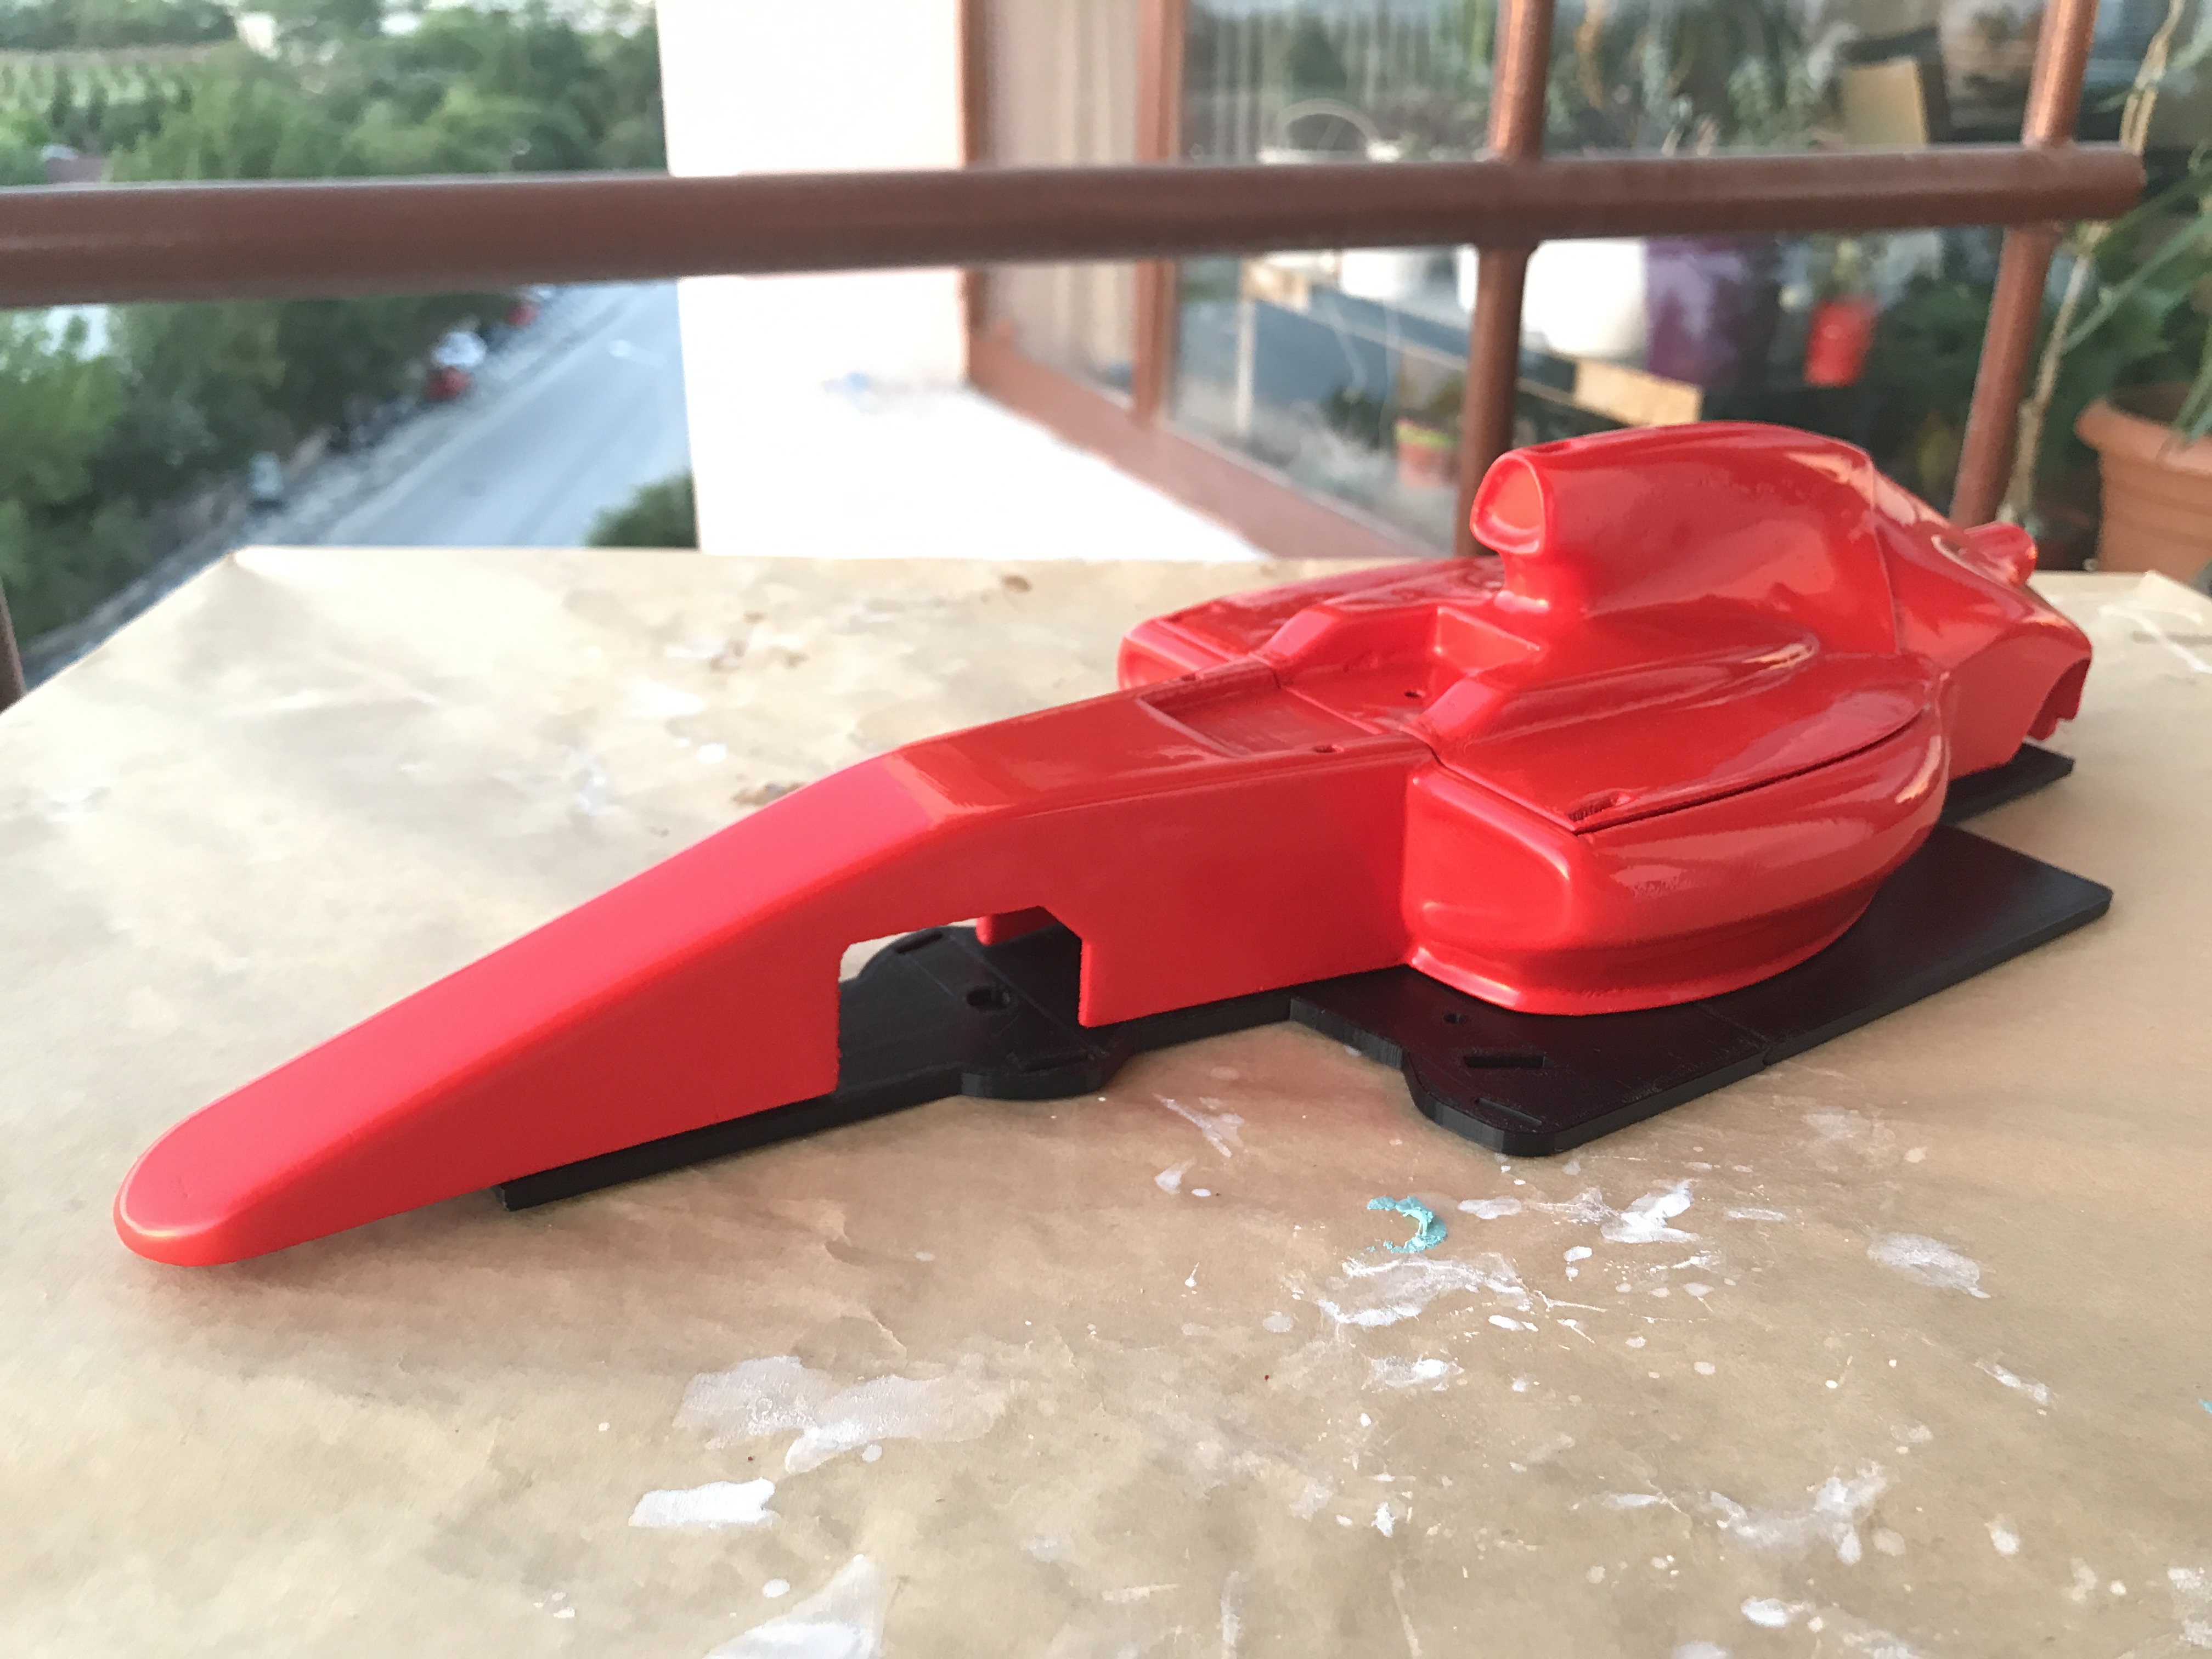
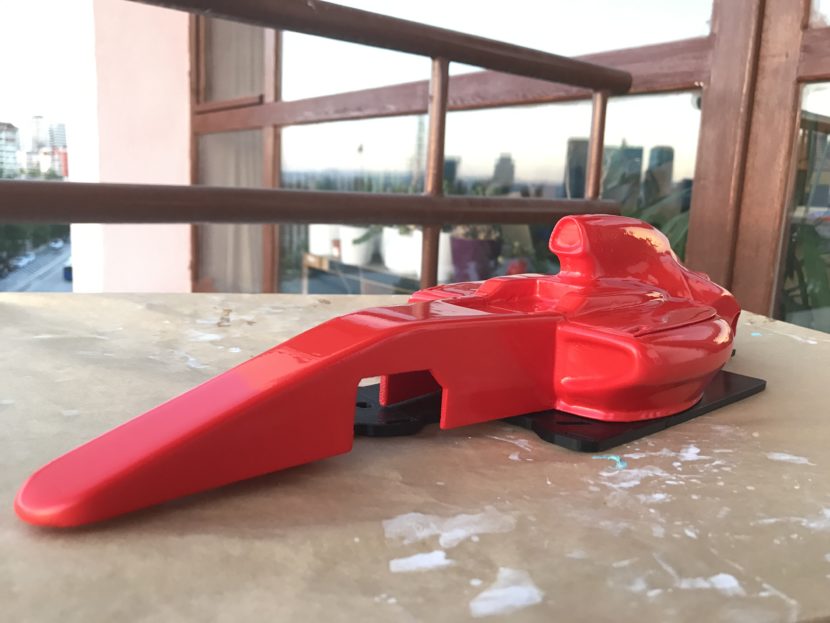
Step 5: Painting the Shell
After many coats of fine sanding and paint prep, I moved on to painting it. With this, n0t only did I give it a nice red coat, I also hid the white putty, making it a perfect base for the decal. So before starting to paint, i found a place to paint with minimal wind, and masked the floor. I used a regular spray paint, glossy red. The key here is to put thin layers many coats and spraying very minimally. Also, another thing to care about while painting is to get good coverage of all spots, putting equal amounts of paint on each and every part of the pieces. My mistake here was that I pressed too much on the trigger once and the paint ran on a little spot. So again it is important that you do light coats.